


 Reply With Quote
You make nice job Neil!


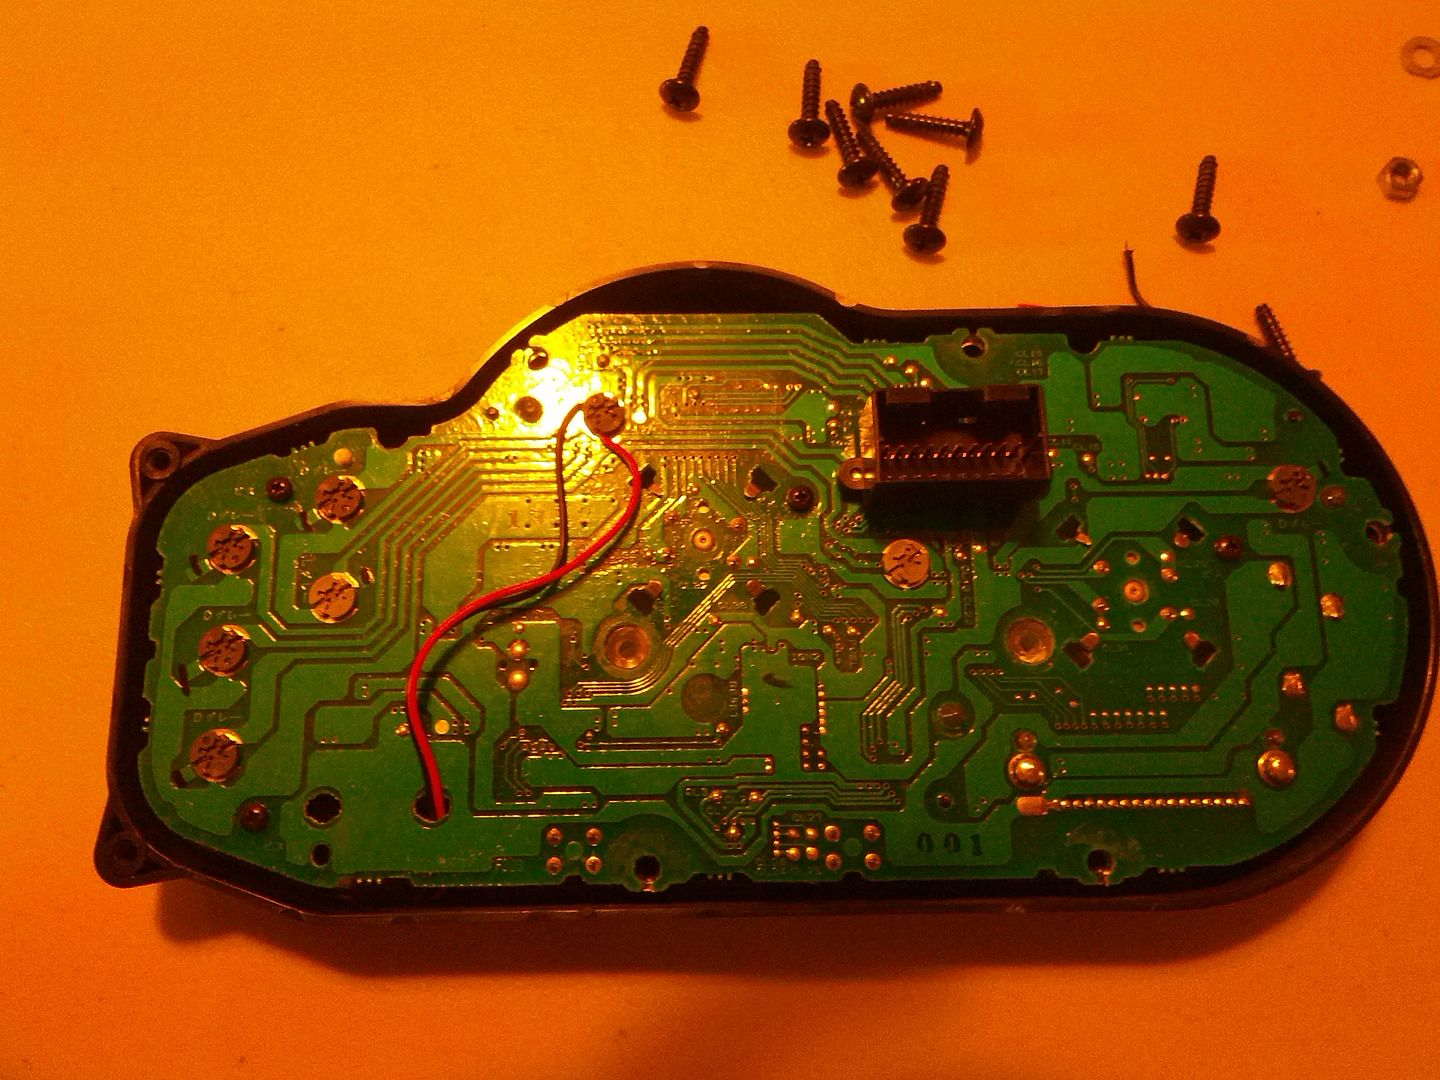
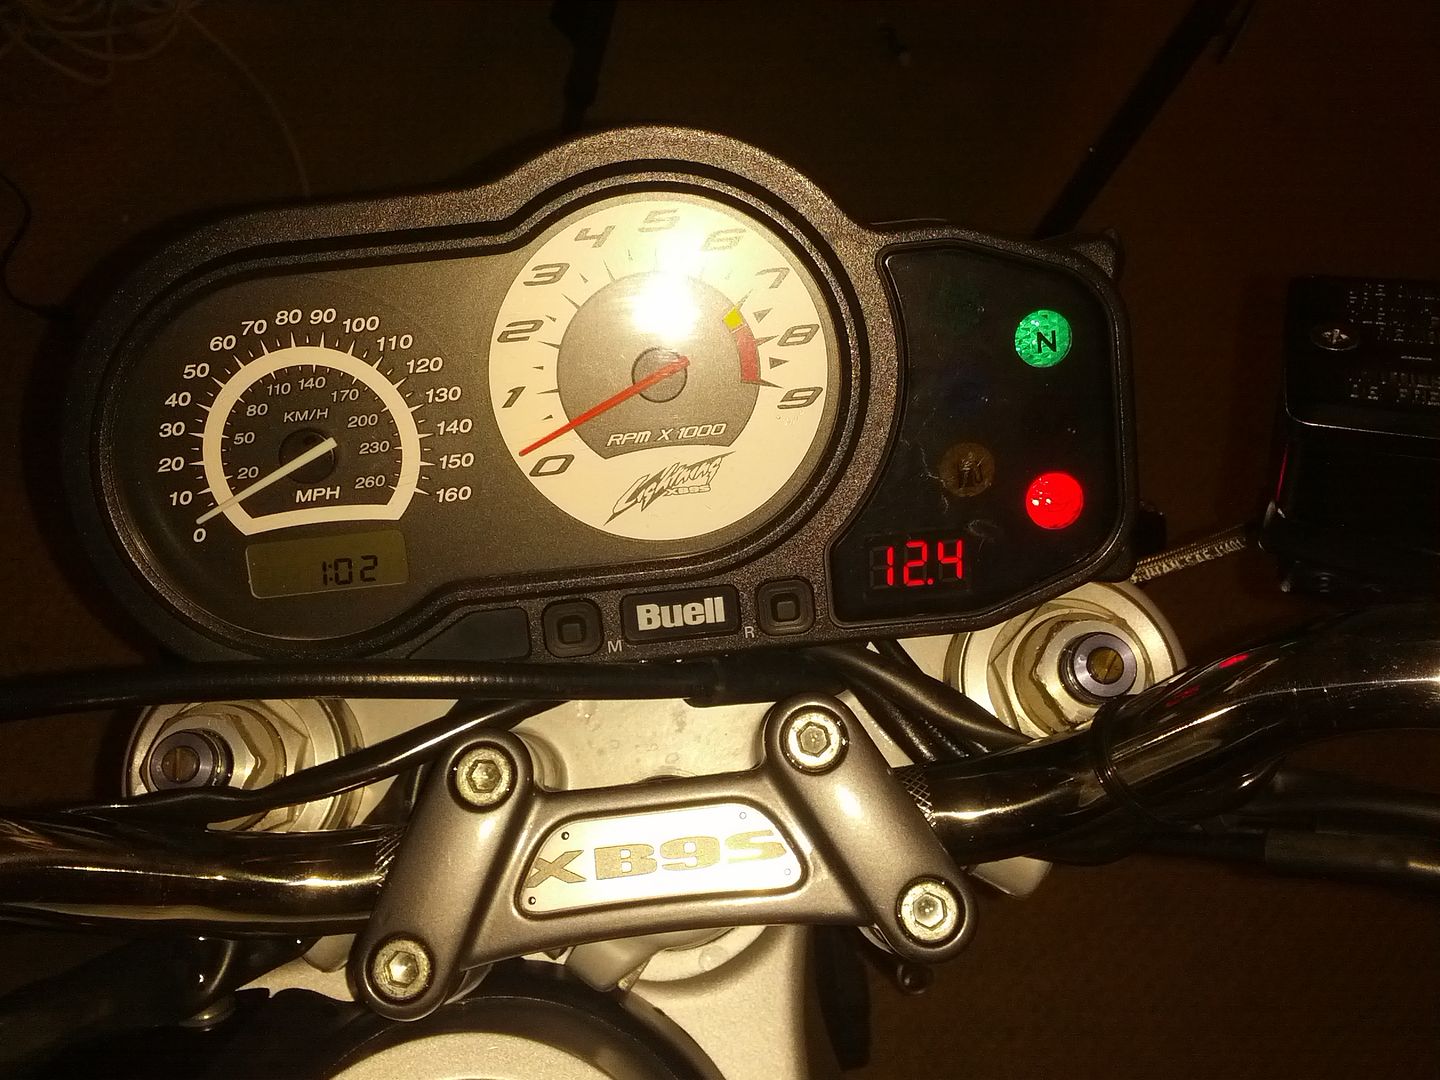
There was some interest in this from a few people so since i had to pull mine back apart I figured I'd at least show a few pics of how its installed and hooked at least.
I bought a Chinese gauge off eBay for $3, they sent me two of them.
I traced the gauge with a sharp pick and then cut out the hole with an exacto knife.
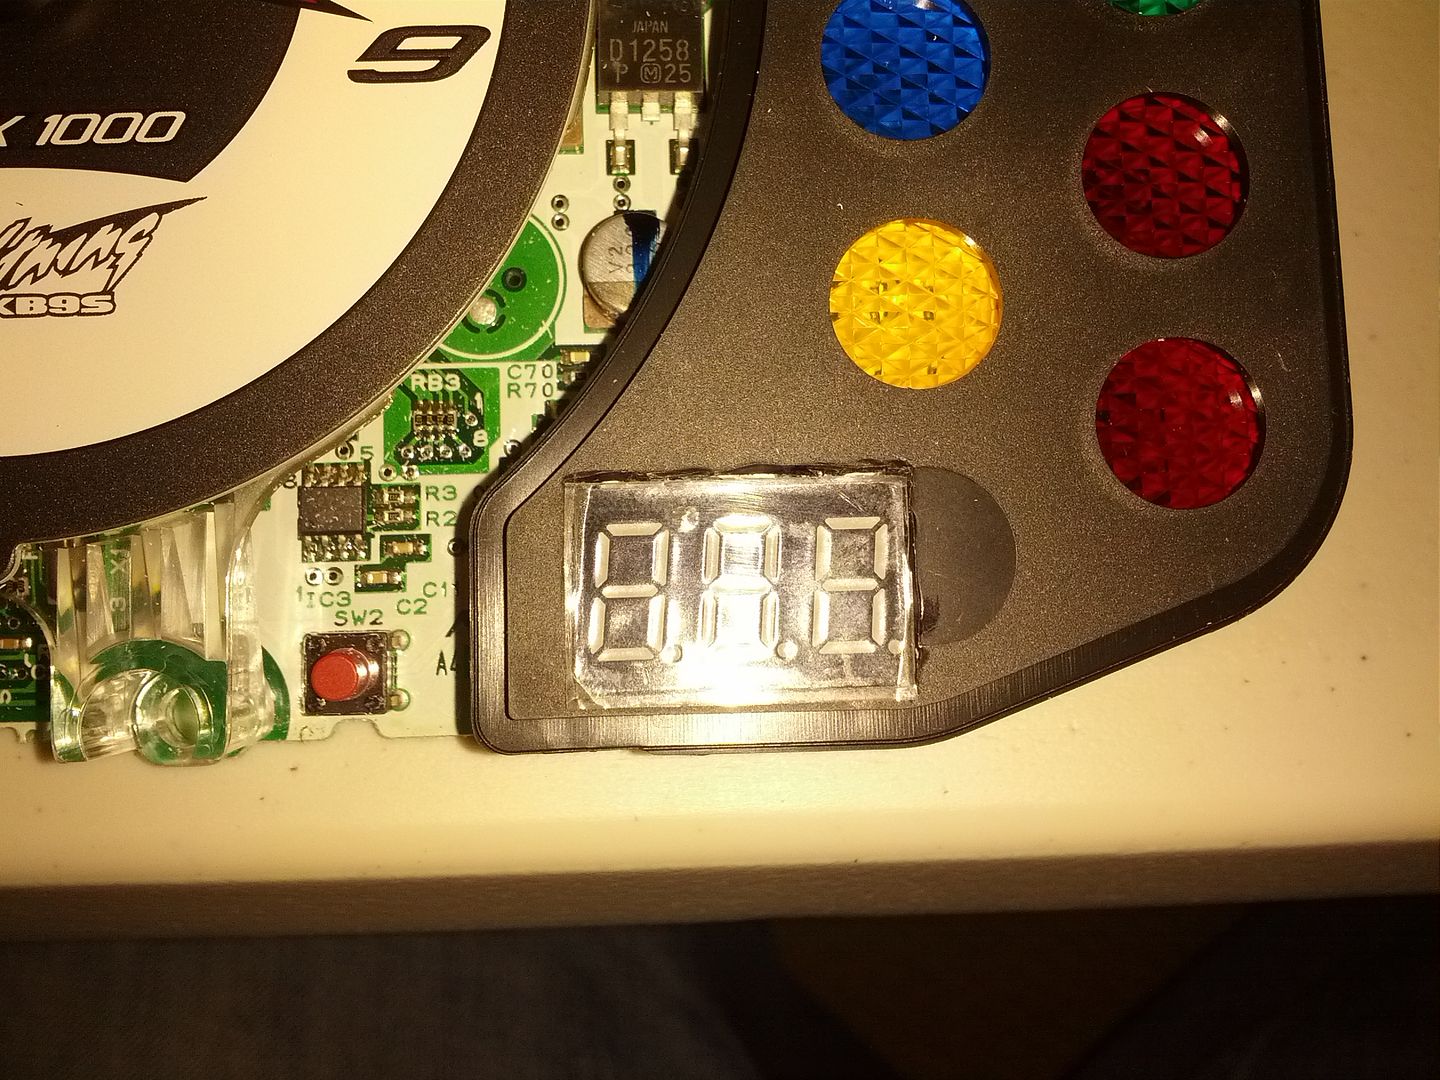
Behind the black panel is the white plastic that house the indicator lights. The bottom where I mounted my gauge has 2 empty spots. I used a dremel and a pair of dikes to cut away that plastic. The wires are run through an existing hole in the board.
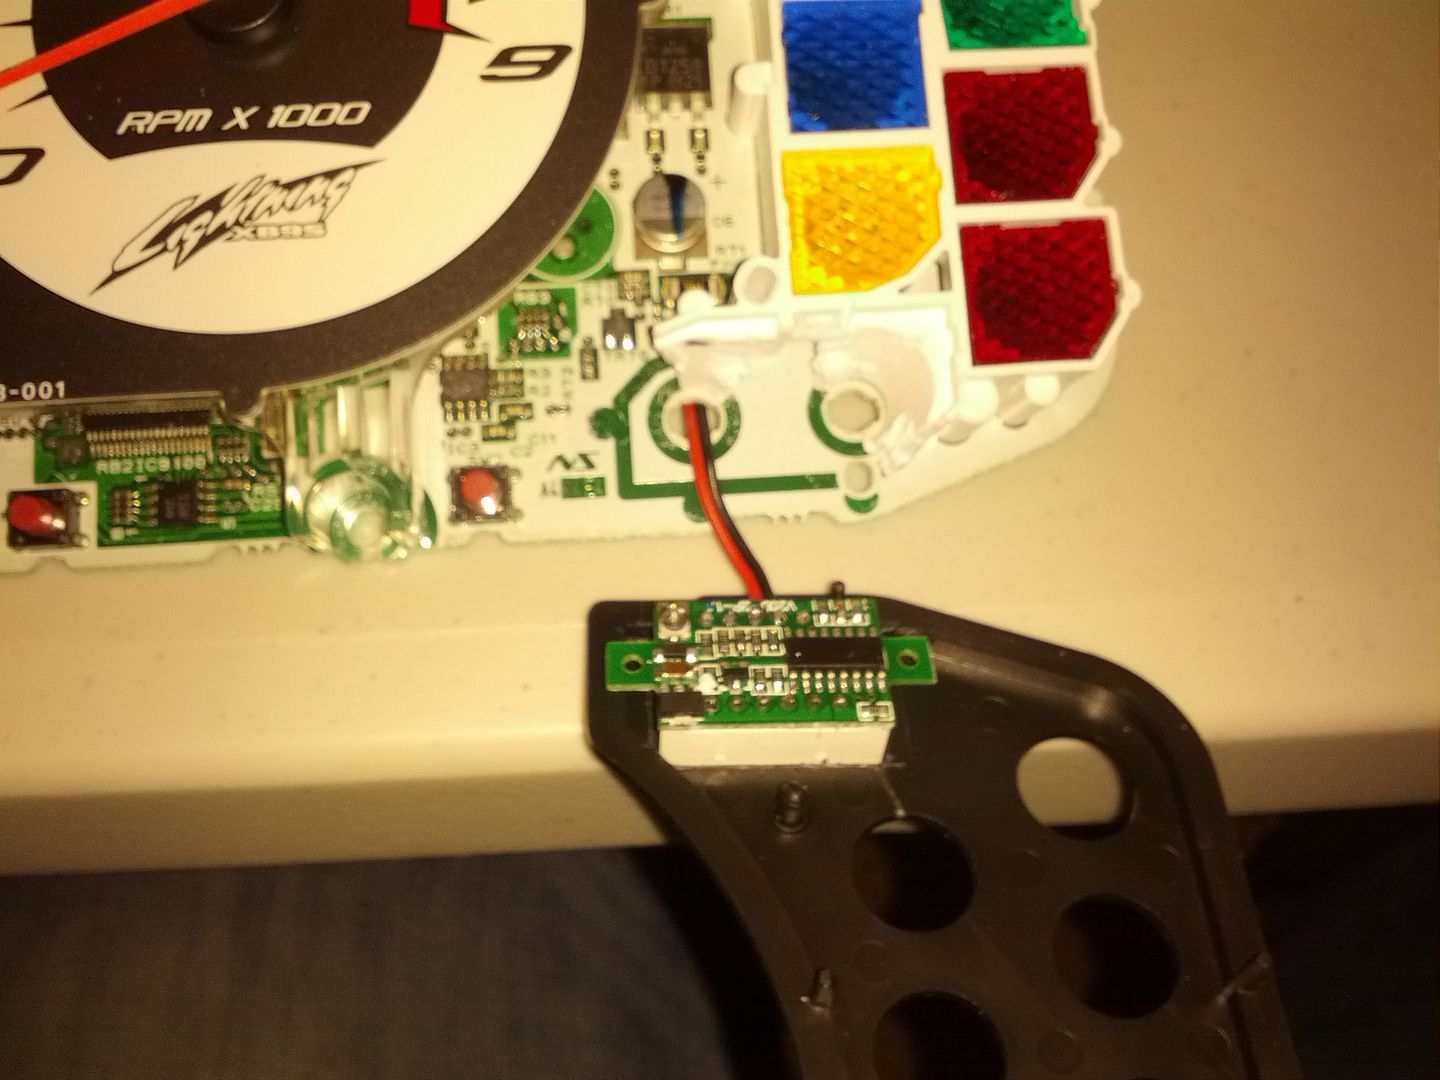
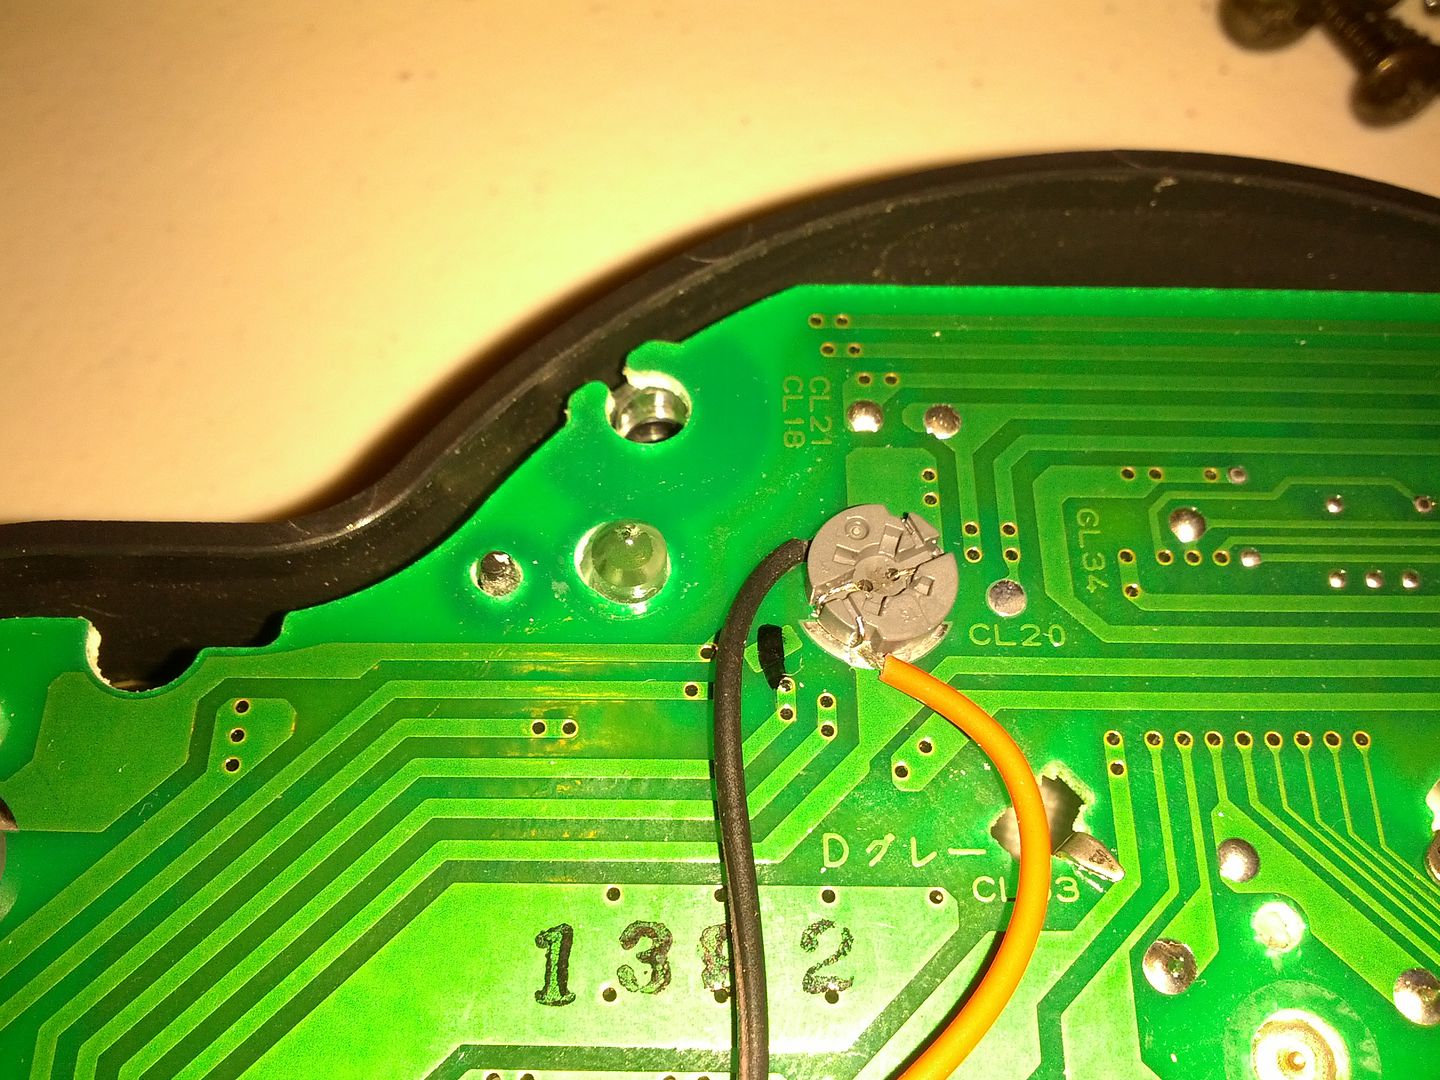
I ran the wire up the board and tied into one of the backlight LEDs to keep from running the very thin wires out of the cluster.
Here is what it looks like all together.
As an experiment I put my spare gauge directly to the battery, it read 12.3 volts while the gauge in the cluster showed 12.2 volts, so there is a variance but it is small and from what I know of electricity, is to be expected.


You make nice job Neil!
Thanks for sharing Neil! You've inspired me and my eBay gauge is now on it's way too (mine was only $2.59 shipped!:D). It'll be a nice early warning of charging system problems on the XB which seems prone to regulator & stator problems...
Like Go Cytocis, I also went ahead and ordered two of the eBay gauges, One for the buell, and one for the triumph, Hoping I can figure out a nice way to wire them up such as you have.
Nice job !
That's awesome, on my 2 do list.
Thanks for sharing
This probably took about 20 mins to do. I had a few Capt. Morgan Private Stock and Diet Cokes to "steady" my hands first. :)
looks like it was born there. cool
Awesome! Thanks for posting, I'm going to do this when I get some free time...

 Posting Permissions