


 Reply With Quote
Here is where things could get slightly controversial. If you don't like what I did, feel free to do it your way =)
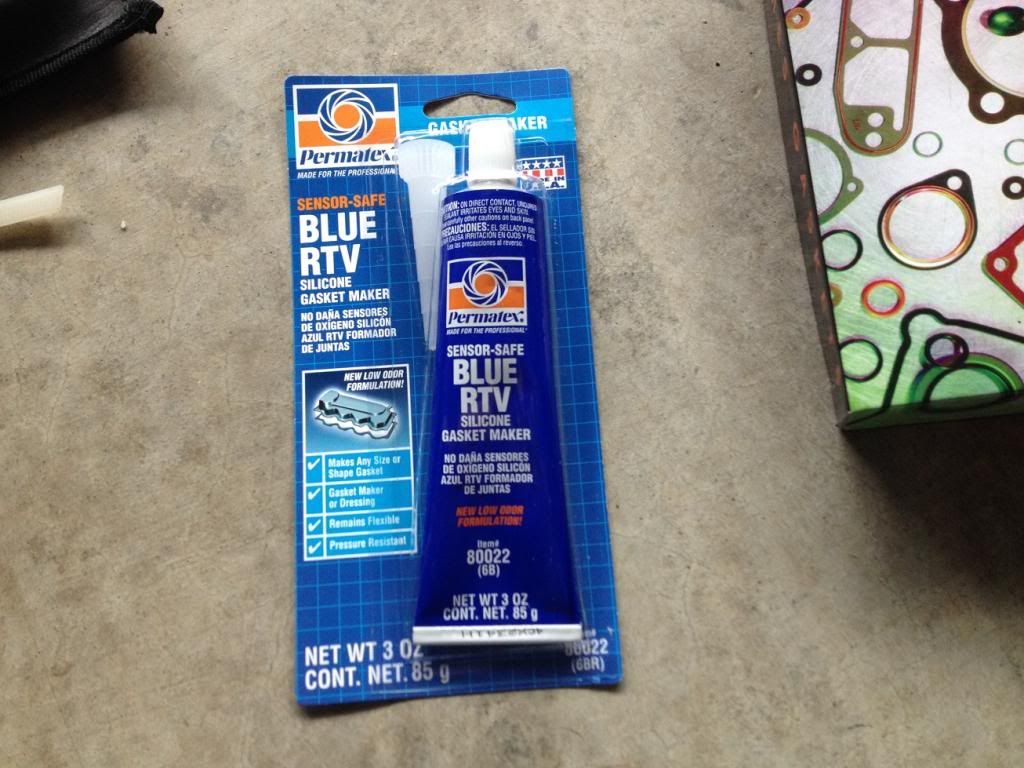
I chose to just grab some simple high temp silicone gasket dressing from the local auto shop. The gaskets said do not use sealant, but if these gaskets are gonna be blowing out all the time, I figured it would be better to use at least a tiny bit of sealant to help it get a better seal. I know from experience that it couldn't hurt, so why not? As long as I did my best to use a very small amount... right?!
So here was an attempt at "a small amount". lol not as good as I planned. But oh well, we're doing this.
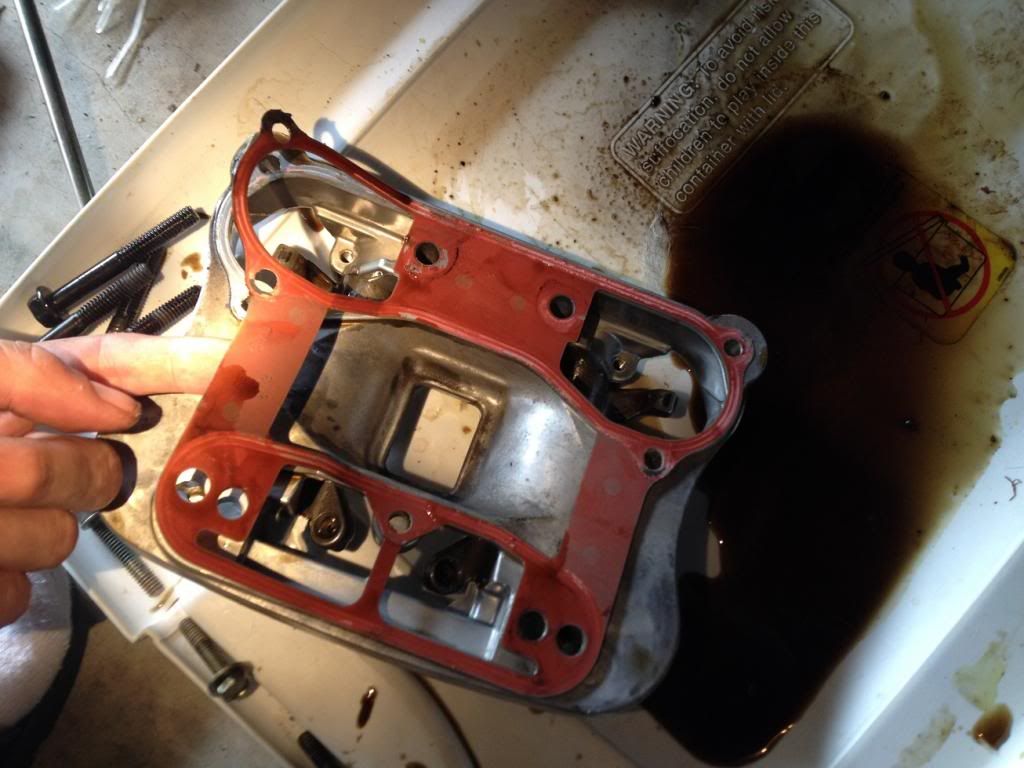
I aligned the gasket with the cleaned rocker box surface and applied sealant to the other side. Hey wait, man! What happened to using a small amount of well placed sealant?! That stuff is tricky to work with! :o Well, I'll just have to change the oil a few times after I run the engine in and make sure I remove any sealant that might get in.
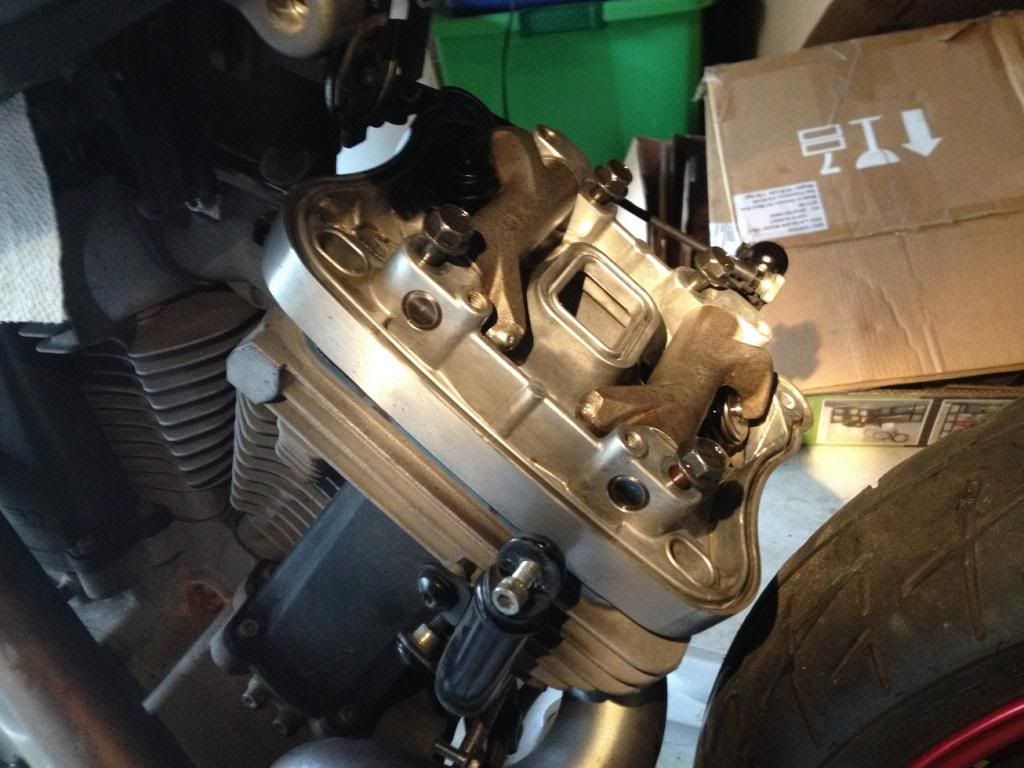
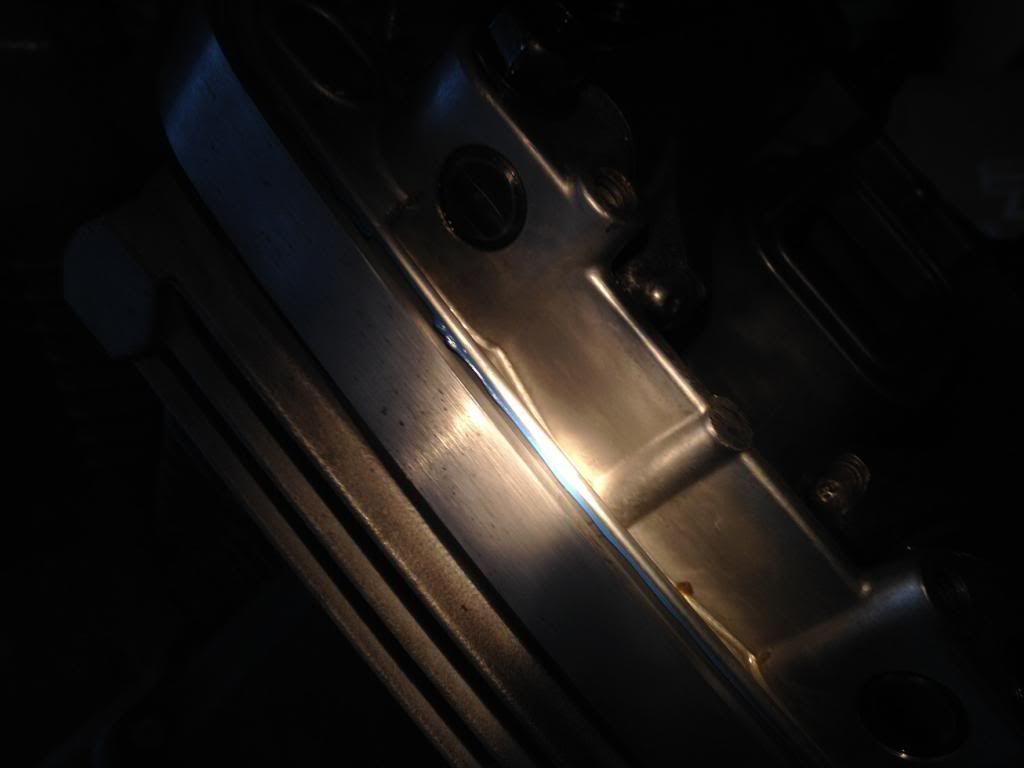
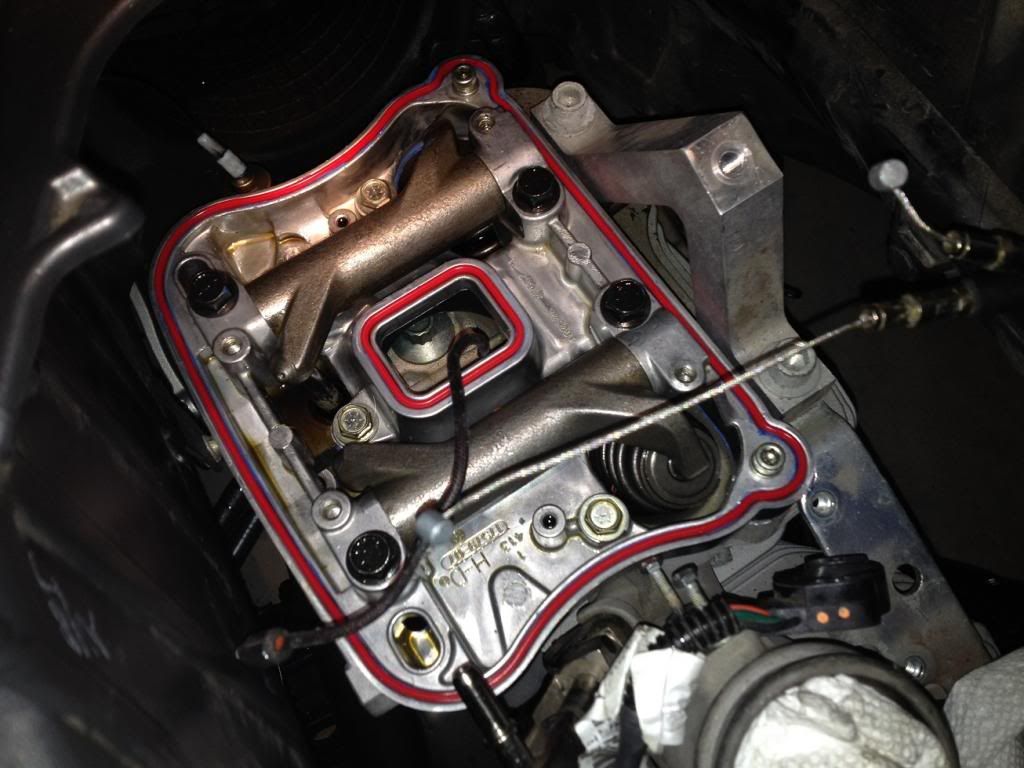
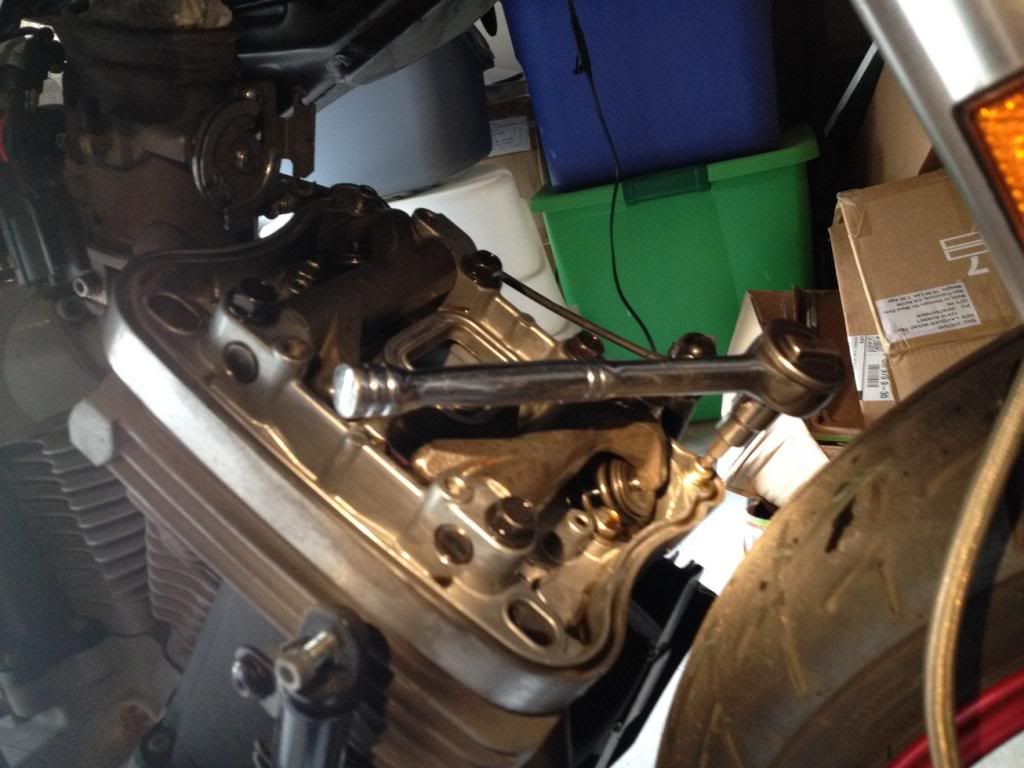
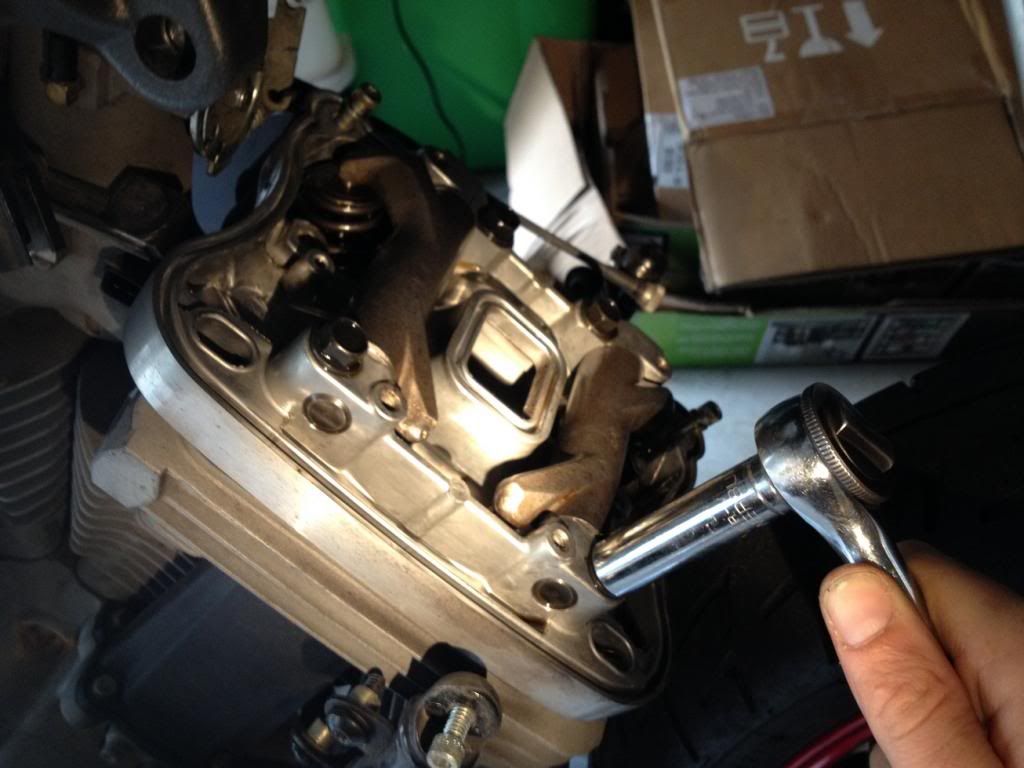
Torque the 4 main rocker box bolts bolts down 1/2 a turn at a time, keeping the rocker box even as you tighten, to 20ft-lbs with a known good torque wrench. You can see a fine blue bead all the way around the head from the sealant. If you have access coming out, you can wipe it up with a rag, but you shouldn't see a lot.
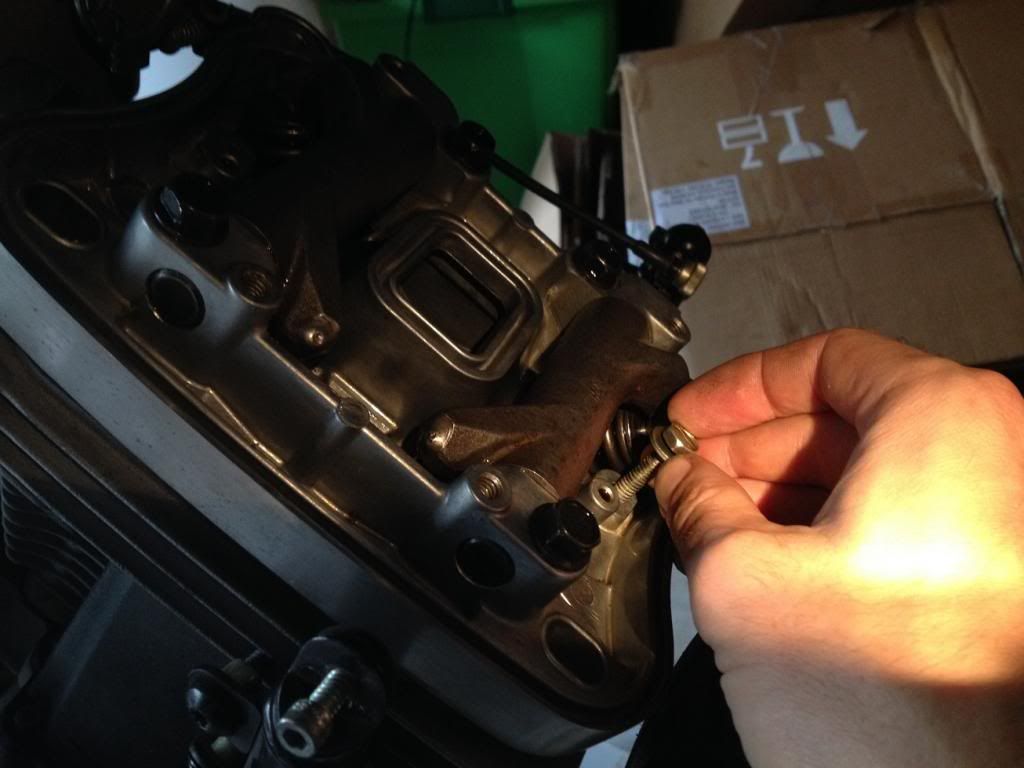
Now you can fit the three similar bolts back to the inside of the rocker box and torque to 12ft-lbs.
...and finally, the two bolts on the end that are similar, and torque to 12ft-lbs.
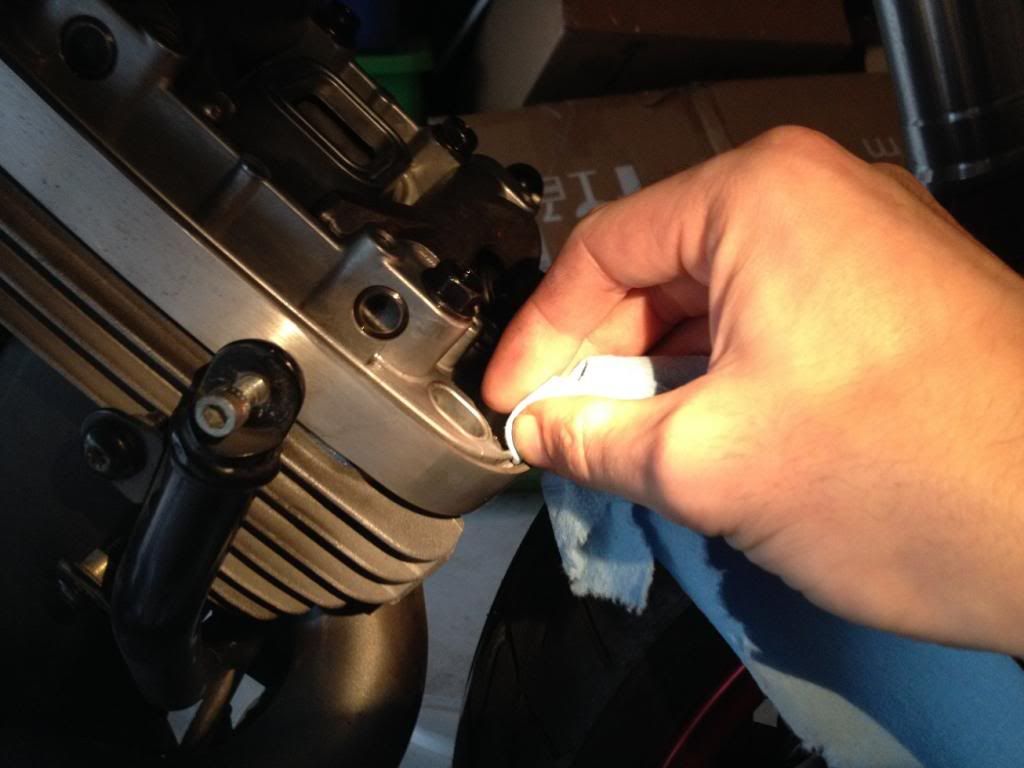
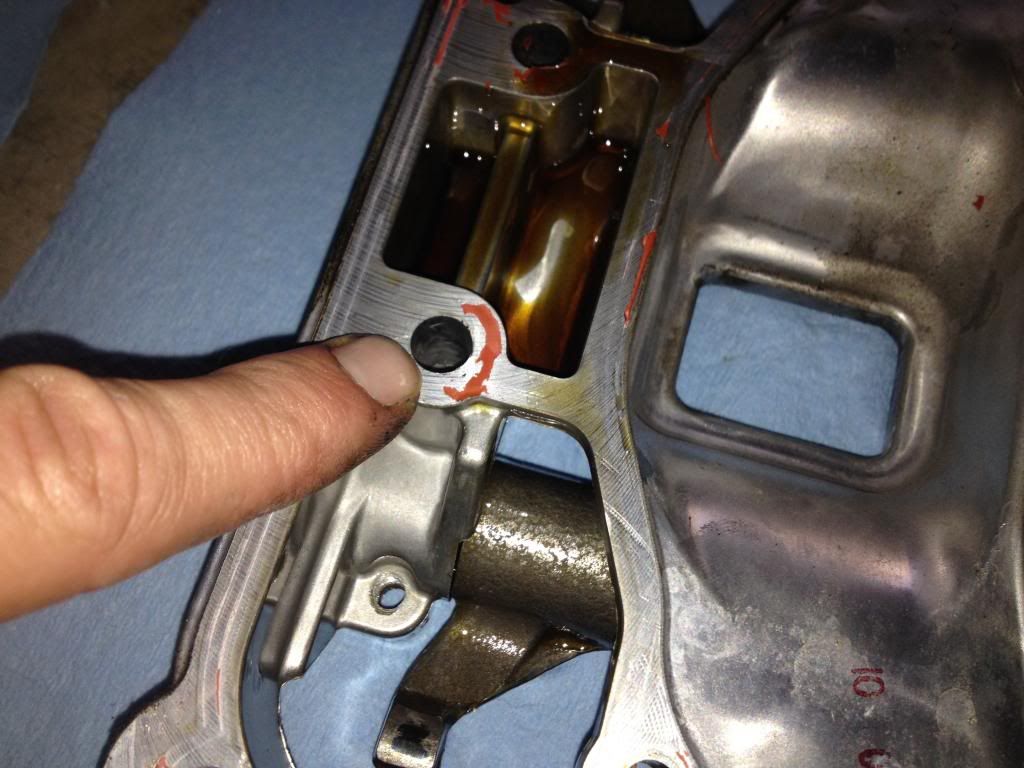
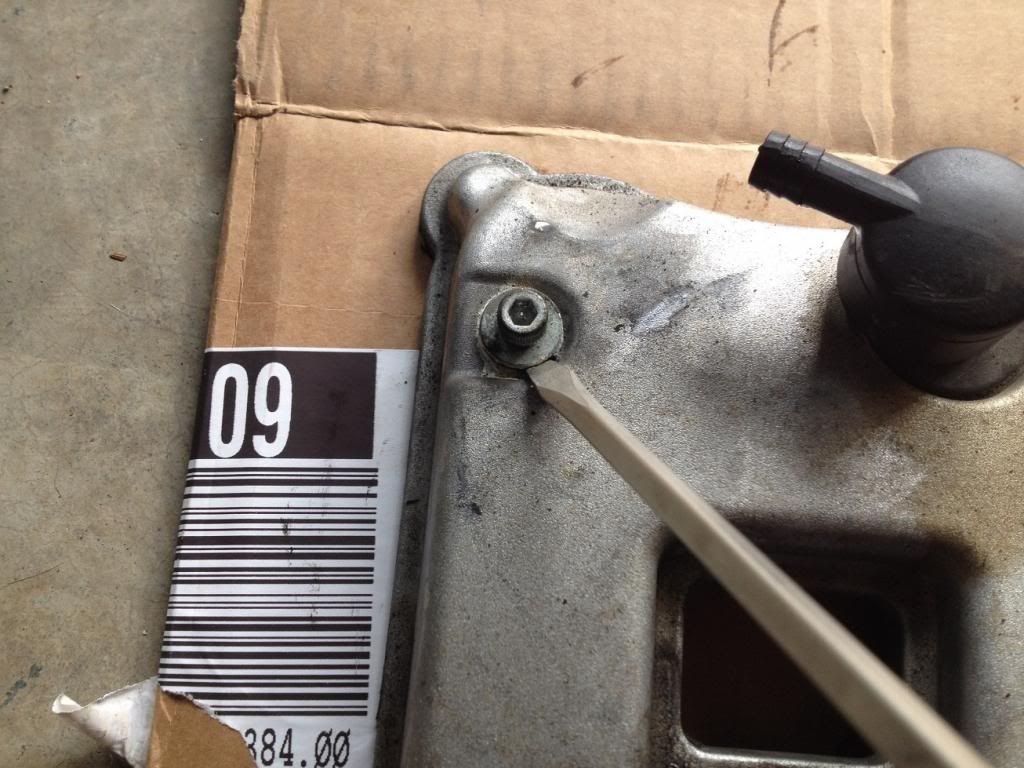
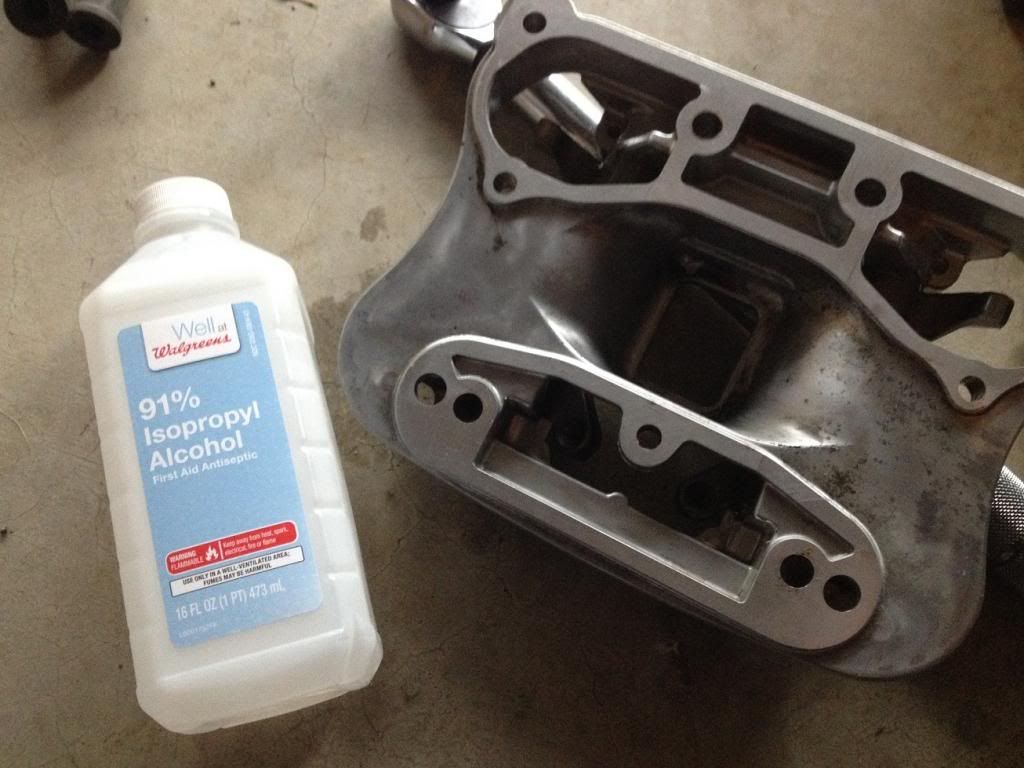
Now you need to clean the rocker cover and rocker box gasket slot with alcohol to make sure it's free of debris and oil.
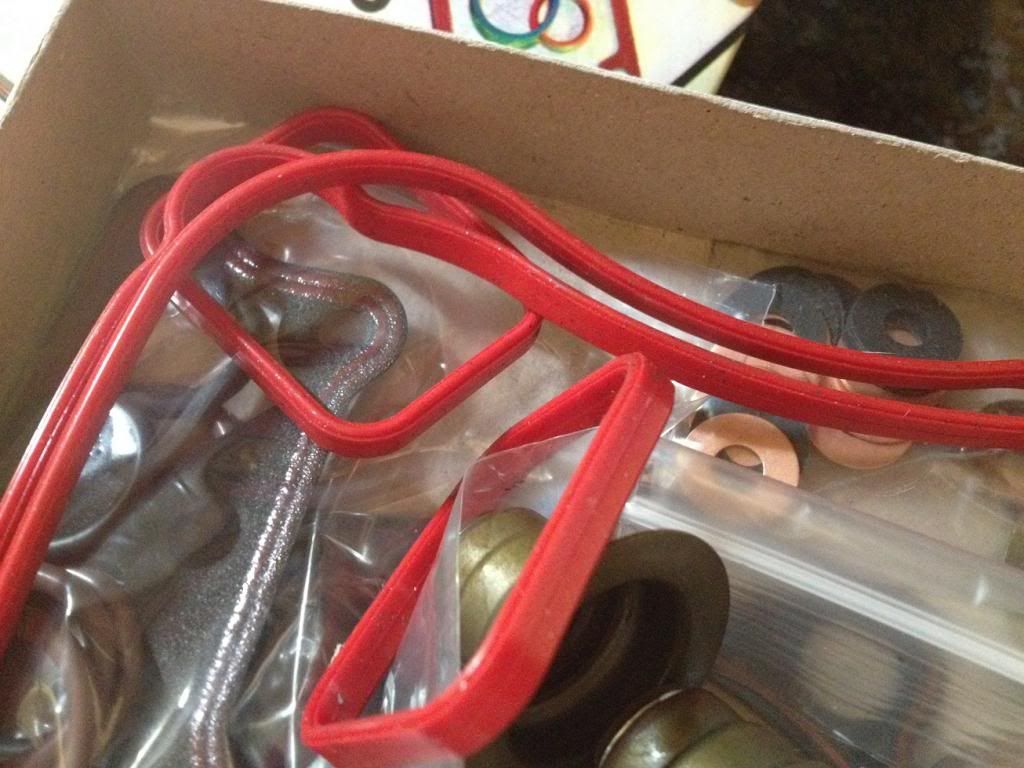
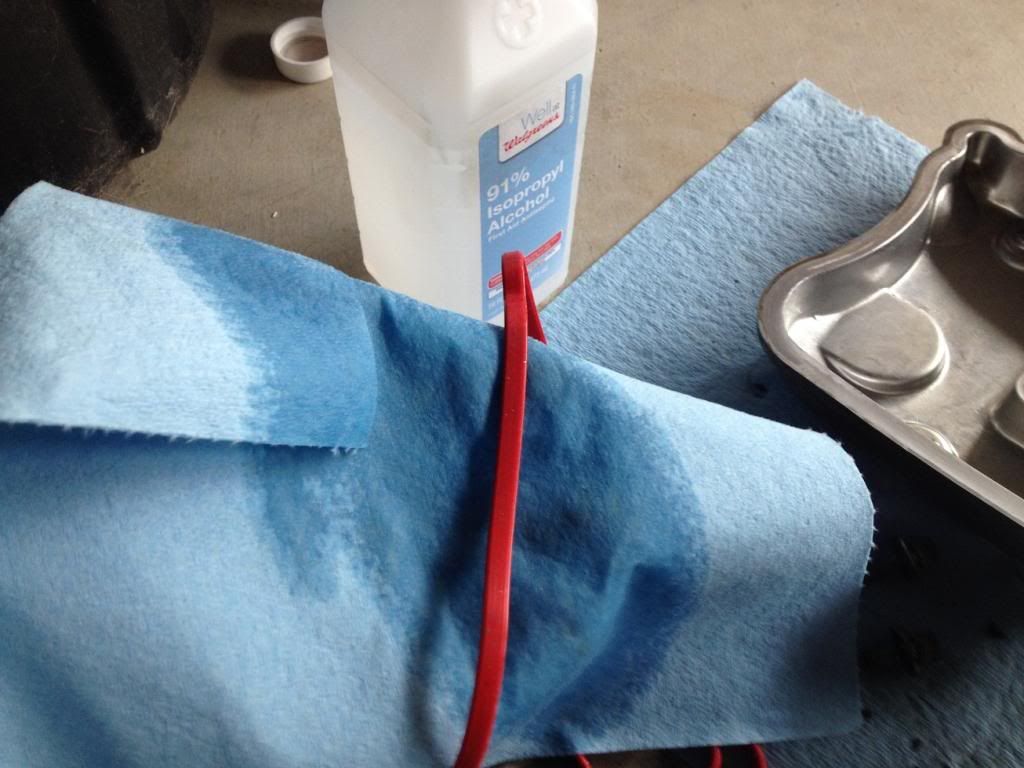
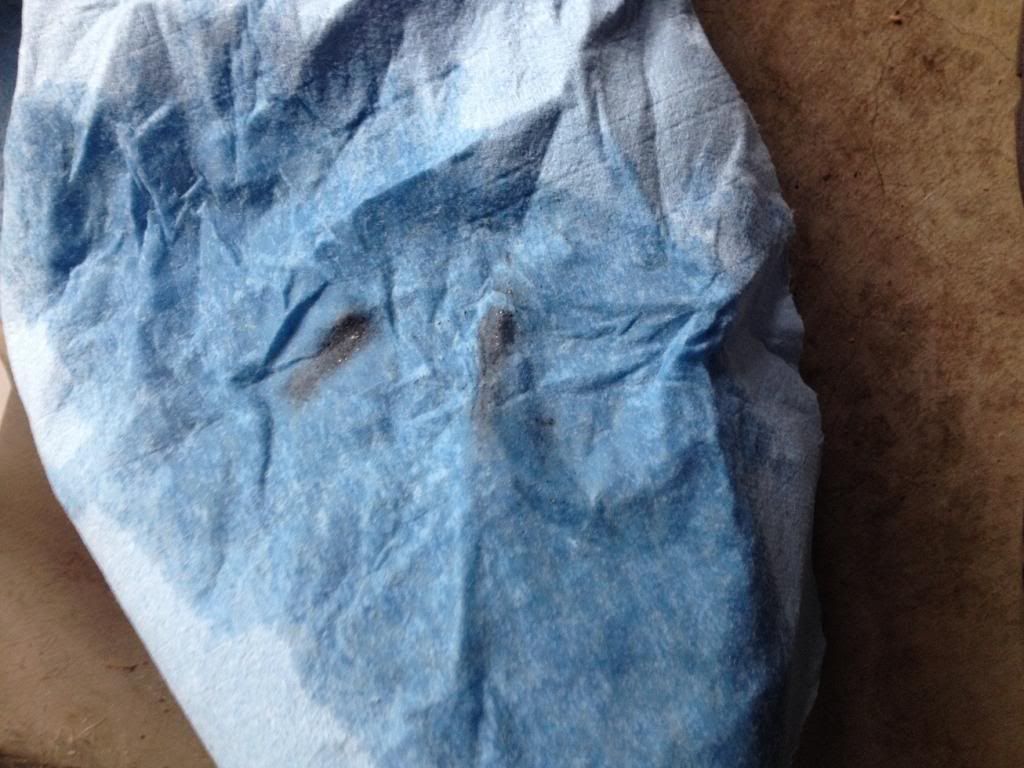
You can sift through your gasket kit box and get your orange cover gaskets ready. They've been bouncing around in the box with other metal parts and will have flakes of stuff imbedded into them from their journey to your front door through the mail system. You will need to clean this stuff off of the gaskets with an alcohol rag. Do it several times, using a few new paper towels each time with each gasket and inspect to make sure they are squeaky clean and no particles are left on them anywhere. Otherwise you might as well give up on the gasket job now.
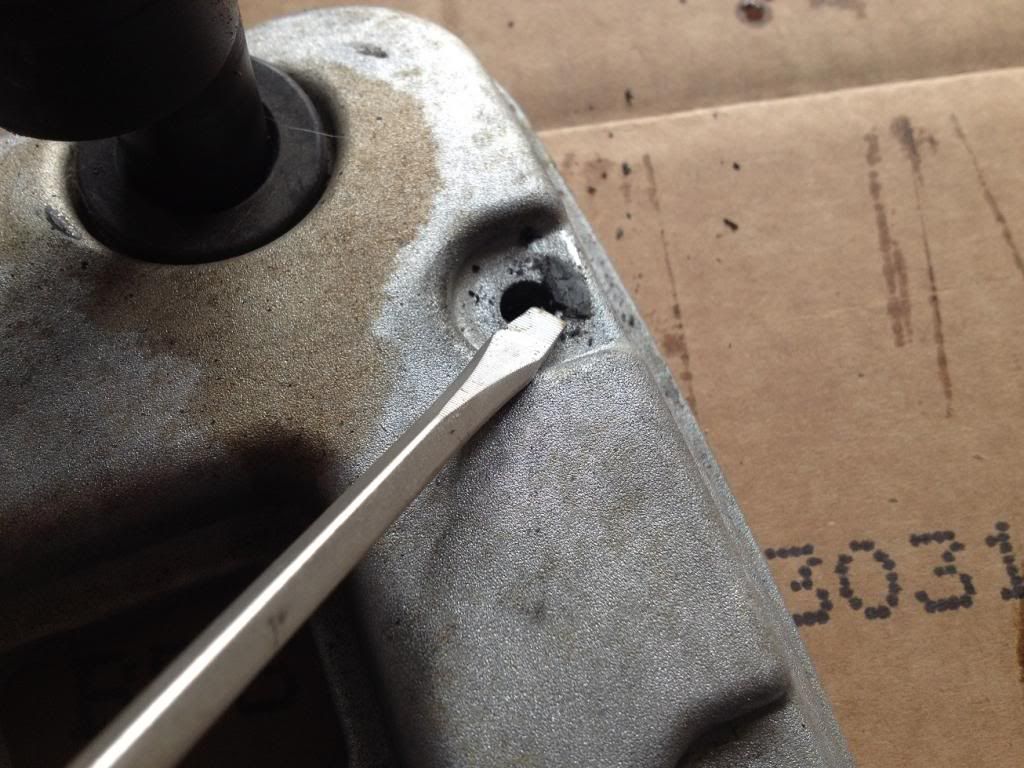
You can just barely see some of the metal flakes in this pic, but I can assure you they were much worse off camera.
Wipe them down good, several times, and let them dry clean.
Lots of crap comes off of them.
Don't forget to do the inner gasket too.
Now,
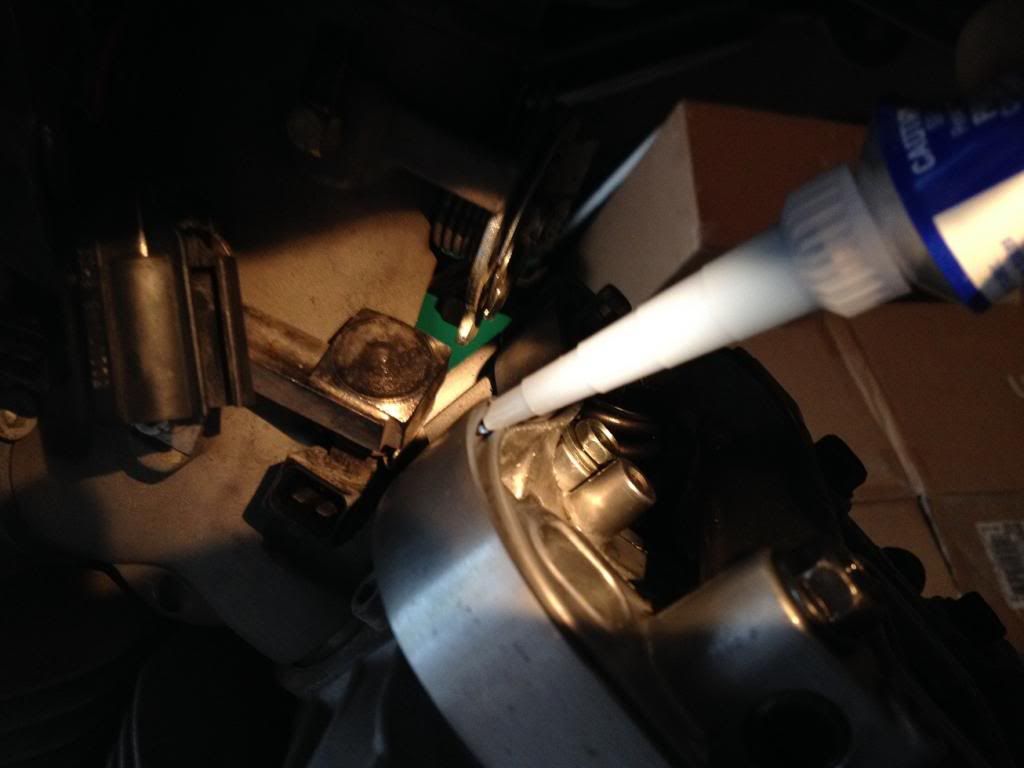
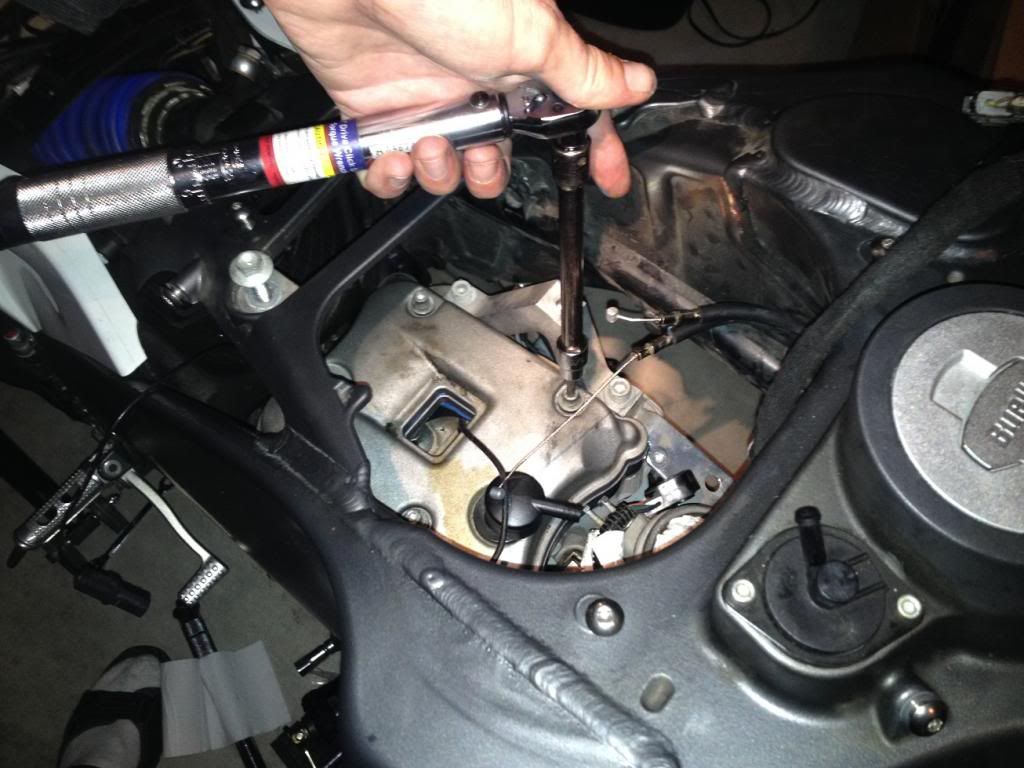
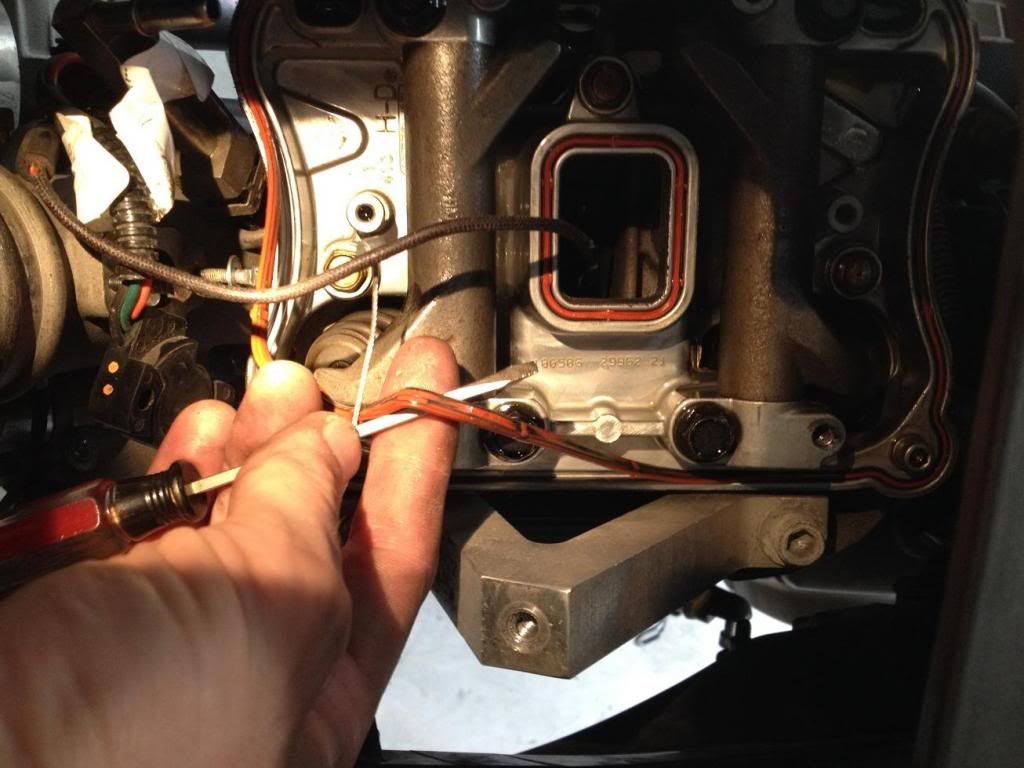
Cut a TINY hole in the applicator tip of your sealant. It will help to shape the tip in a wedge shape some too. You'll need to get a tiny amount in the groove on the rocker box very carefully. A very small amount! Don't use a lot! You don't want this stuff all over inside your engine. Just use a very small amount. Just enough for a hair of added leak protection.
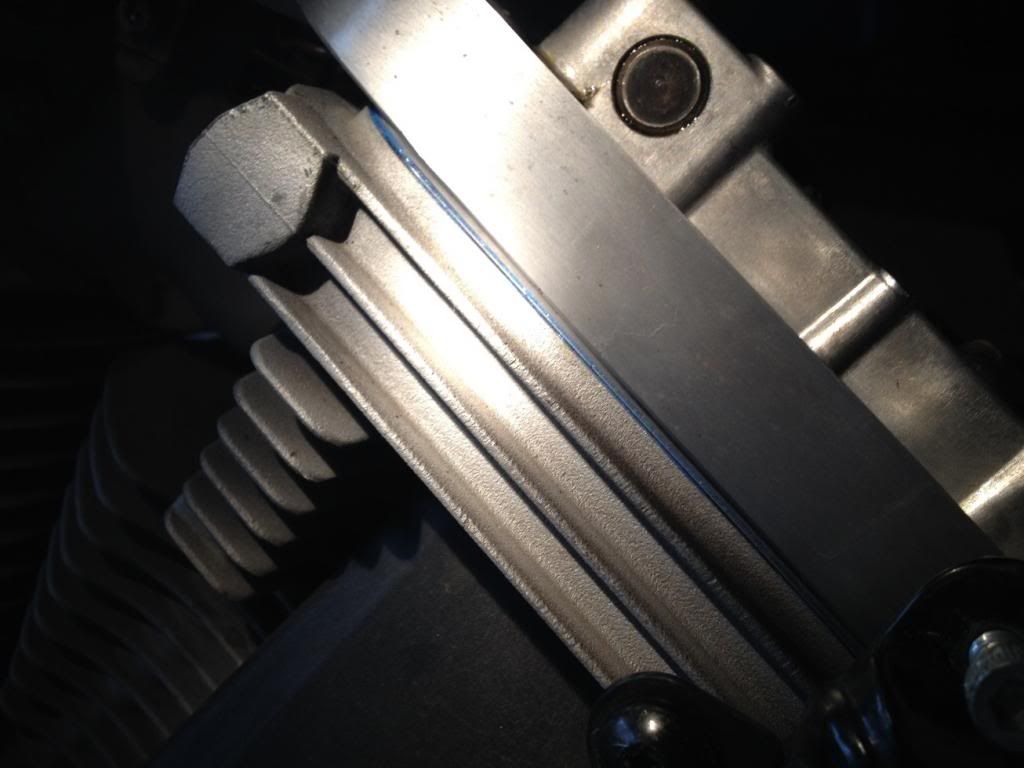
You can see a fine bead.
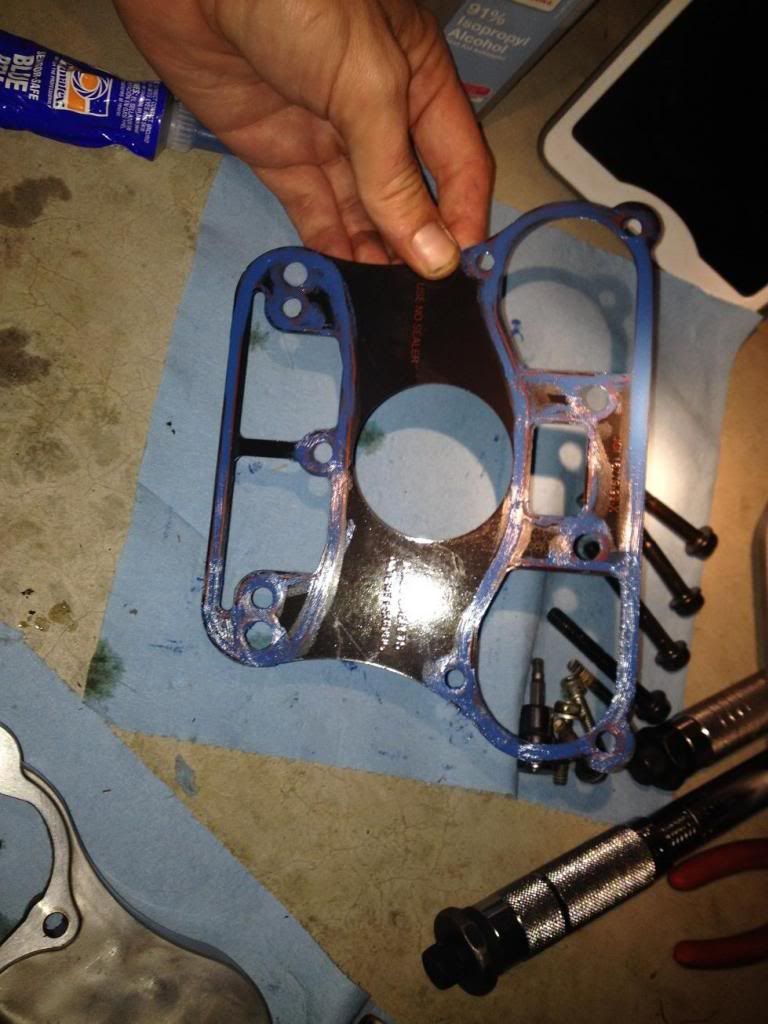
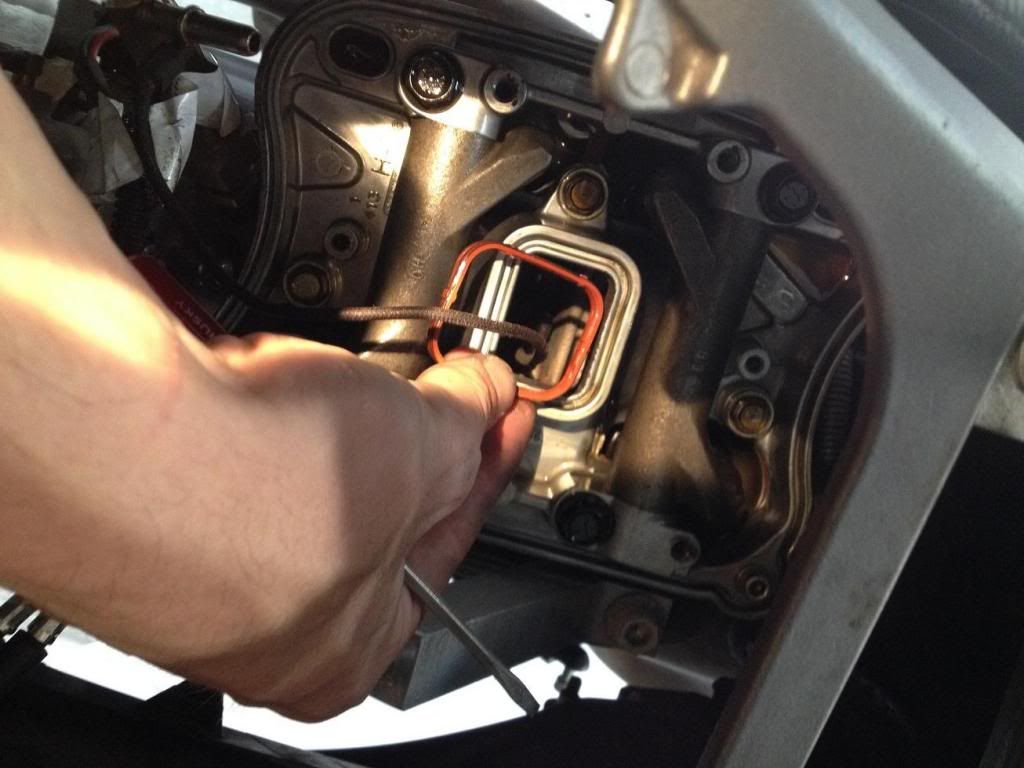
Now, install your freshly cleaned gaskets.
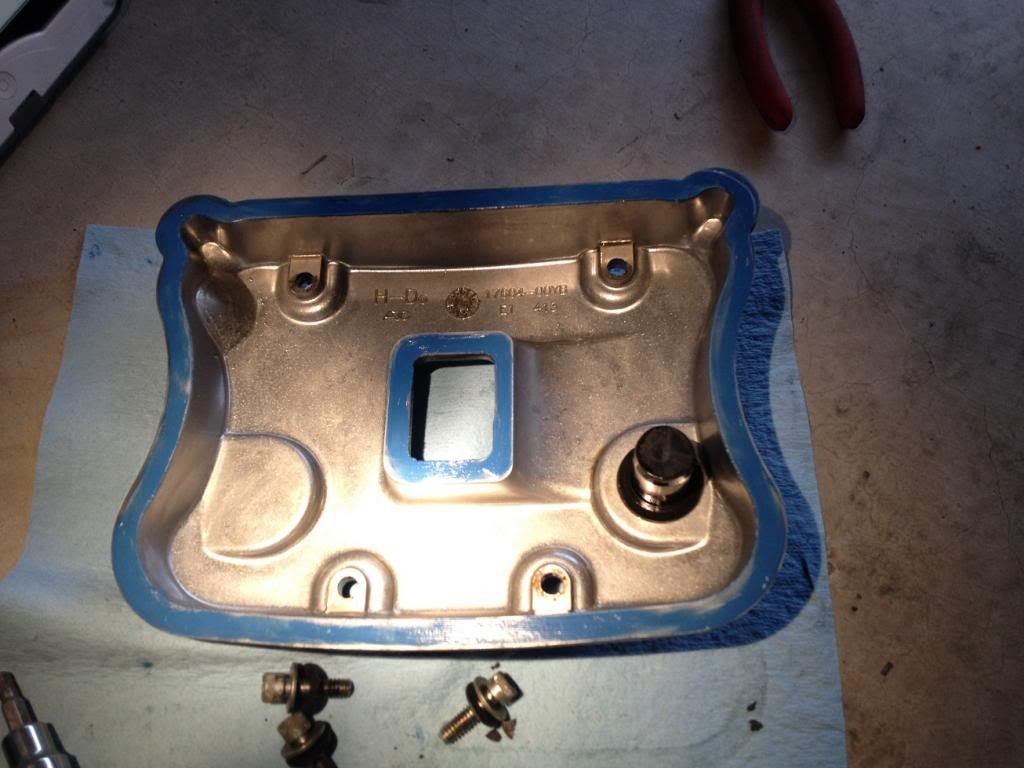
After making sure your rocker box cover mating surfaces are clean, run a very thin layer of sealant around the mating surface of the cover.
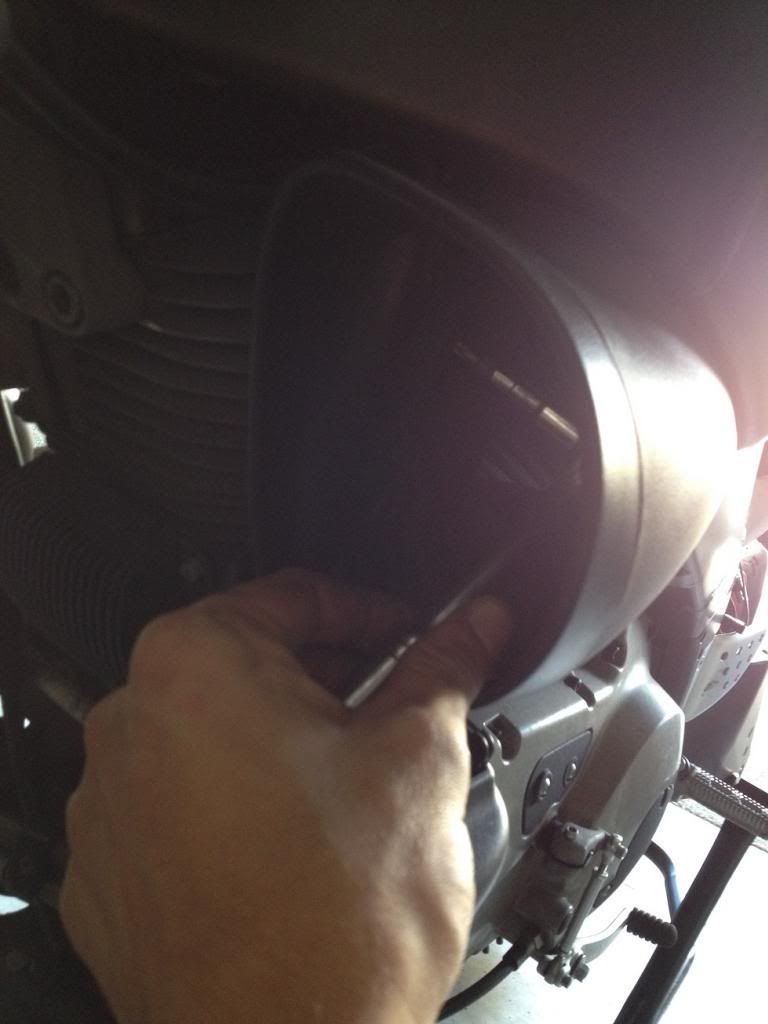
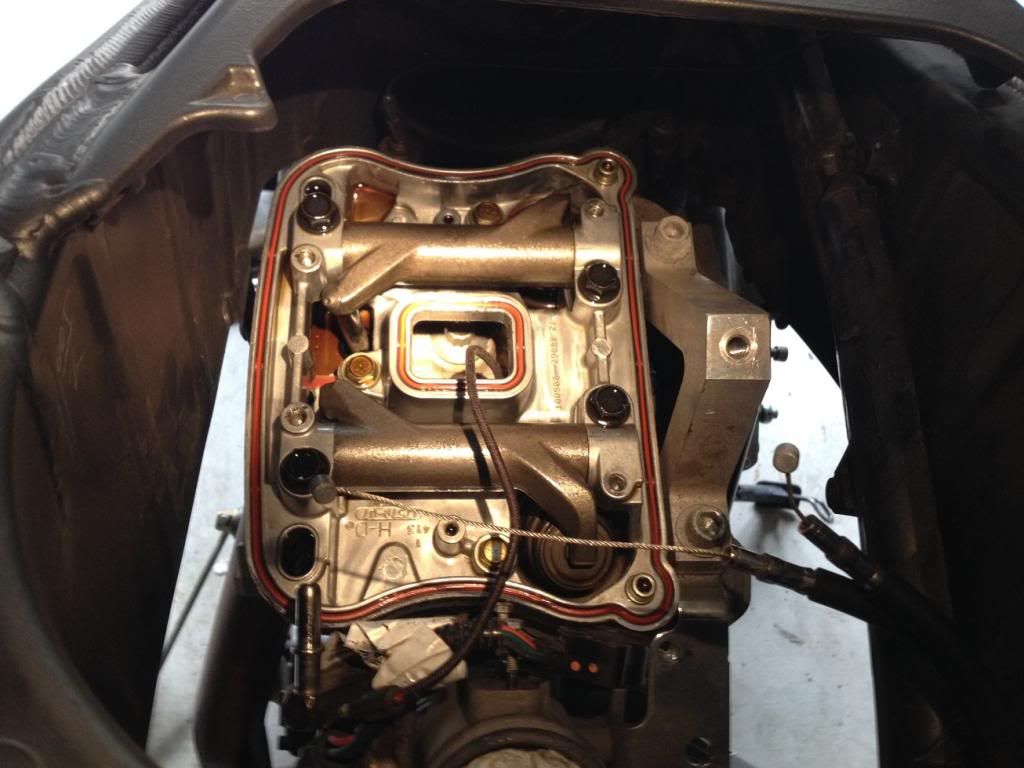
Install the lid.
Torque to 12ft-lbs.
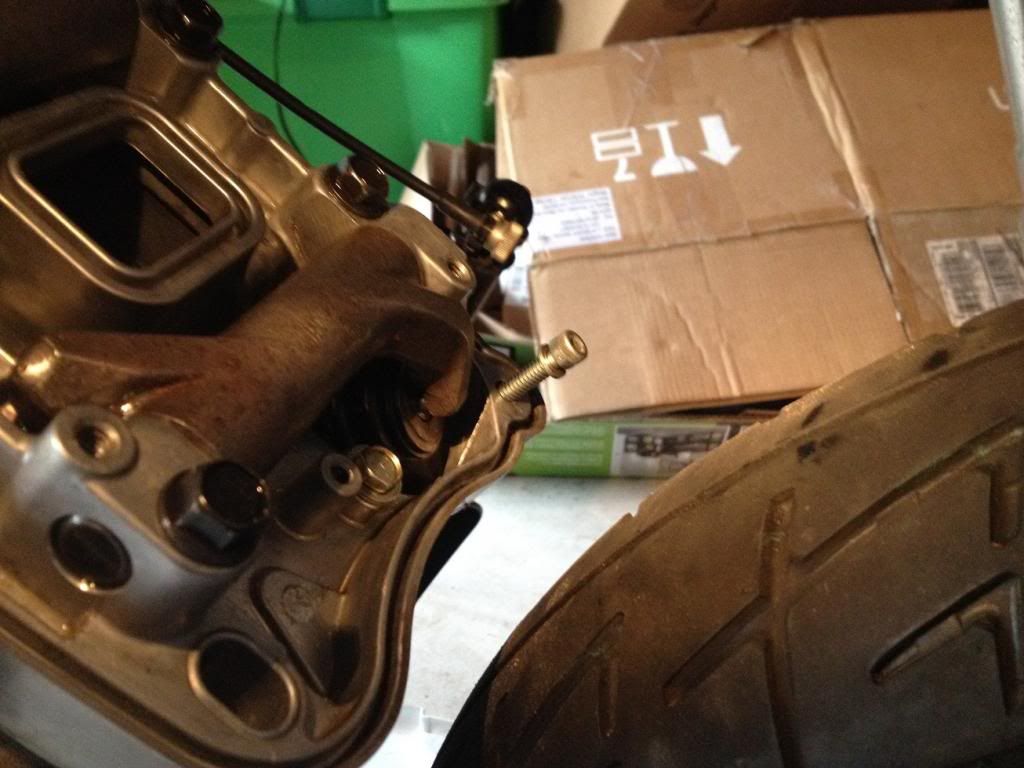
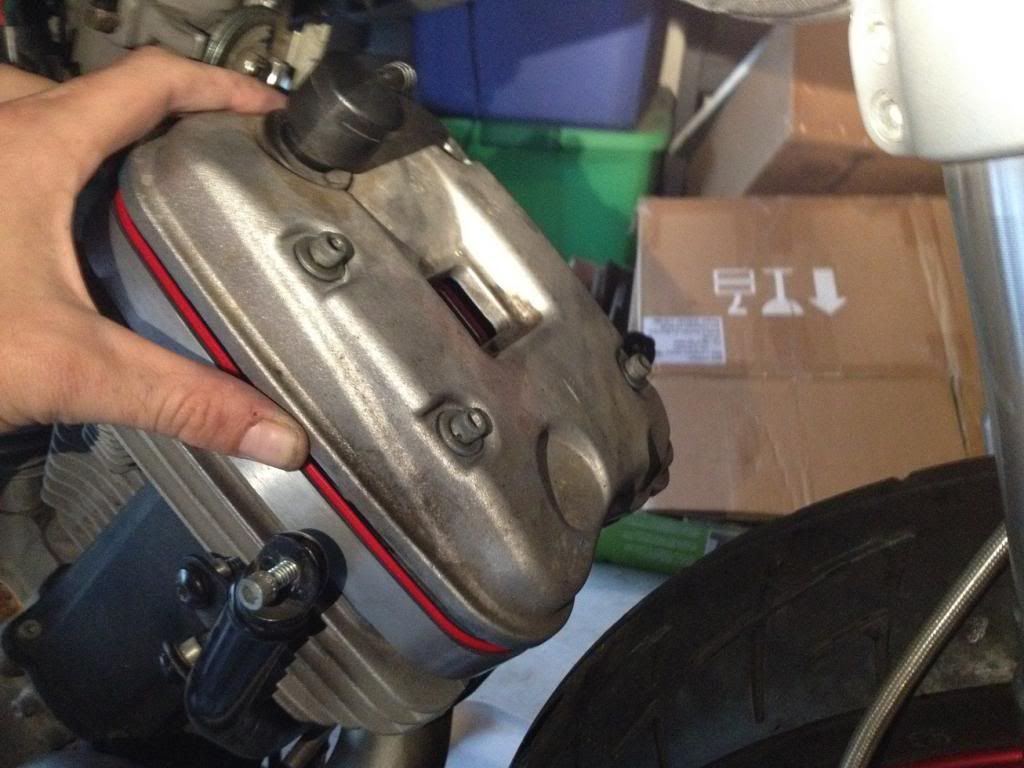
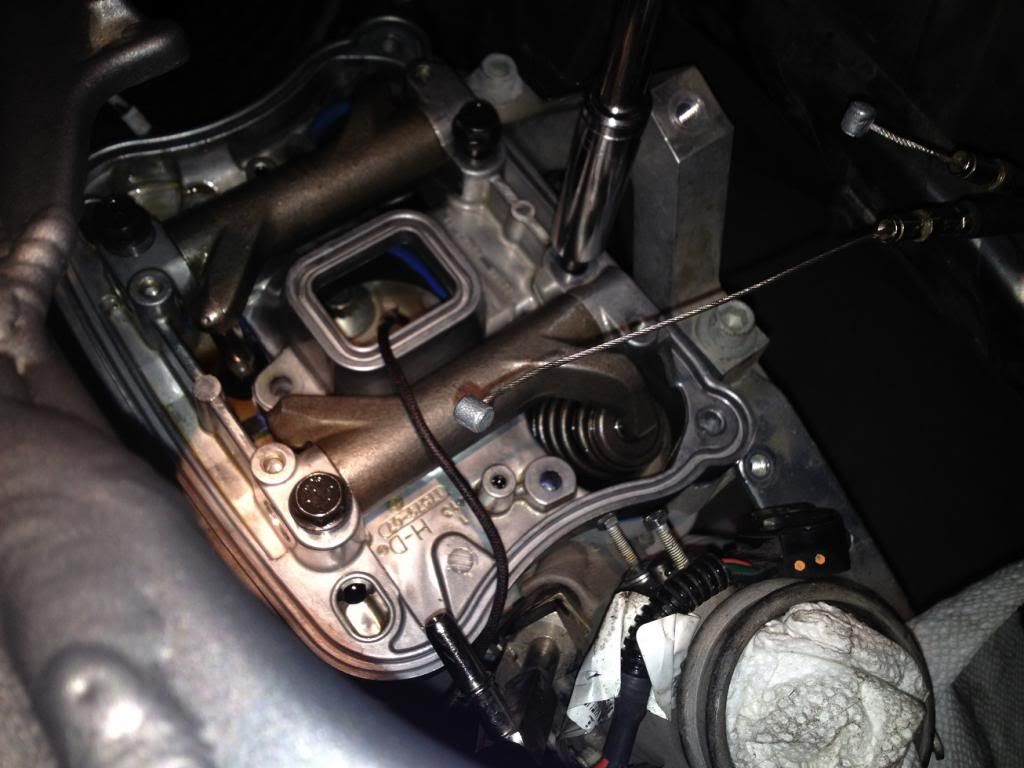
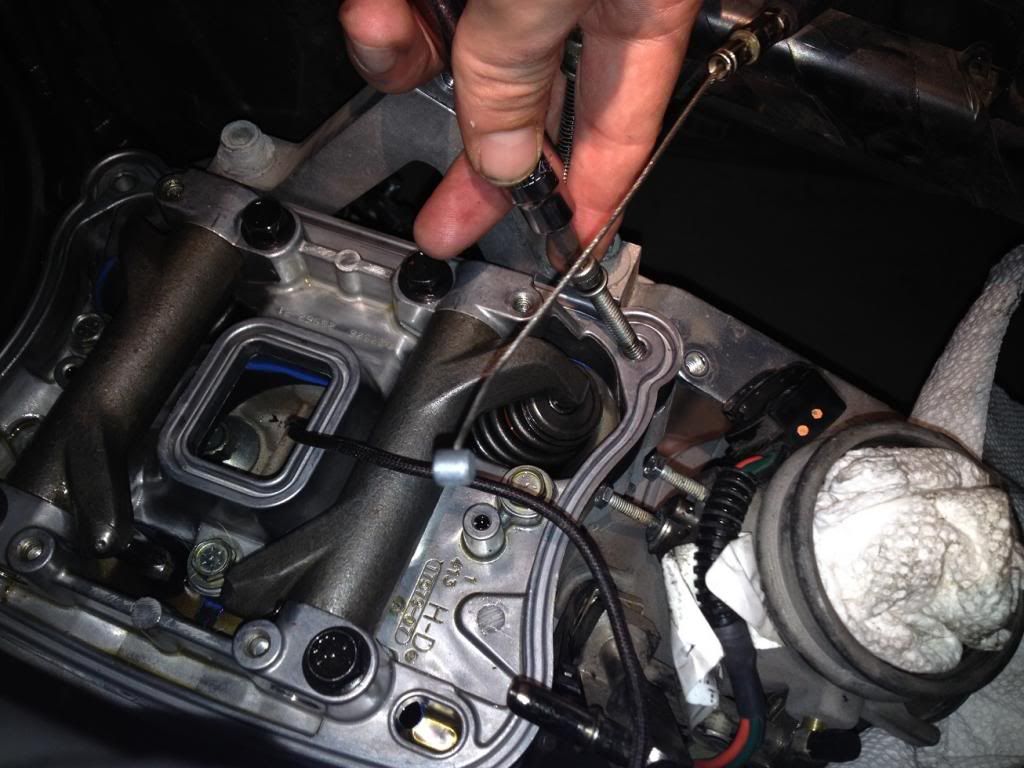
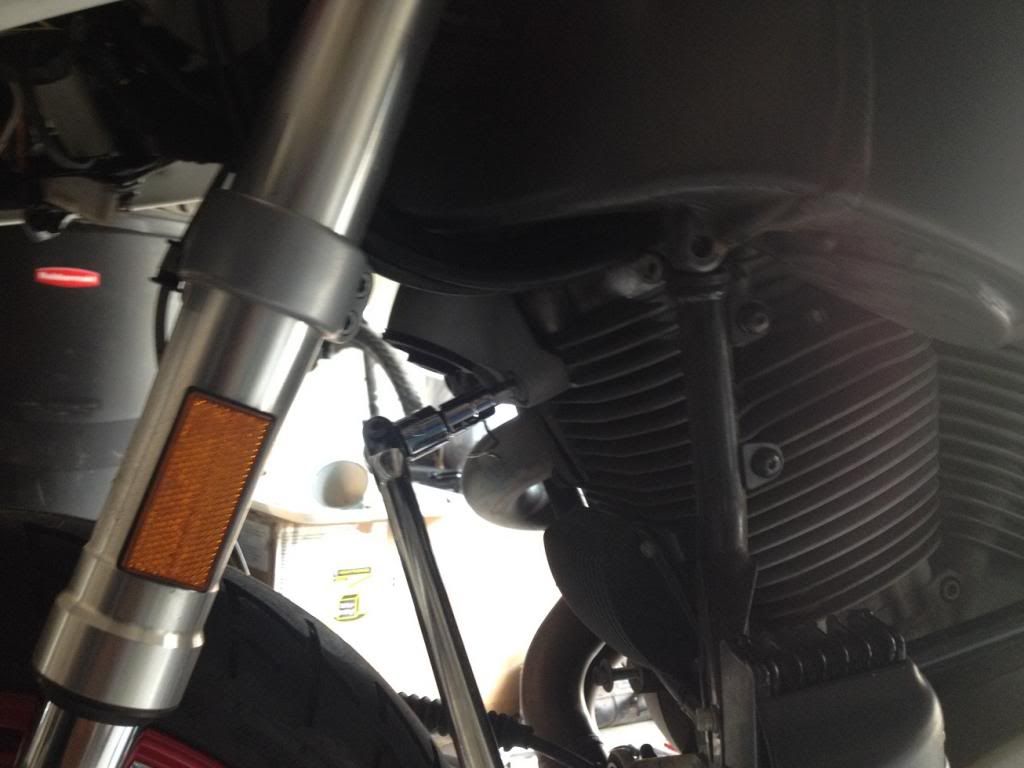
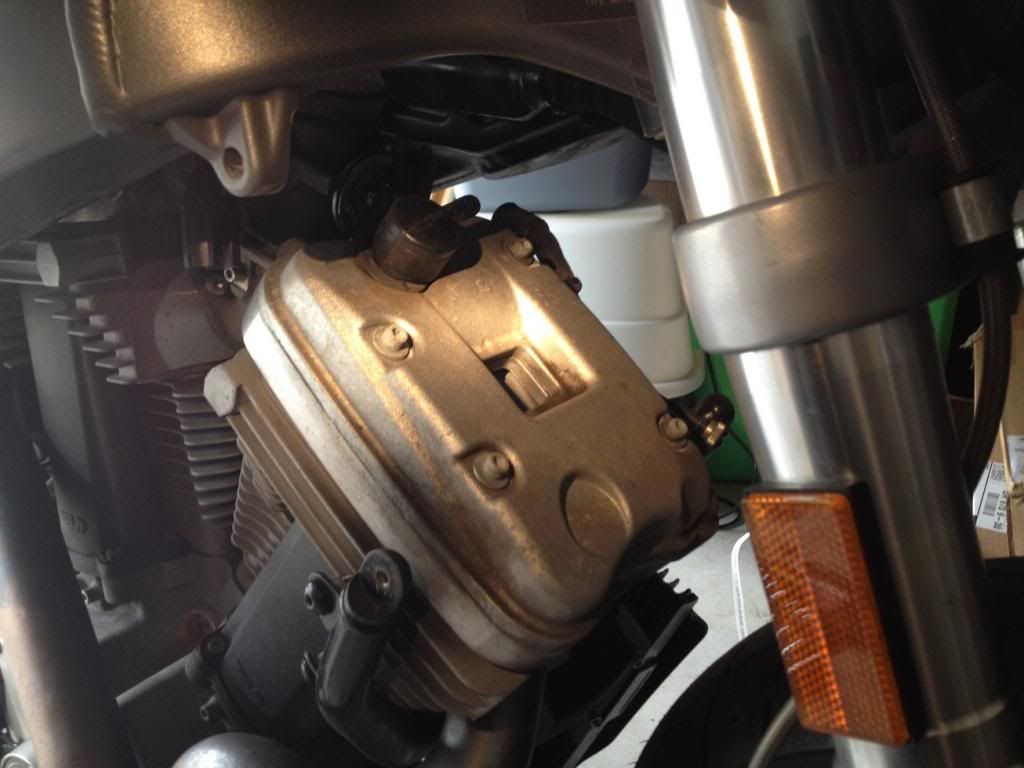
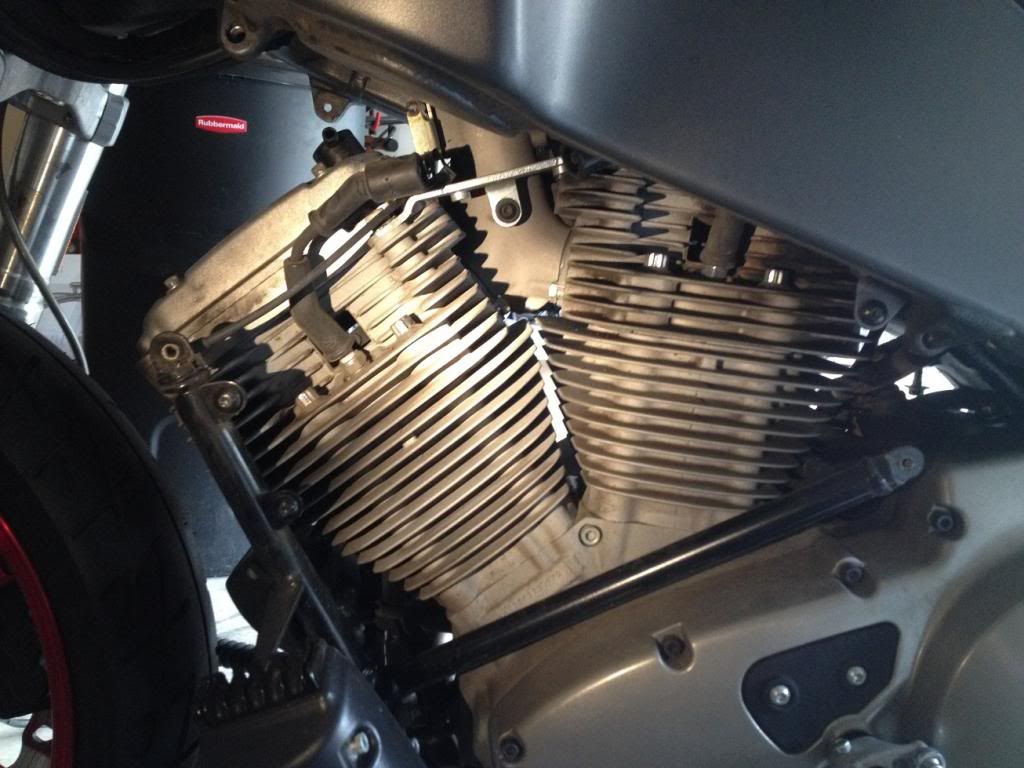
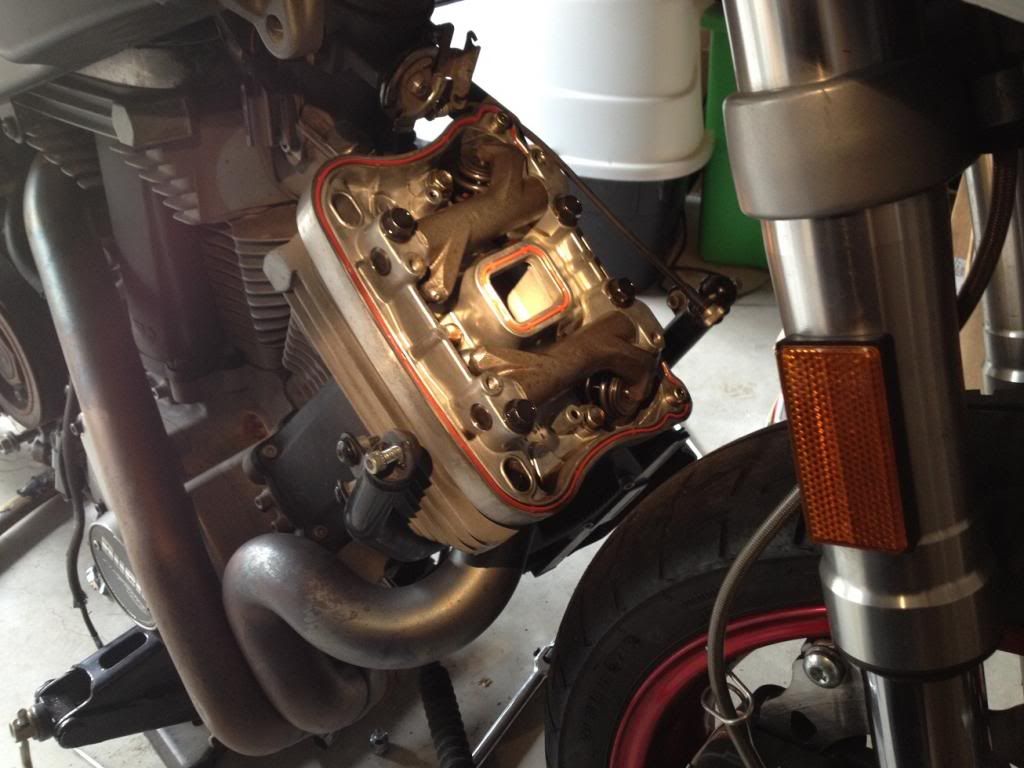
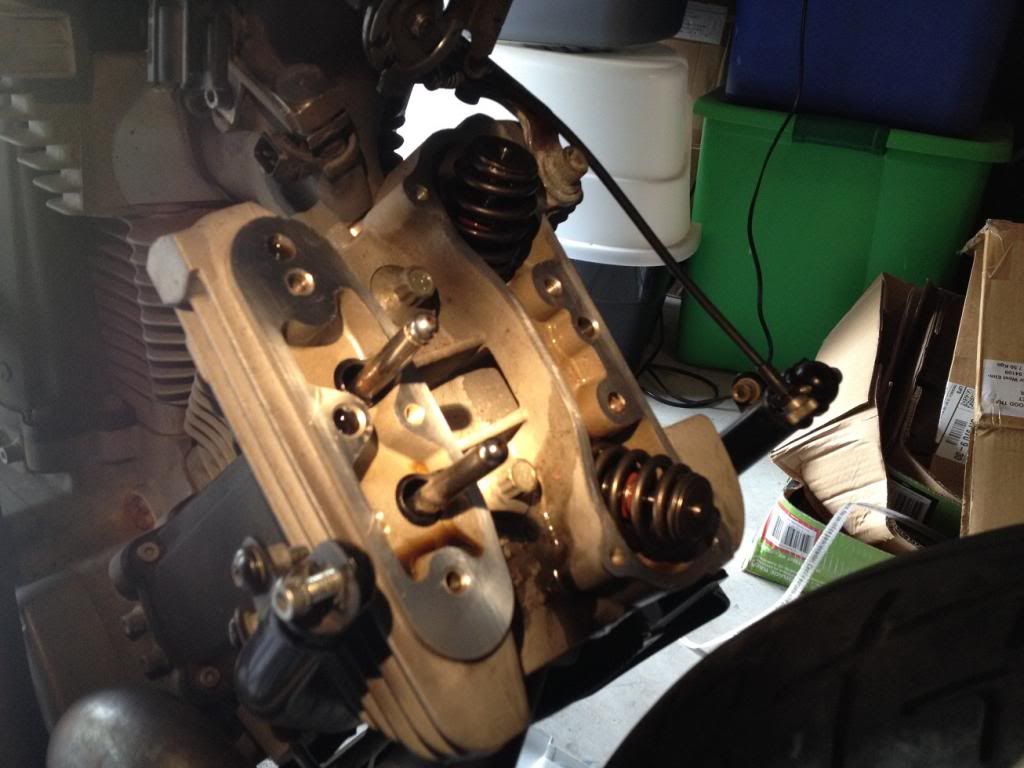
That's the front done! We're almost there. Half way! Time to remove the rear rocker box cover. Start with the two edge screws.
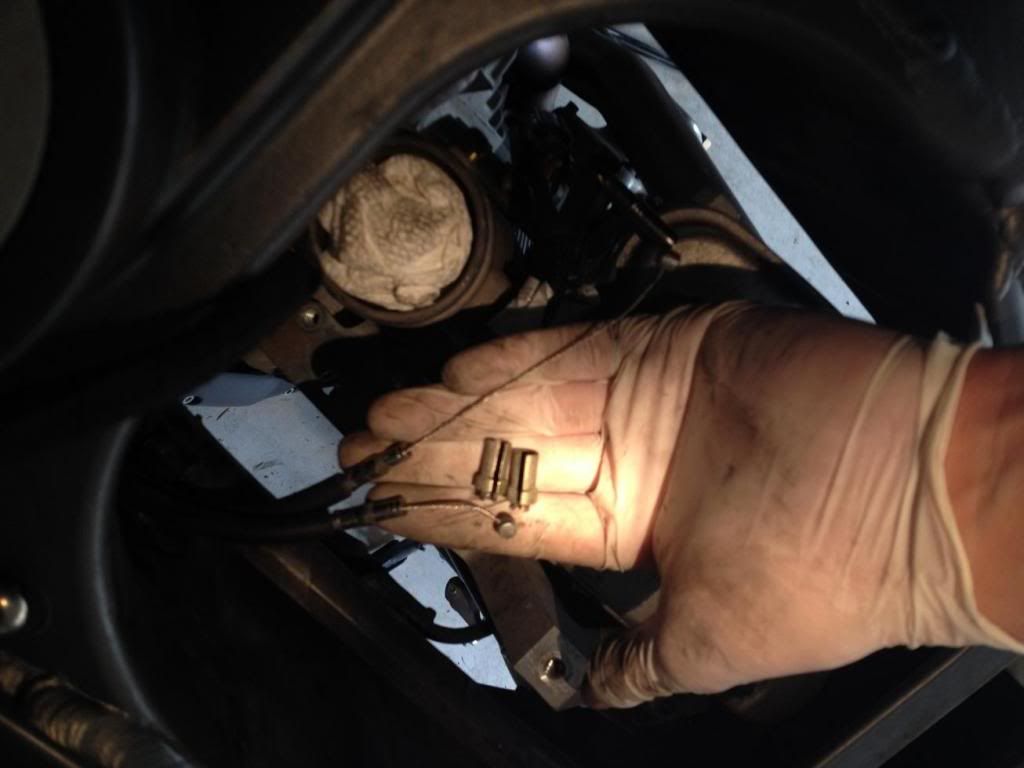
Then get the three screws inside the rocker box.
Now get the four screws on top of the rocker box, 1/2 a turn at a time, in a criss-cross pattern to release the spring pressure on the rocker box evenly.
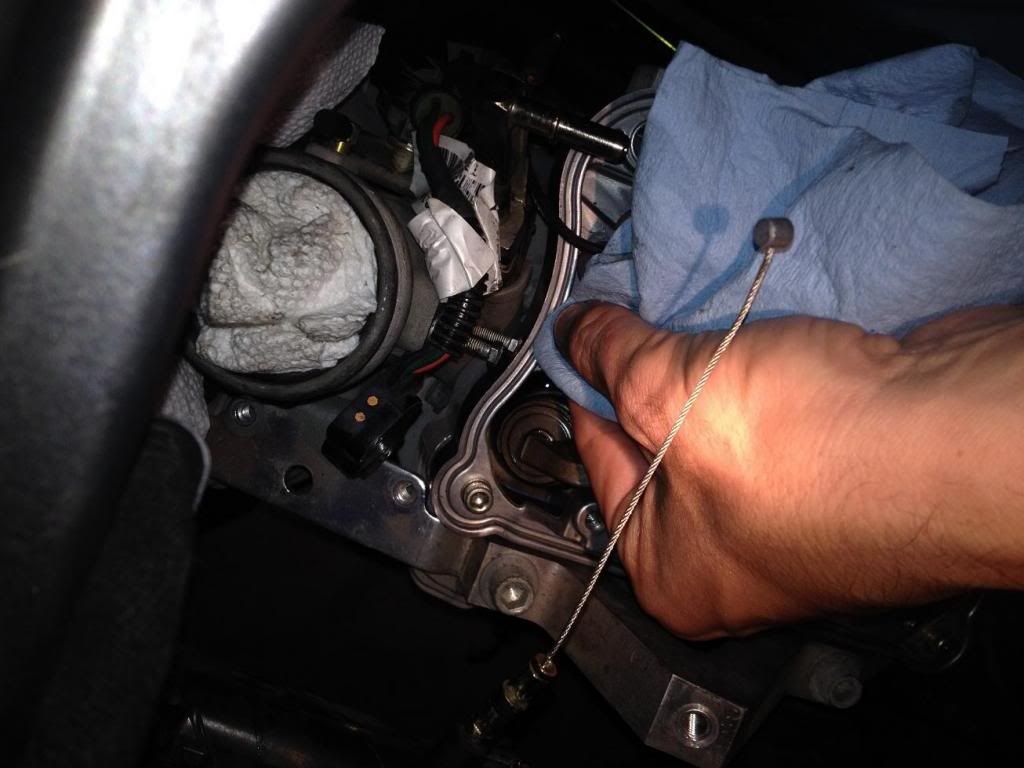
Yank the old gasket off the rear rocker box and make sure you clean of any left over debris.
Clean all the mating surfaces on the rear cylinder head and rocker box and rocker box cover etc etc.
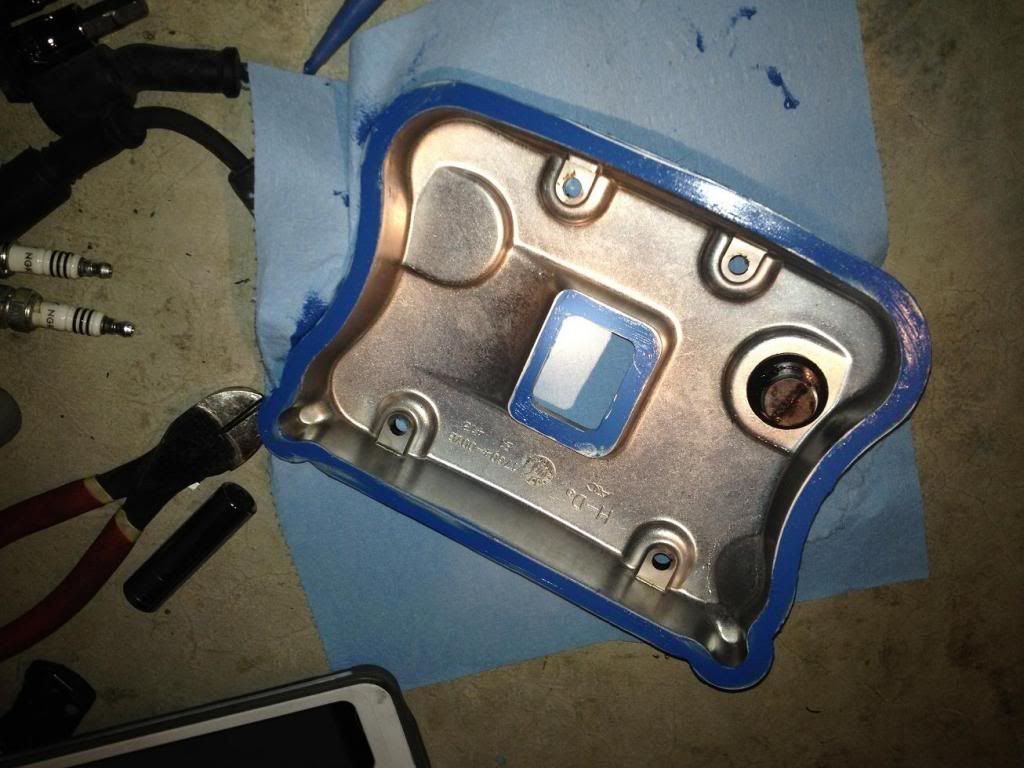
Make sure you carefully scrape all the old fiber gasket material off the cover screws as well. Get it all off. All the time you spend cleaning things right now will lead to a better seal later.
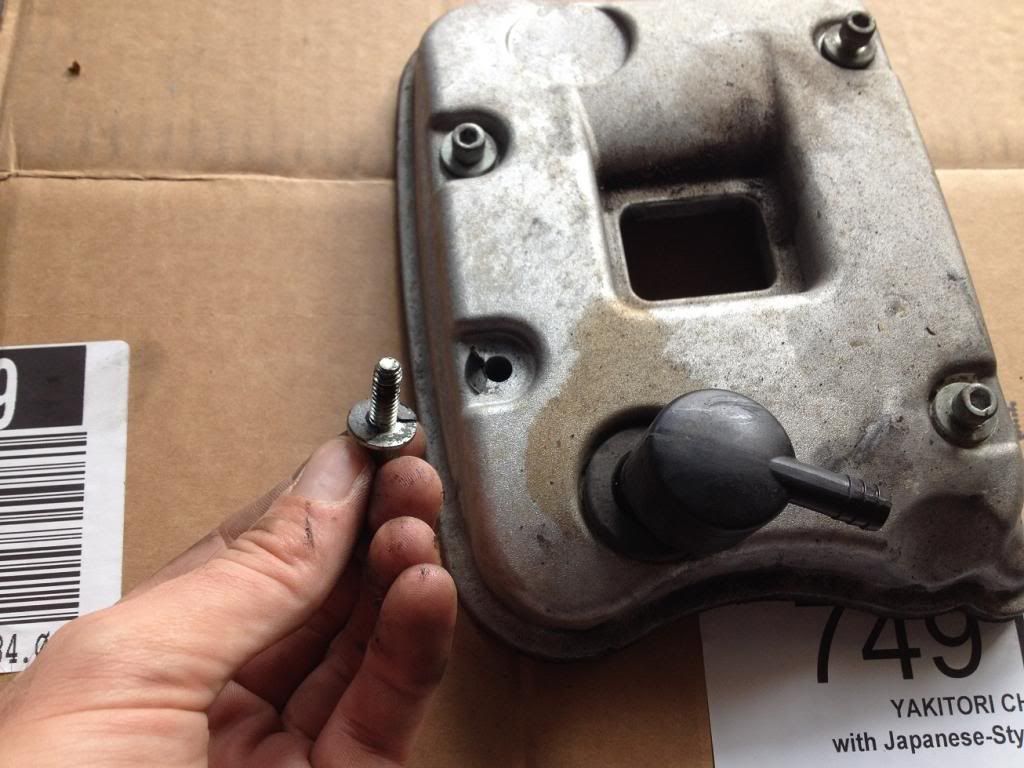
Install the new fiber washer gaskets.
Use a thin layer of "goob" on the new gaskets and install. I tried to use the least amount I could but ultimately my patience isn't the best working with glues and artsy type stuff. That's why I'm a mechanic! lol..
In case any sealant gets into the engine, it's a good idea to change your oil a couple times after doing something like this. However, I've seen sealant in engines before and my opinion is that a steel engine won't be harmed by some sealant floating around. However, you do want to get it out, as it can clog oil-ways and oil screens and things like that and reduce flows and cooling ability. You don't need your oil cooler full of sealant, that's for sure.
Be sure to coat both sides of the gasket.
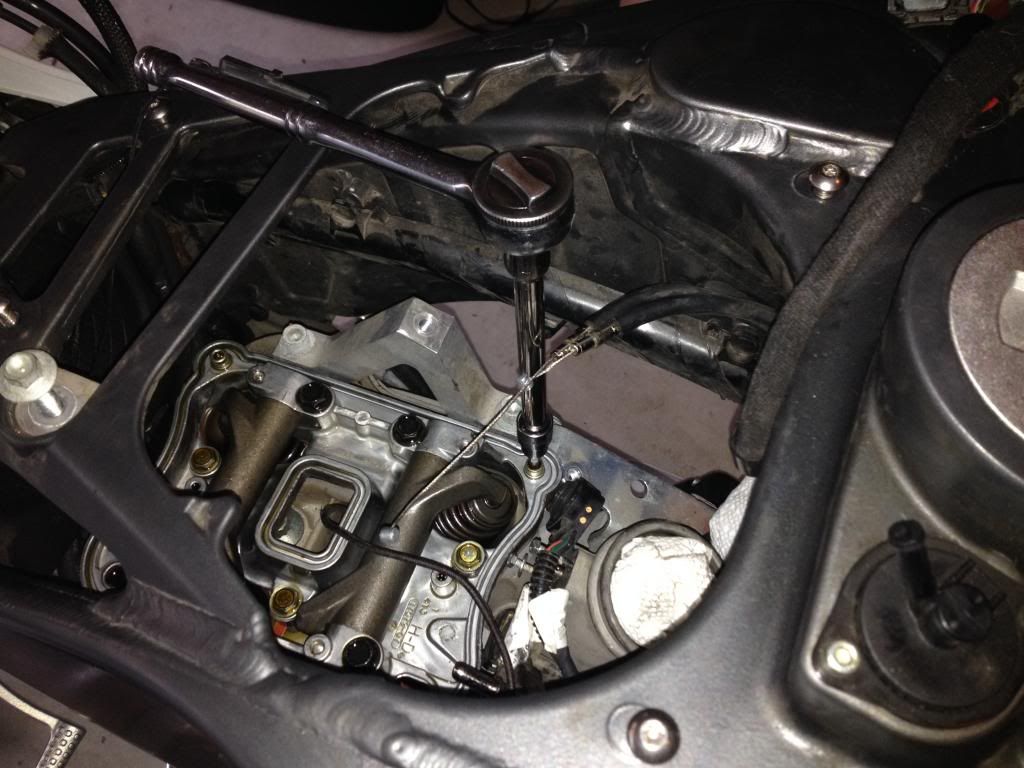
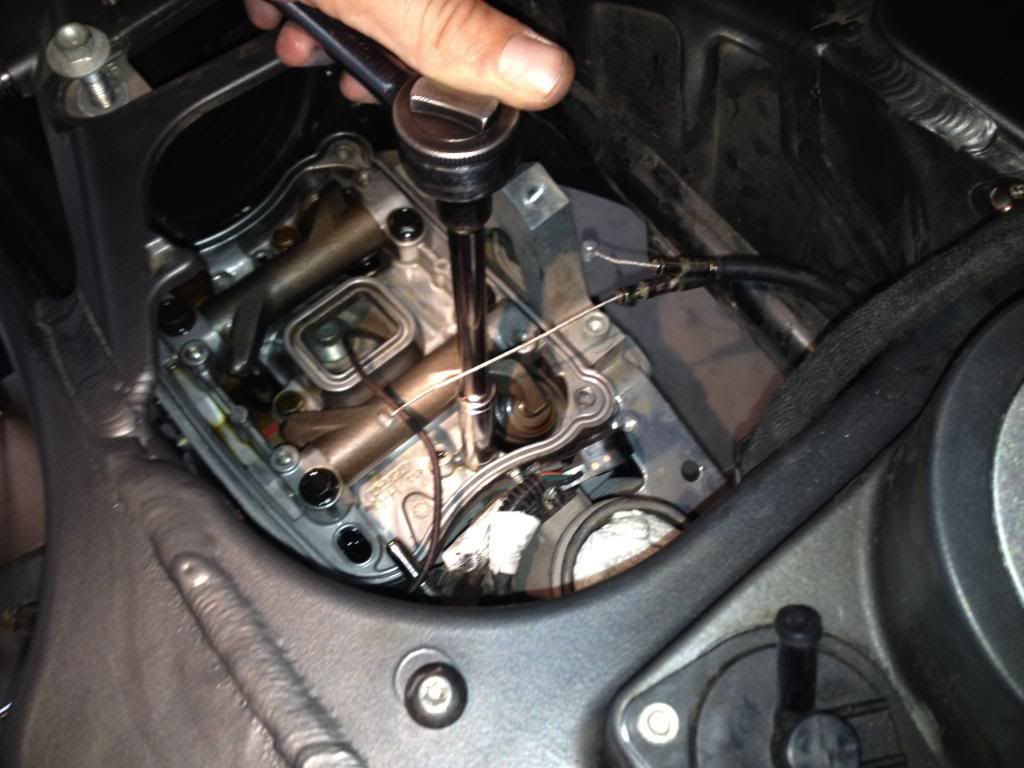
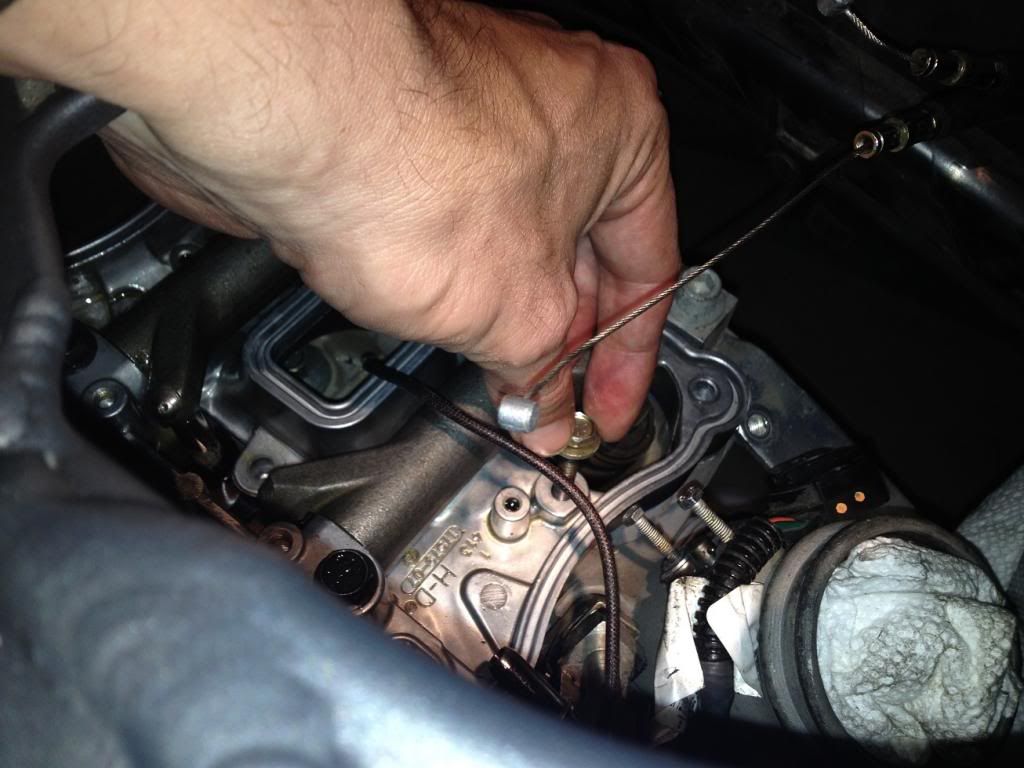
Put the rocker box back into place in the engine and tighten the four main rocker box bolts on top to 20ft-lbs each, 1/2 a turn at a time, to evenly compress the rocker box, valves and springs.
Now you can do the three bolts inside the rocker box.
...and finally the two on the end.
Now clean out the rocker box gasket groove.
Clean all the gaskets with alcohol to wipe the metal shavings off of them. Carefully apply a very thin bead of sealant into the rear rocker box gasket groove again like you did on the front. Then install the gaskets. There shouldn't be any sealant splurging out the side and making things messy.
Add a thin layer of sealant to the cover and install. You can add a thin layer to the cover fiber washers as well. It won't hurt anything. Then install them and torque to 12ft-lbs. There you have it! The engine is all sealed back up!
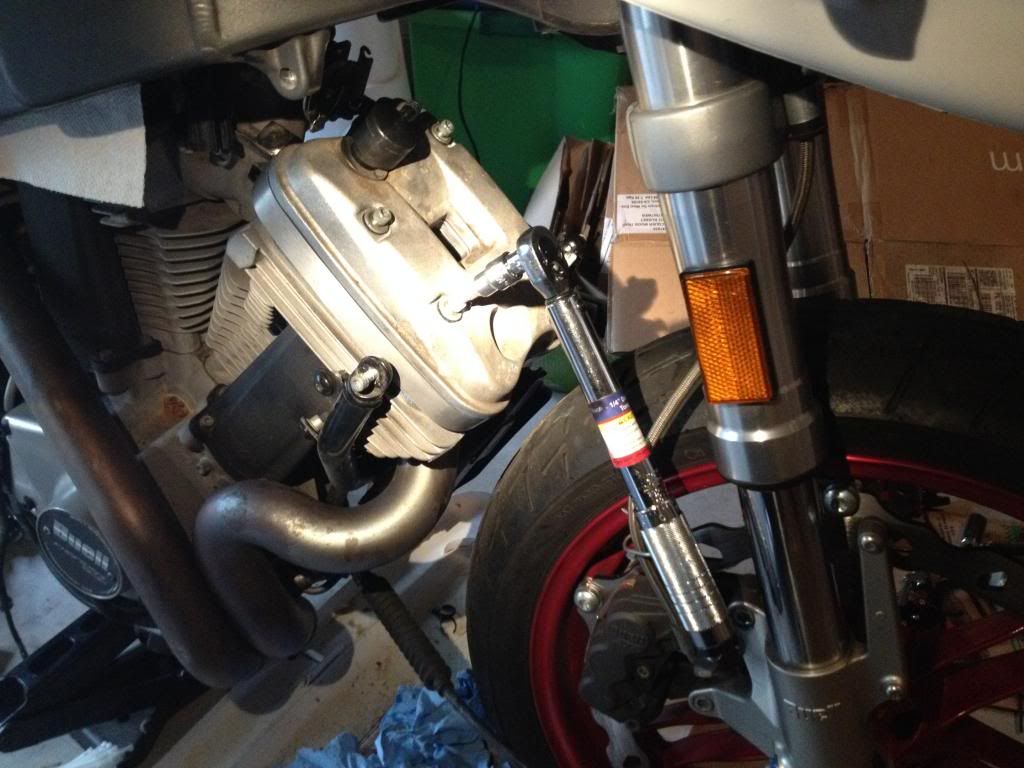
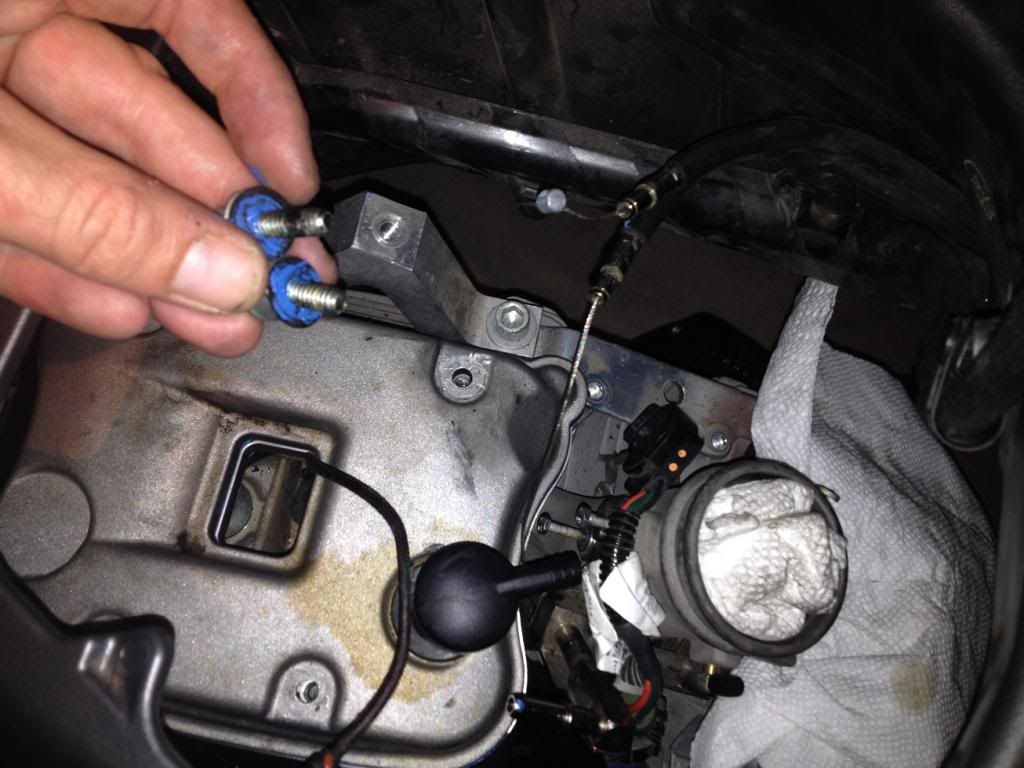
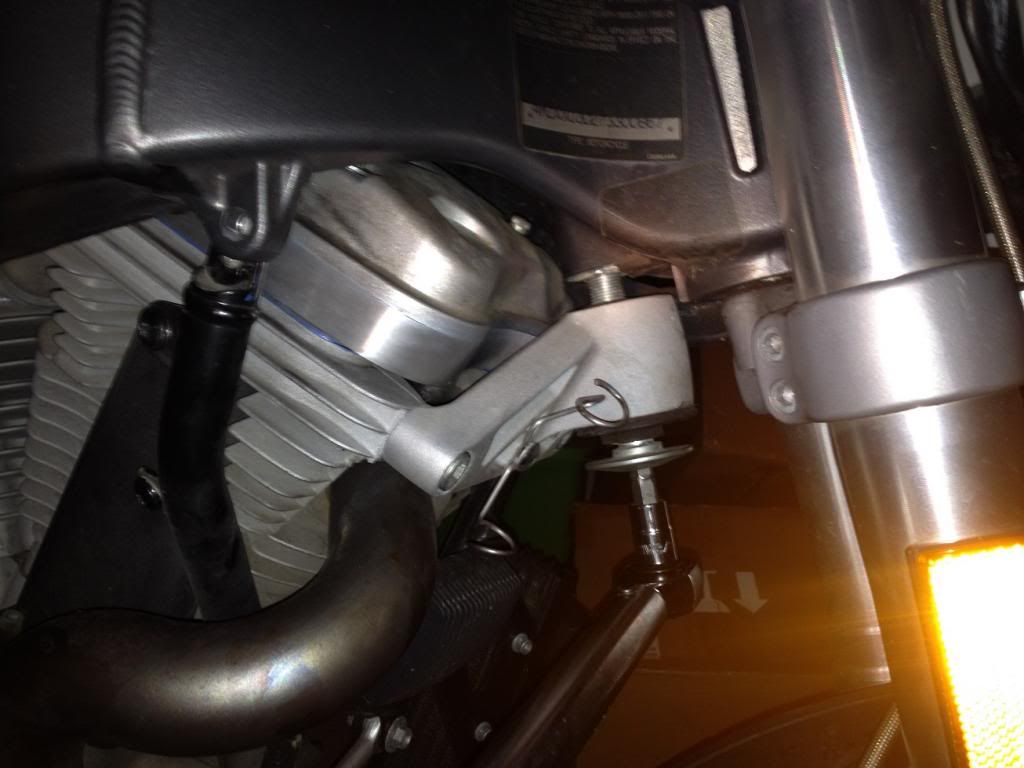
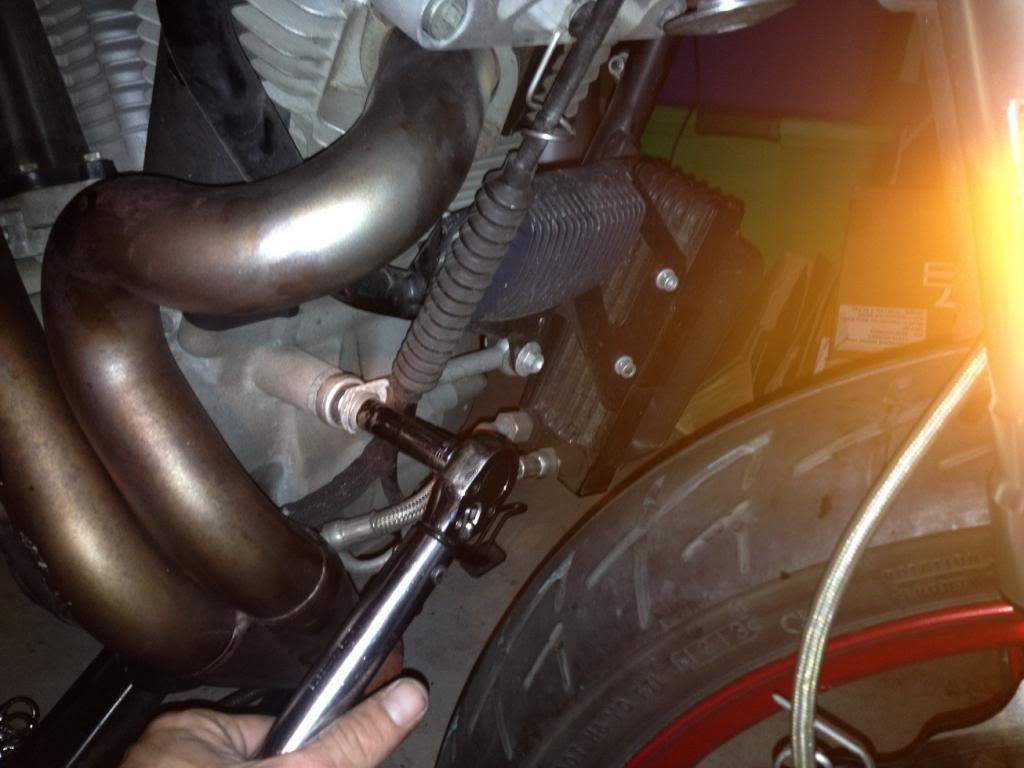
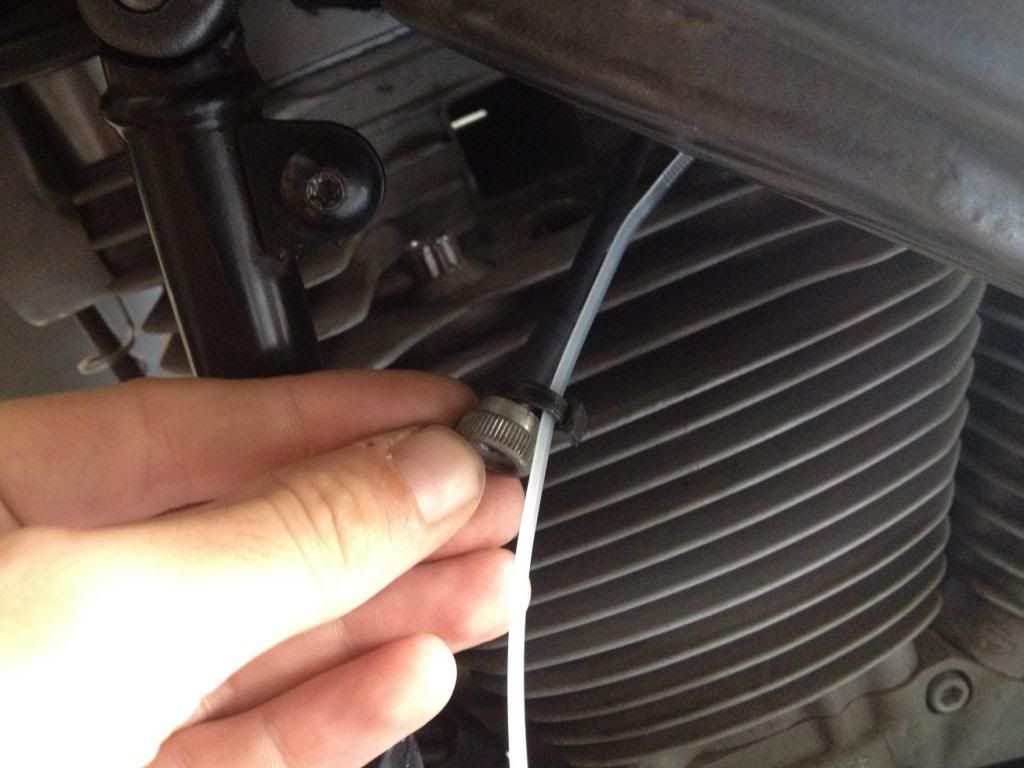
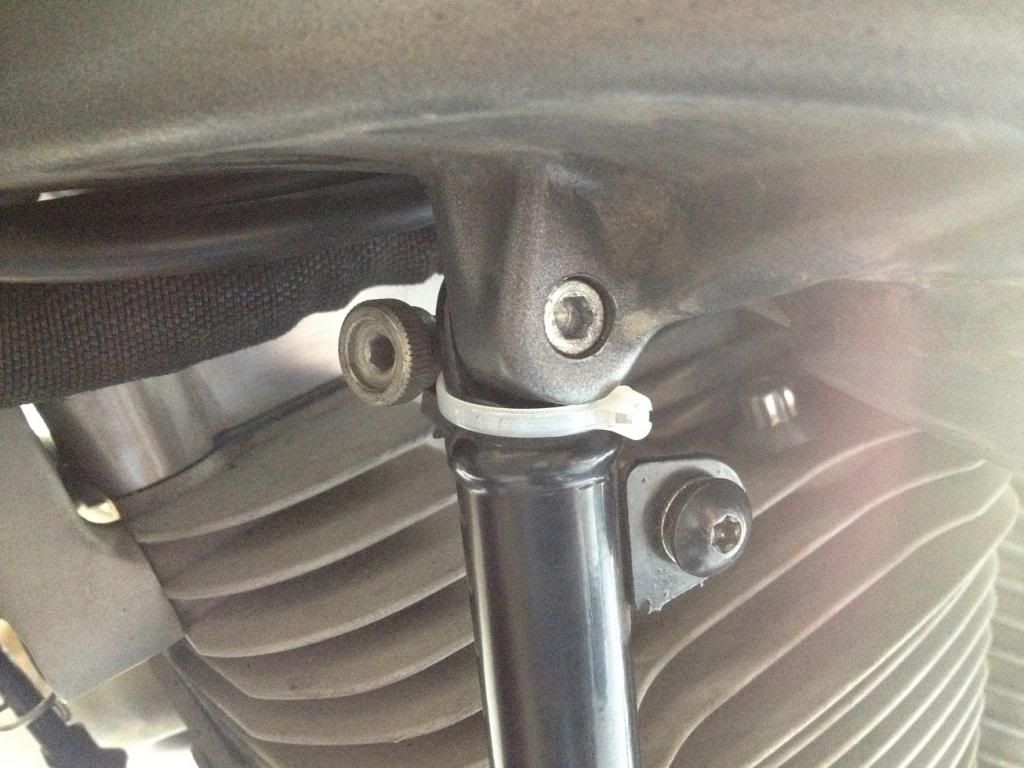
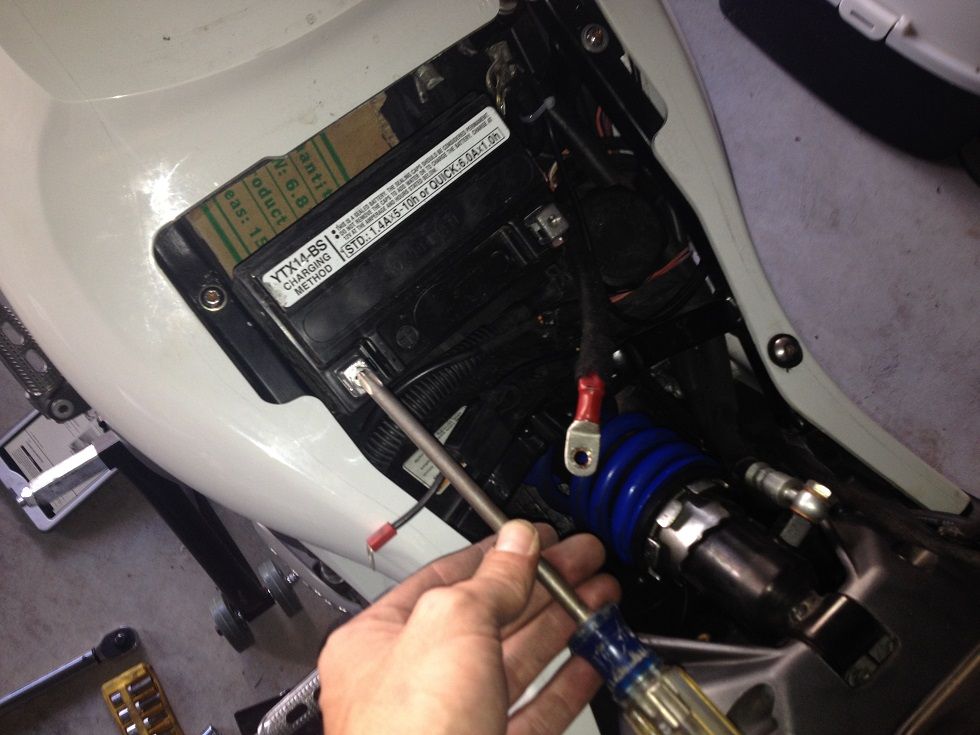
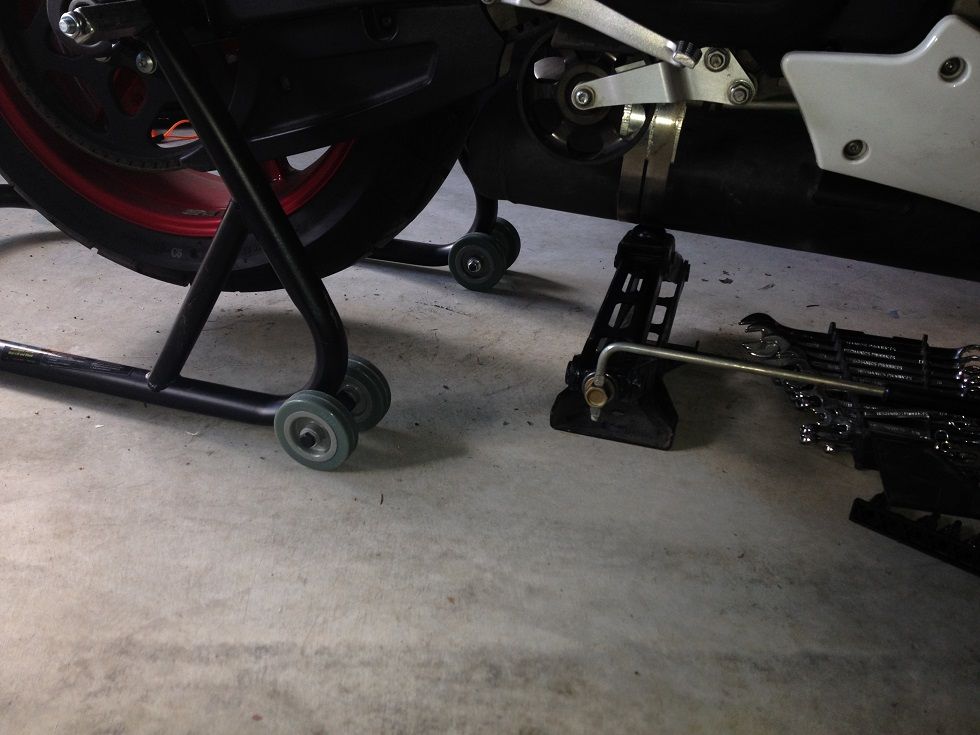
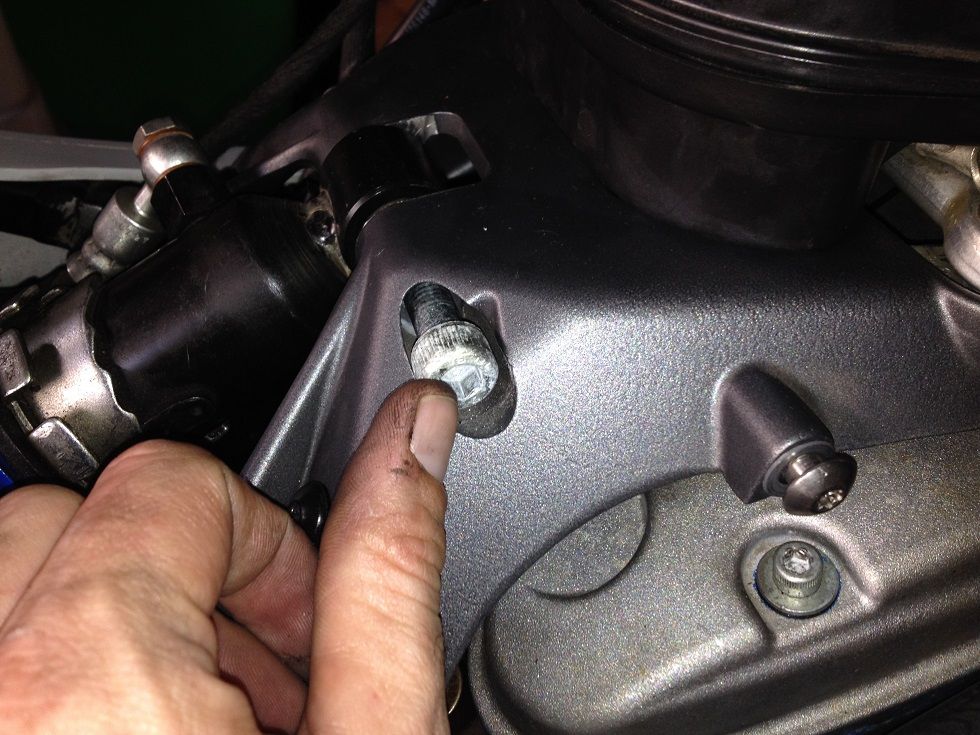
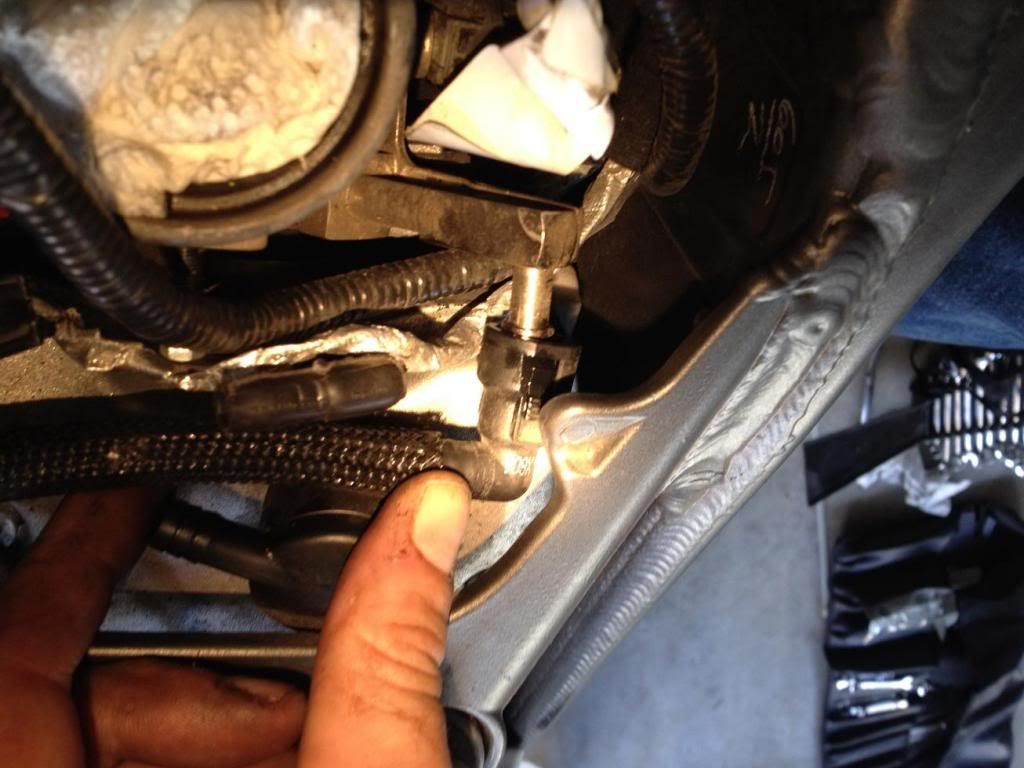
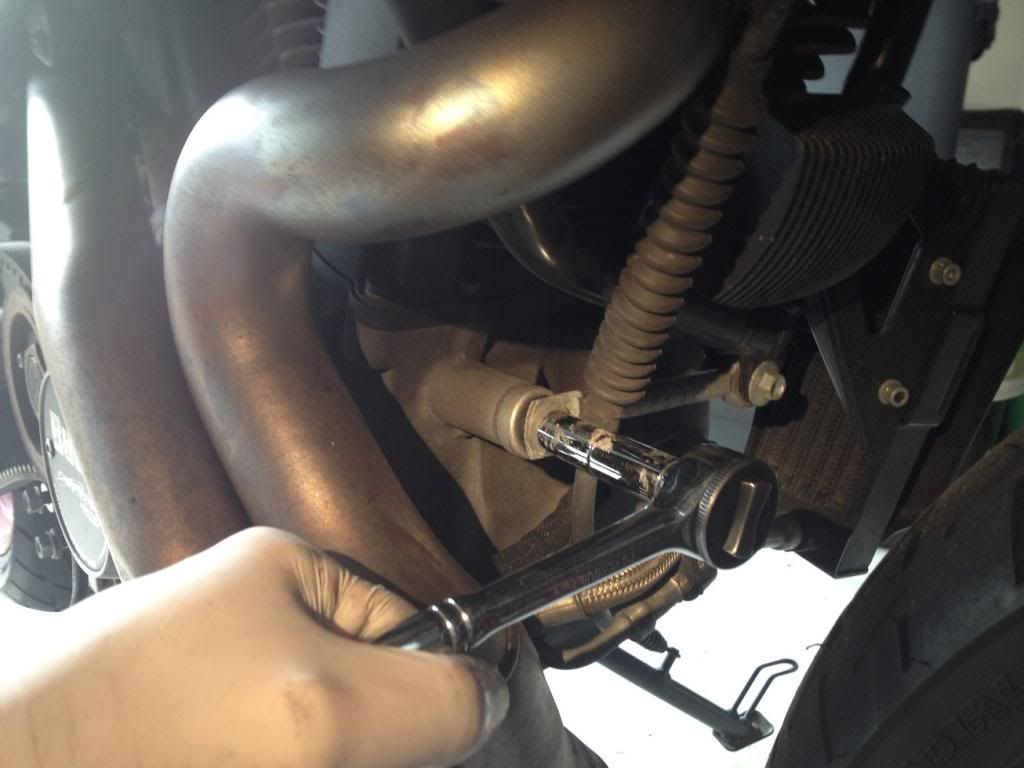
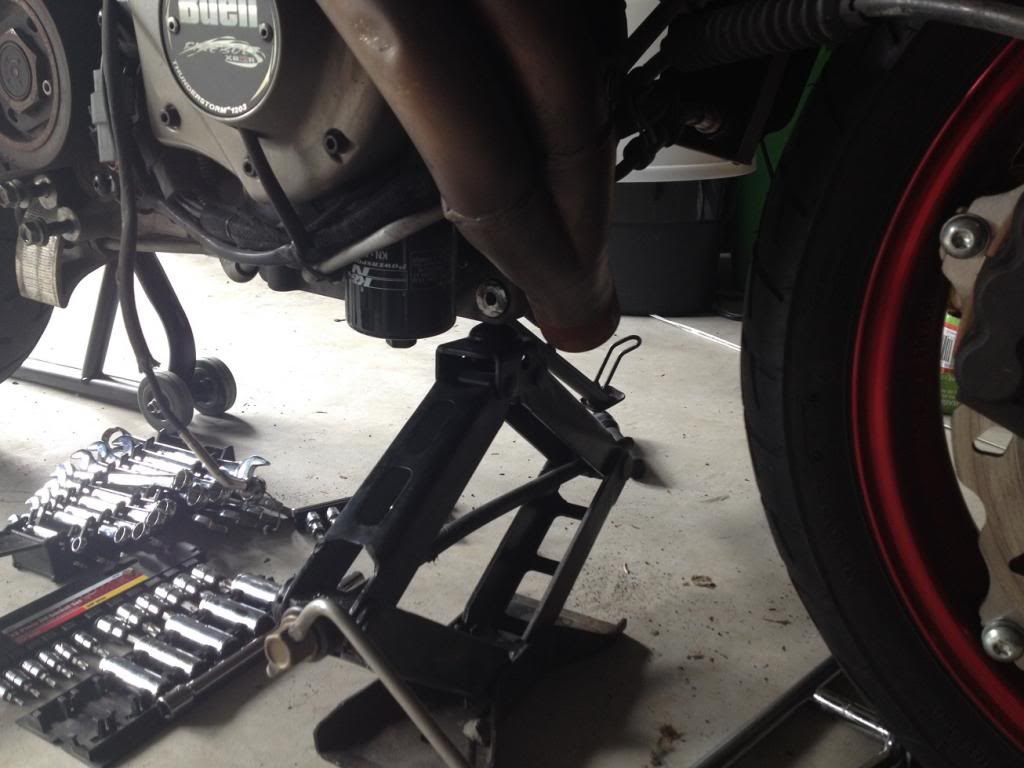
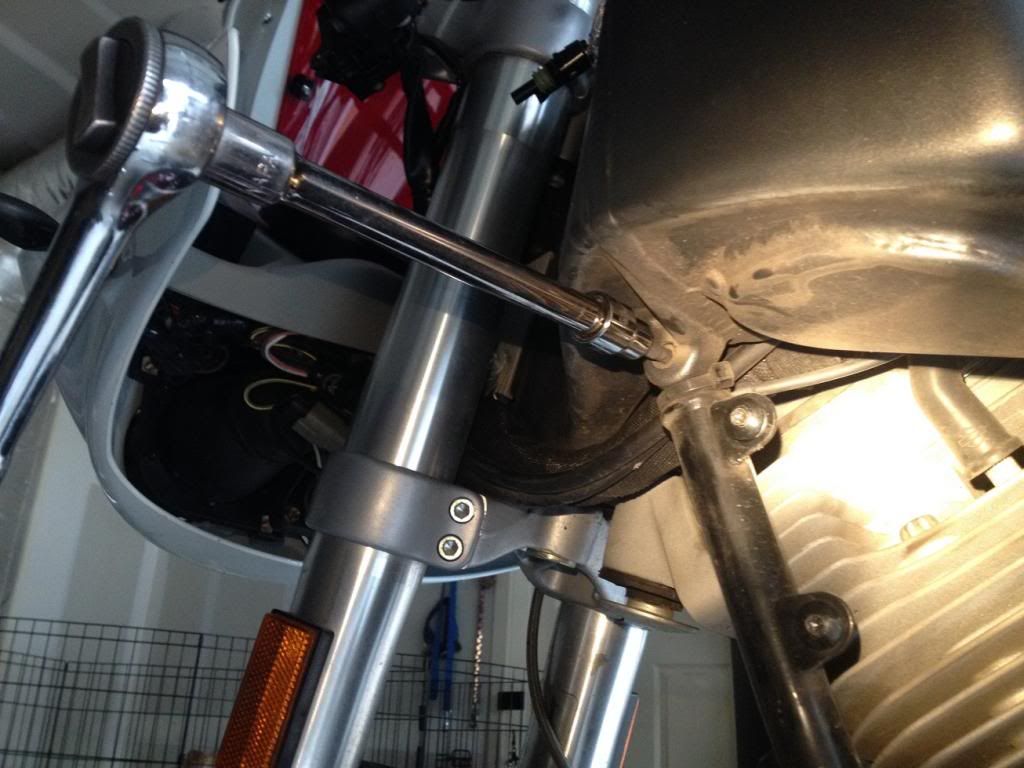
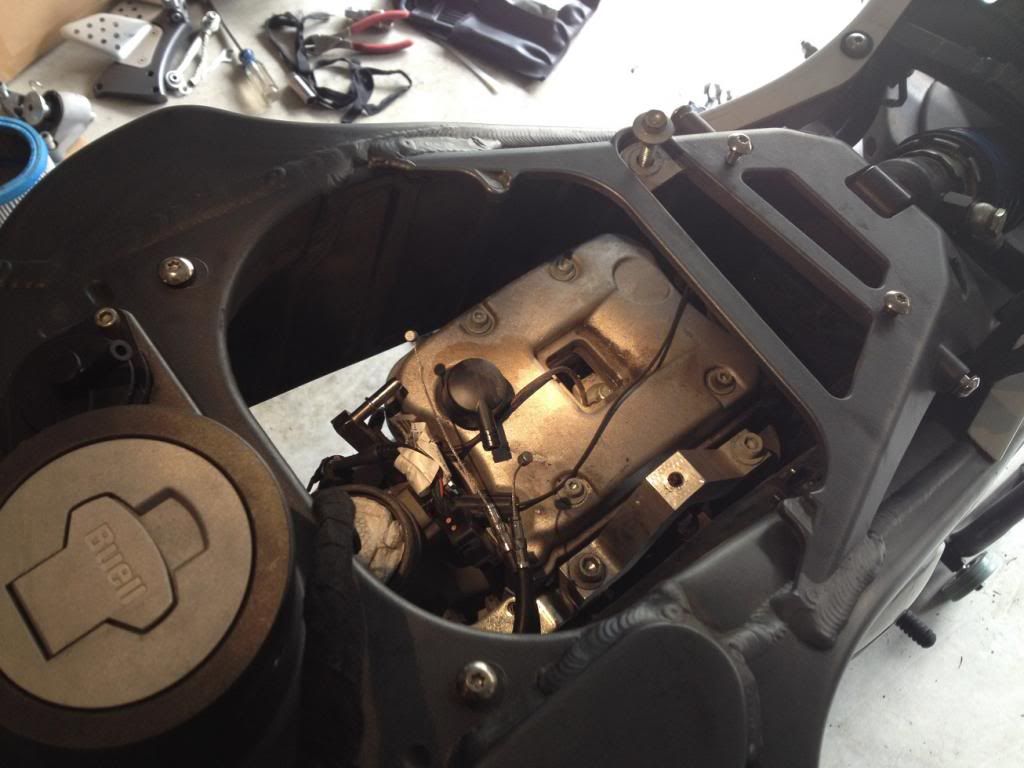
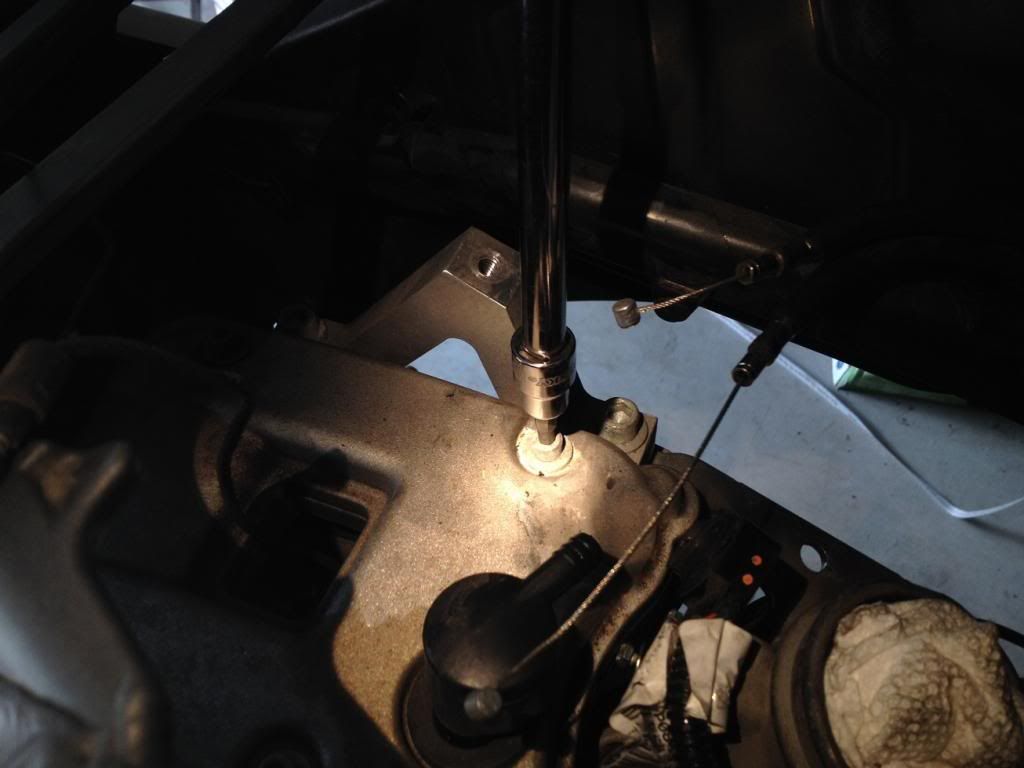
Jack the engine back up into place, just enough to fit the front engine mount back on.
Torque the mount mounting bolts to 50ft-lbs.
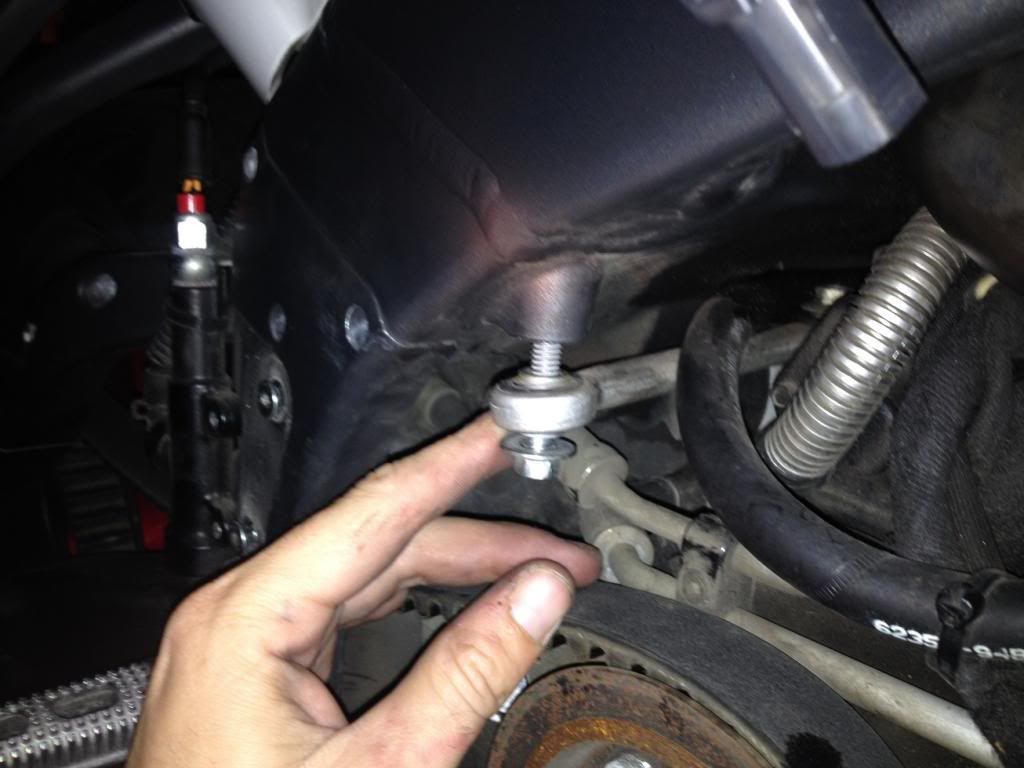
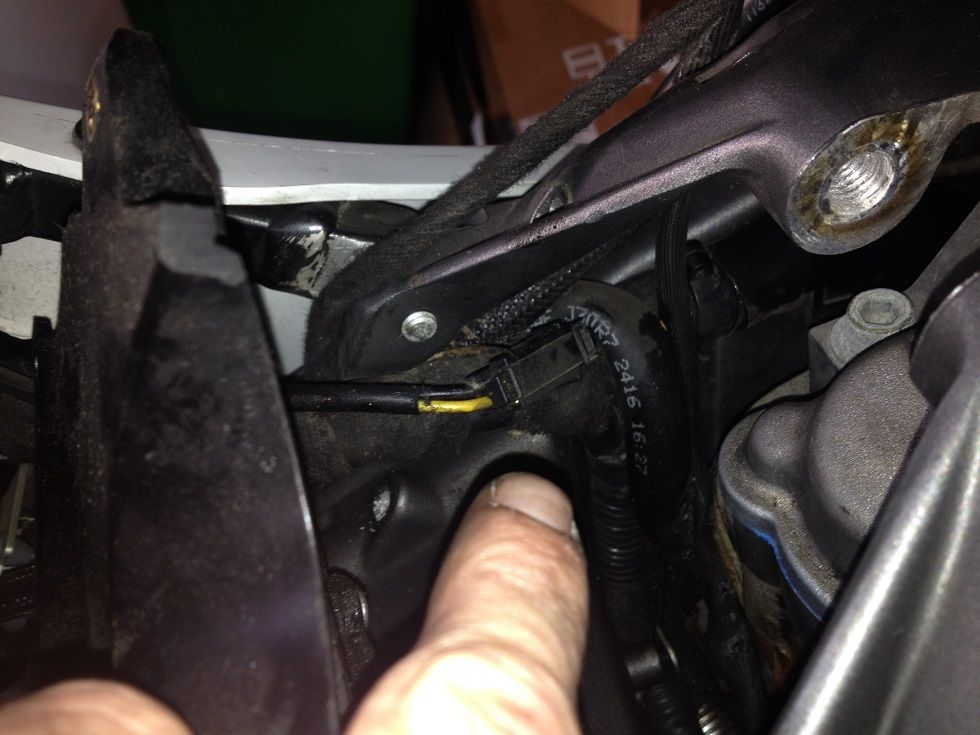
Then use the jack to align the hole in the mount with the hole in the frame and toque the main mounting bolt to 50ft-lbs as well. Don't remove the jack yet, at this point the engine is still swinging around.
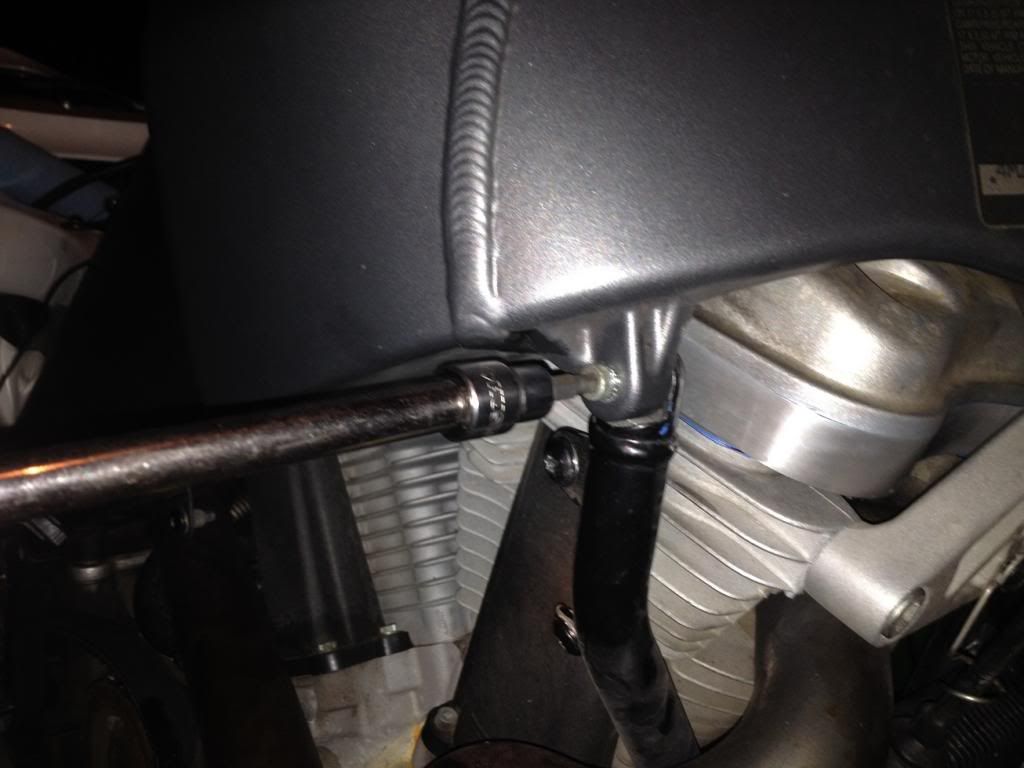
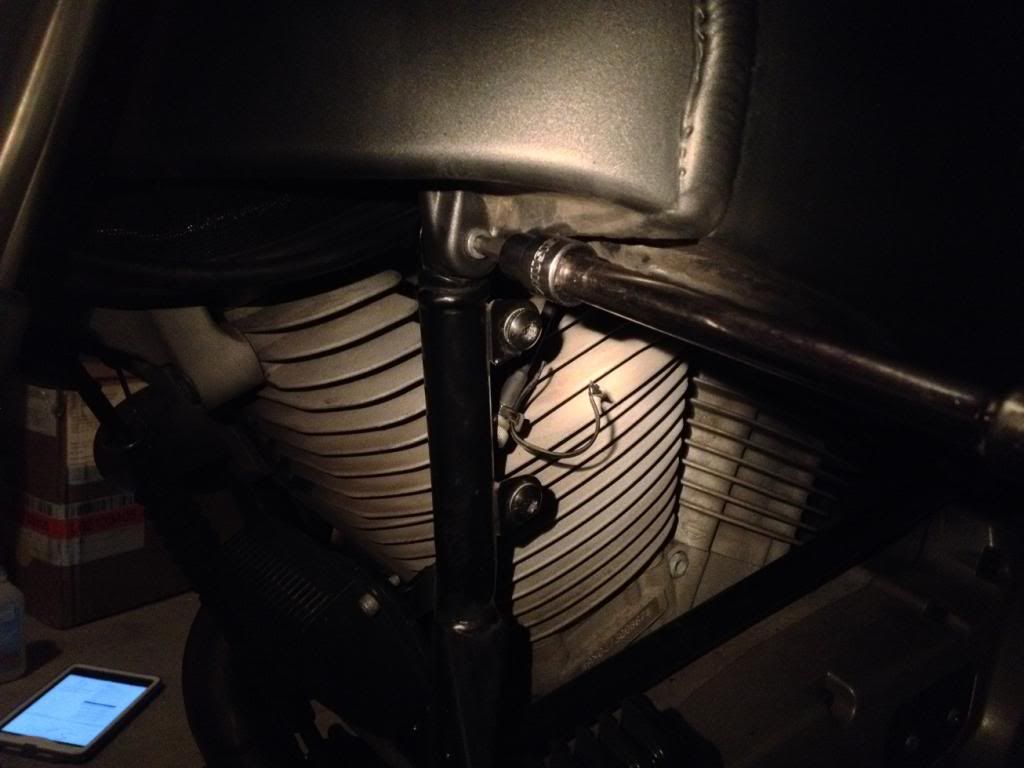
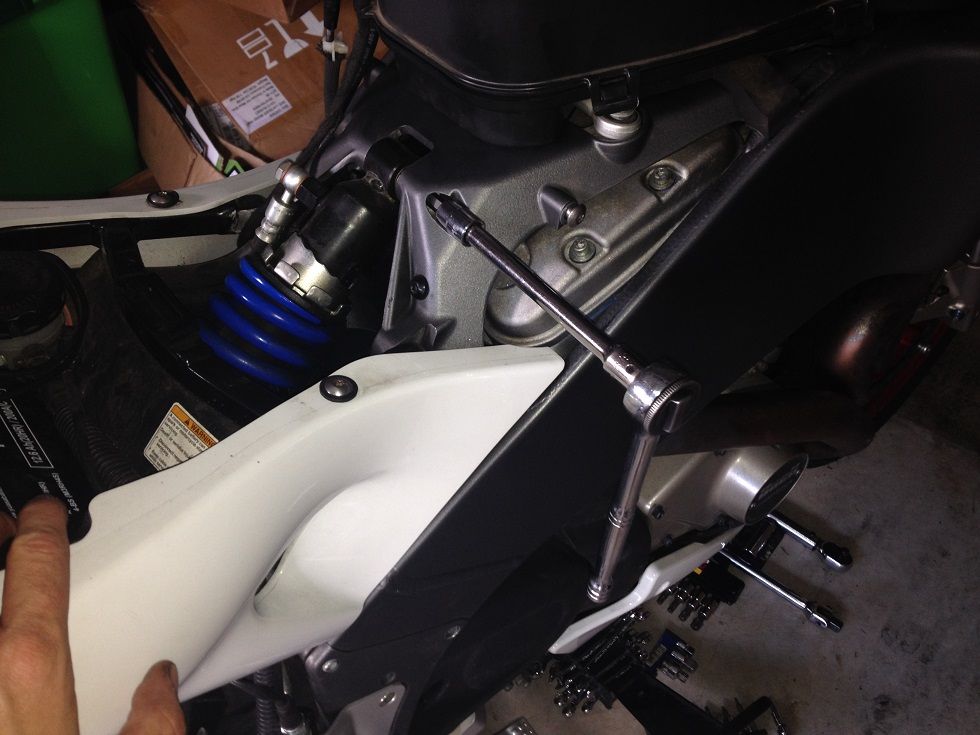
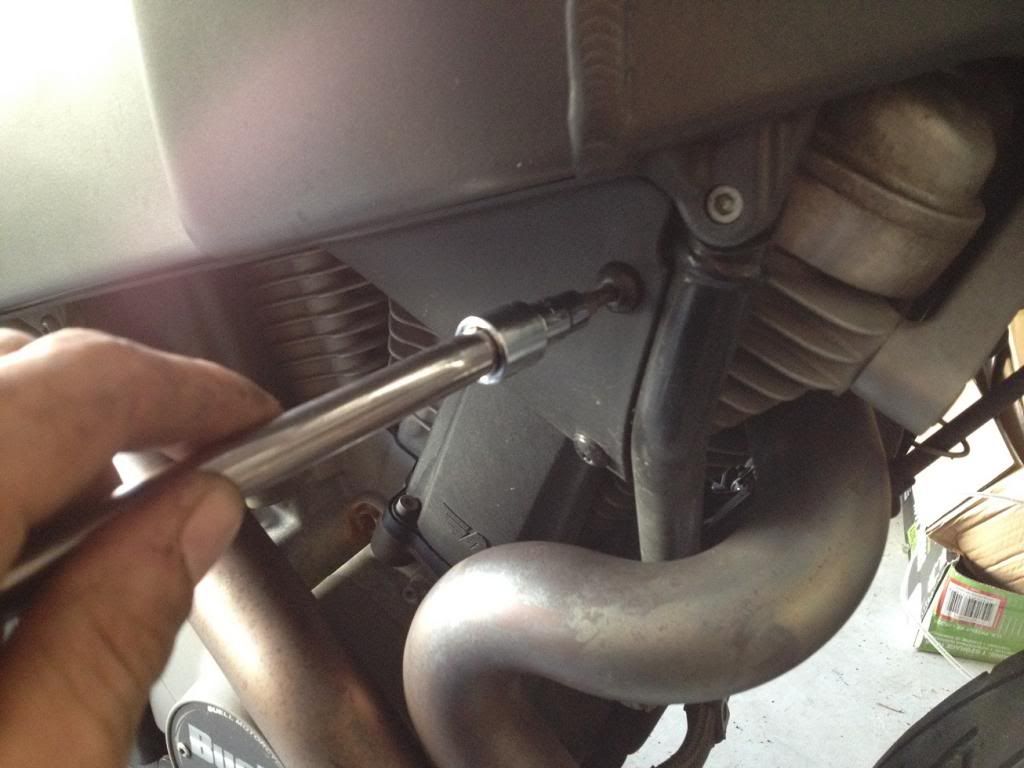
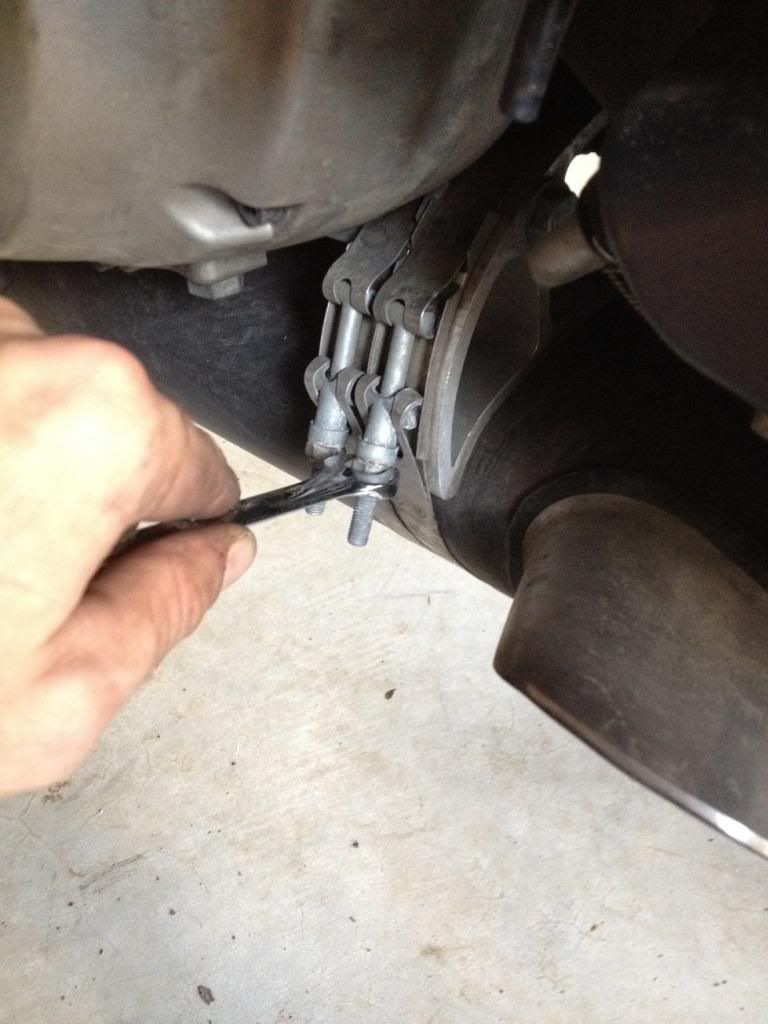
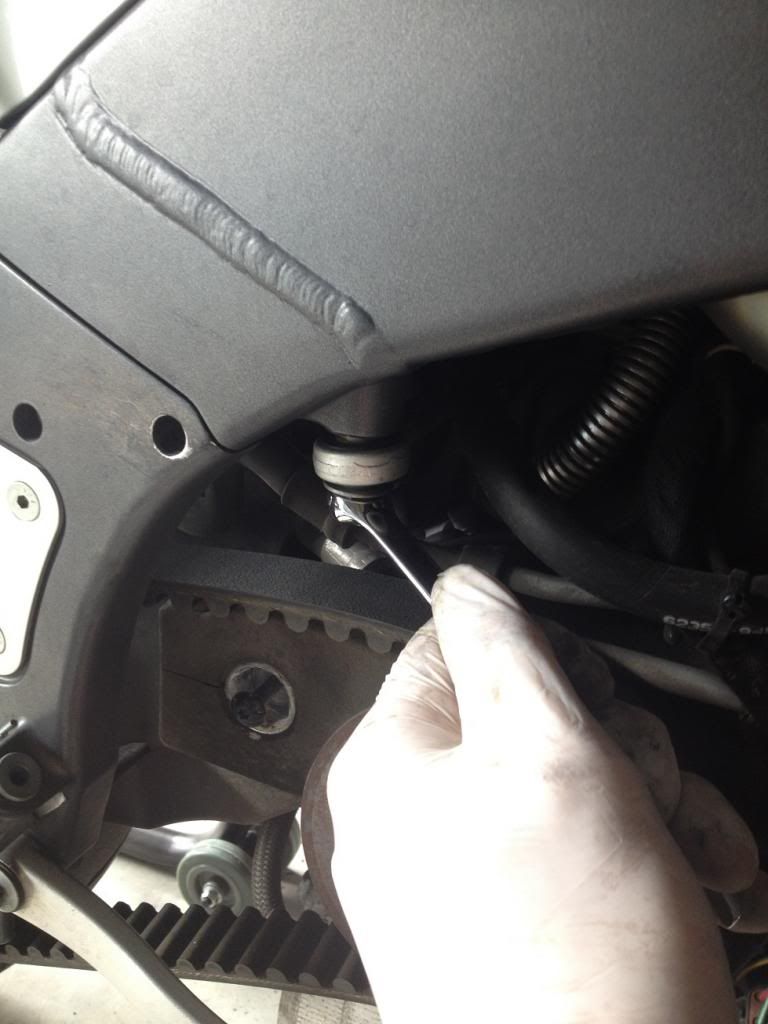
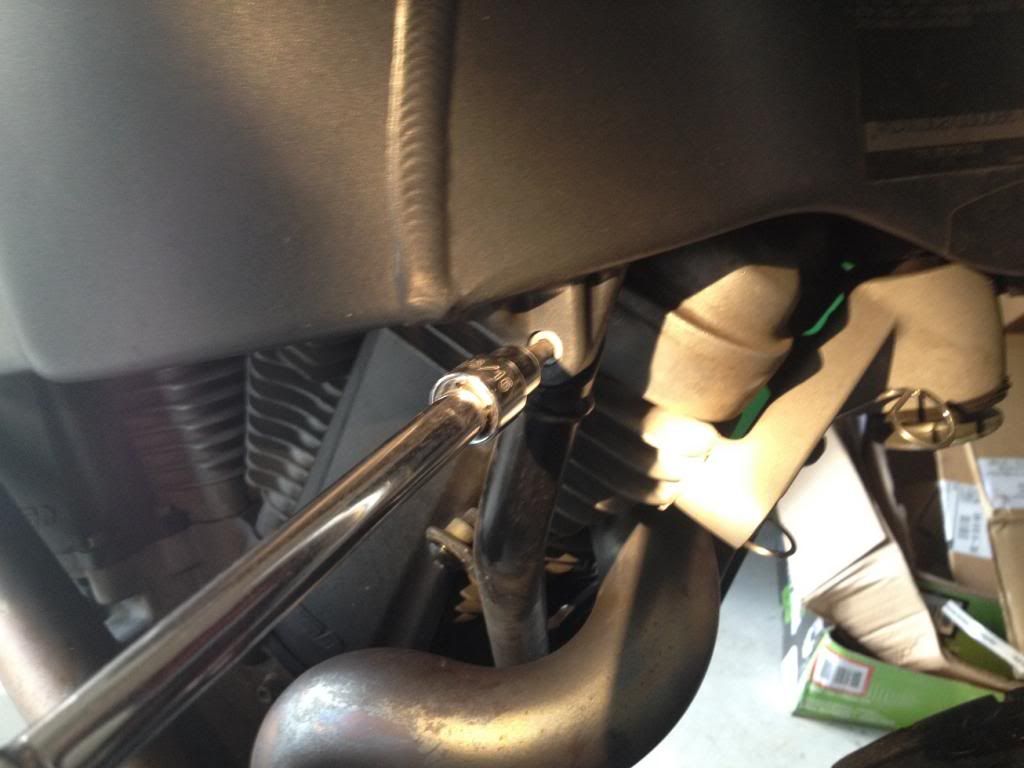
Torque the rear engine brace to 25ft-lbs.
Install top engine brace to 25ft-lbs.
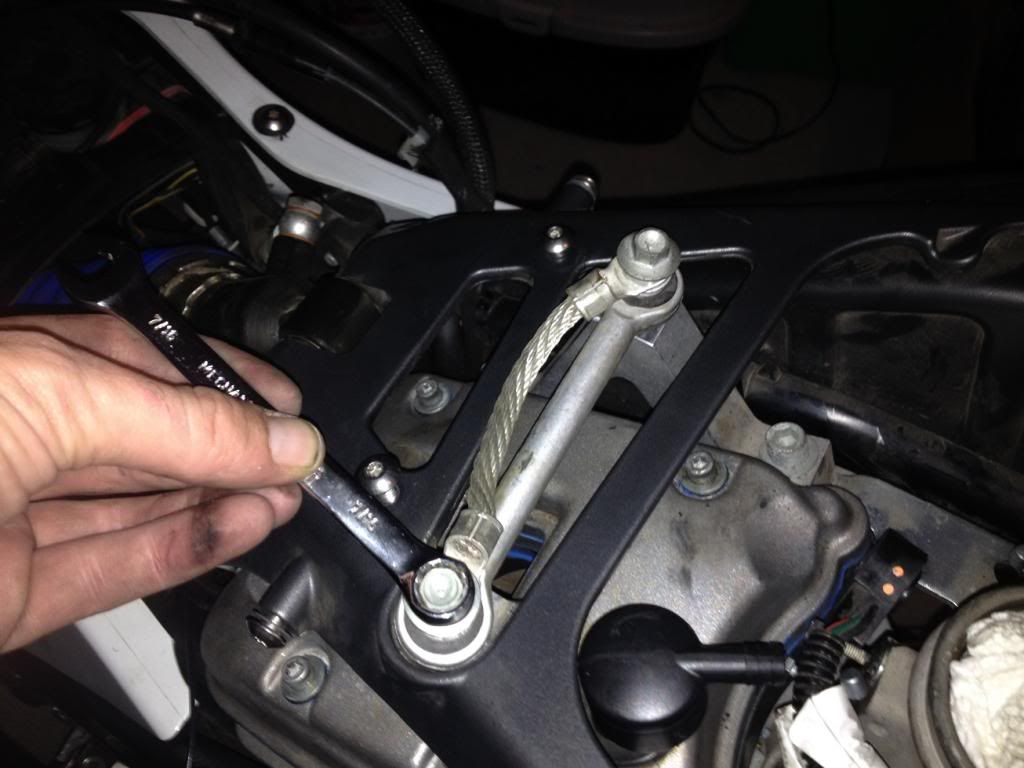
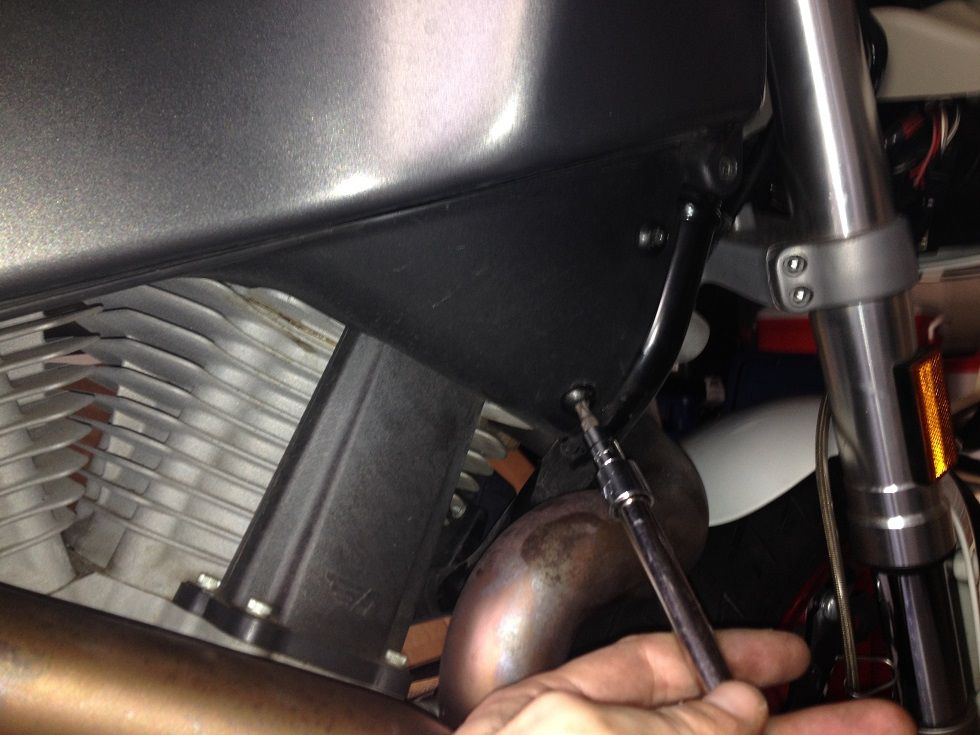
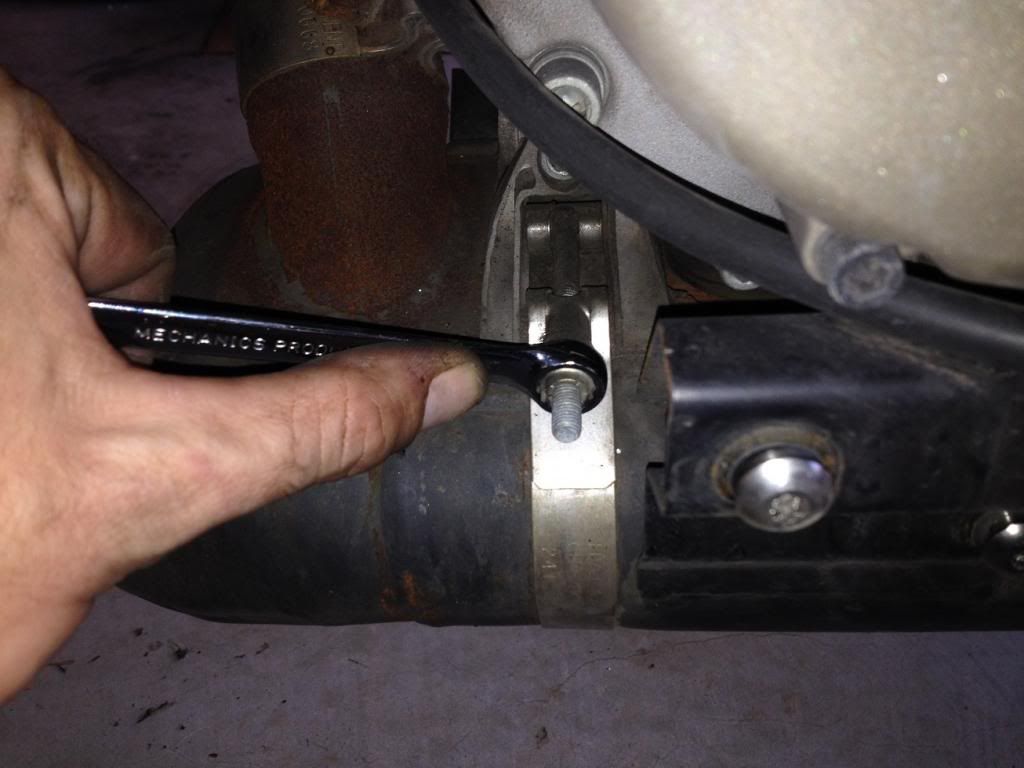
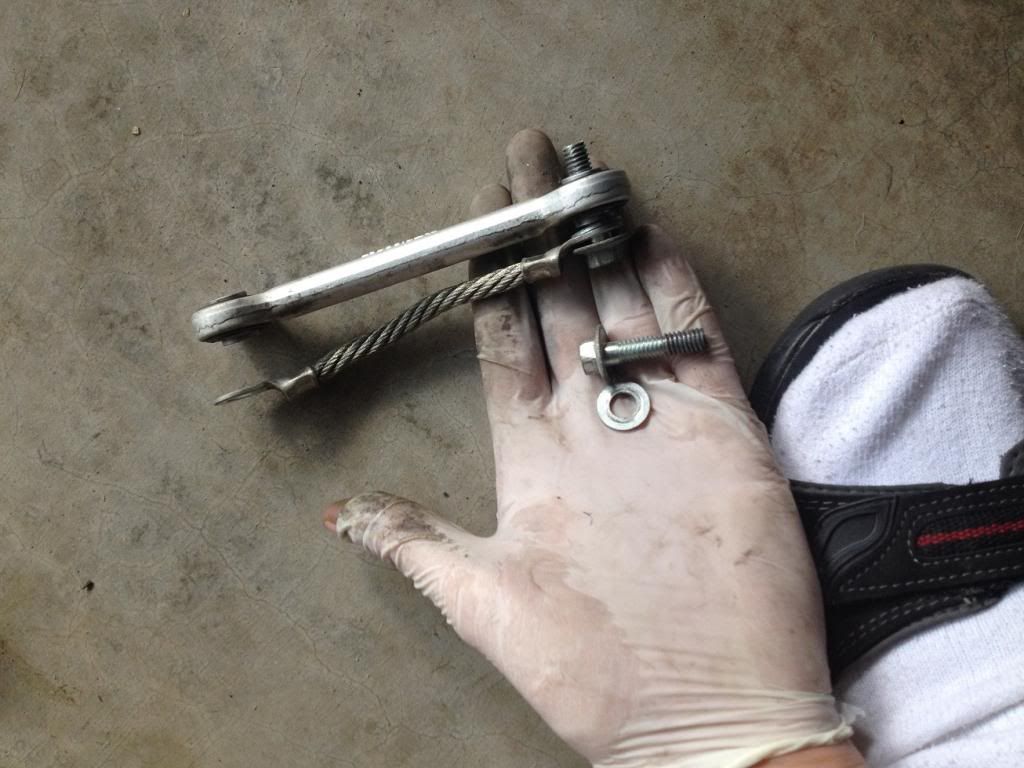
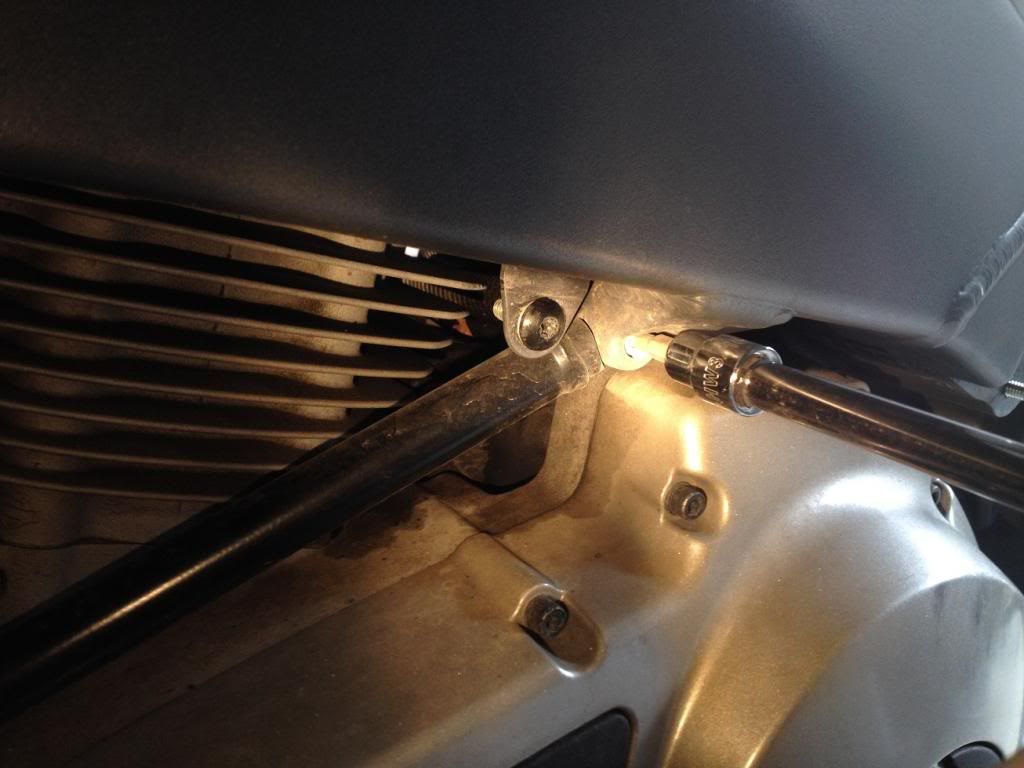
Install front frame brace and clutch cable mount bolt to 25ft-lbs.
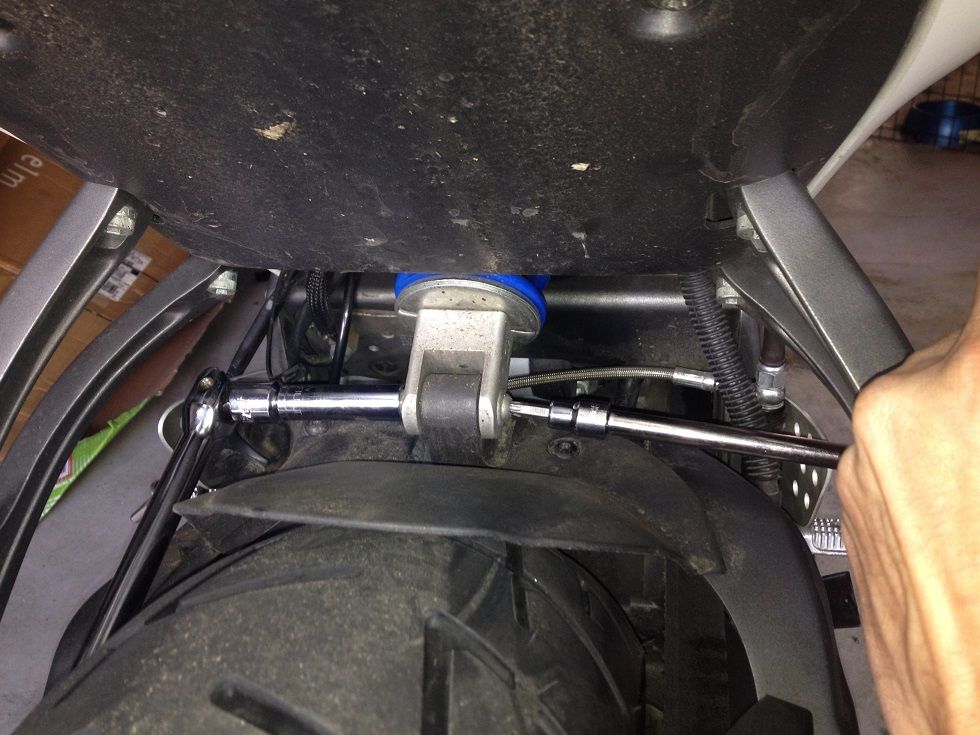
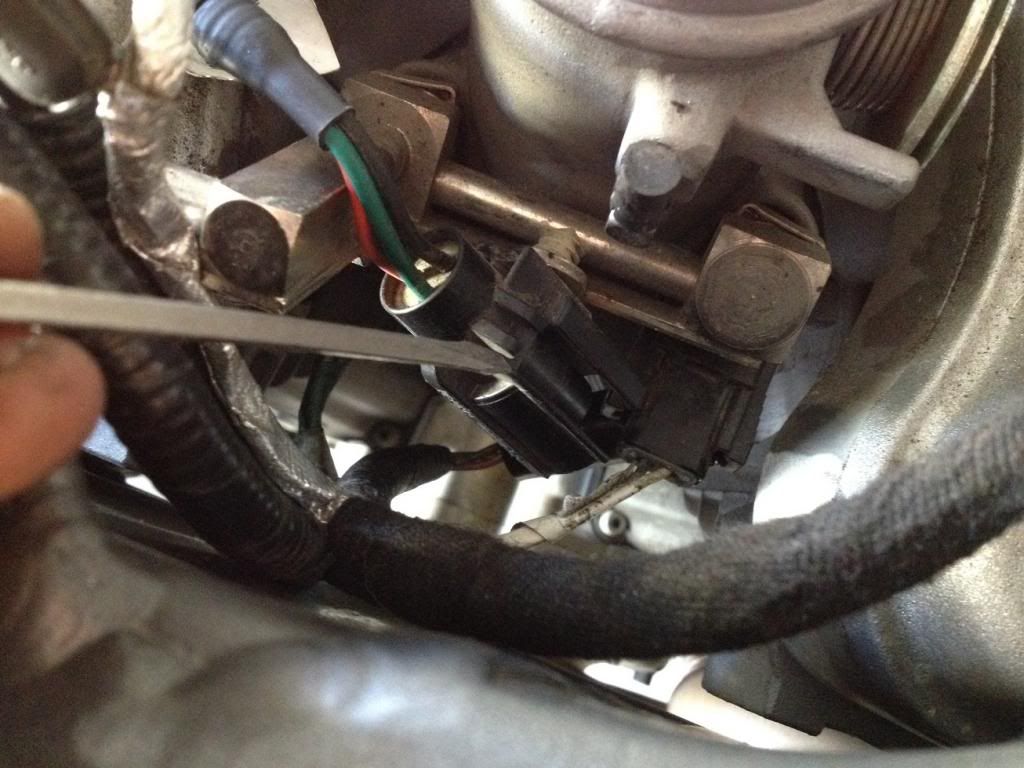
Install the three V-brace bolts to 12ft-lbs and you can drop the jack from under the engine. =)