Page 2 of 10 FirstFirst 1234 ... LastLast
Results 11 to 20 of 100

Thread: (Re:) Build

  1. #11
    Senior Member heagachongoose's Avatar
    Join Date
    Aug 2012
    Location
    Chicago IL
    Posts
    1,394
    Thanks for the offer neomac but I had already had a set shipped out to me a week or two ago. I actually almost switched to a Showa BPF or Ohlins setup from the modern liter bikes but the upfront cost was too much for me to front. However Retaining the oem setup will be more expensive in the long run. Assuming things with EBR don't work out.

    Alright so, as she sits now:


    New wheels! Woo!


    The old front wheel,


    Spent most of my time working on the front end today. Working out the brackets to mount the R6 fairing stay I will be using. I will (hopefully) still be using the oem cluster. Assuming it is still functional. That would be nice if it was, I really like the 1125 cluster. Fun fact, did you know the 1125 clusters have built in lap timers?

    Anyways, I will test my cluster's functionality as soon as I get my wiring straightened out up front. When the oem fairing stay was ripped off it luckily did not damage the cluster plug but it did split a smaller plug. Looks like I'll be digging out the electrical manual tonight.


    Fixable externally, nost sure what's going on inside of there though.. I'll find out soon enough.


    The busted plug


    rear view


    Re shaped the upper fairing a bit. You can hardly tell from the picture but the new fairing will not have the same contour as the oem. It will be much rounder as opposed to the "hammerhead" look of the original. Overall shape is similar to he RX/RS but a tad larger. I will be going with a dual vertical projector headlight setup unless I can find any other interesting setups I can do for cheap.


    Pulled the subframe, started looking into what I would have to do to fit the 848 tubular sub frame I have laying around. The 1125's offset subframe mounts are bitchy to work with. The 848 frame is not workable in oem form. I'll have to do some serious chopping and reshaping to get it to work. Along with that the thing is heavy as ****. It literally weighs every bit of 10lbs. I believe my 1125 subframe is slightly bent, but fixable. I was never a huge fan of the relaxed position of the 1125, you sit IN the bike rather than ON the bike like I am used to. Depending on which setup I end up deciding on, the seating position will be slightly higher. Not so much to disrupt geometry but enough to make me feel a bit more at home. Either through 4 point brackets on the oem frame or through the modified 848. Not sure which one will be easier..... Decisions decisions...

  2. #12
    Senior Member heagachongoose's Avatar
    Join Date
    Aug 2012
    Location
    Chicago IL
    Posts
    1,394
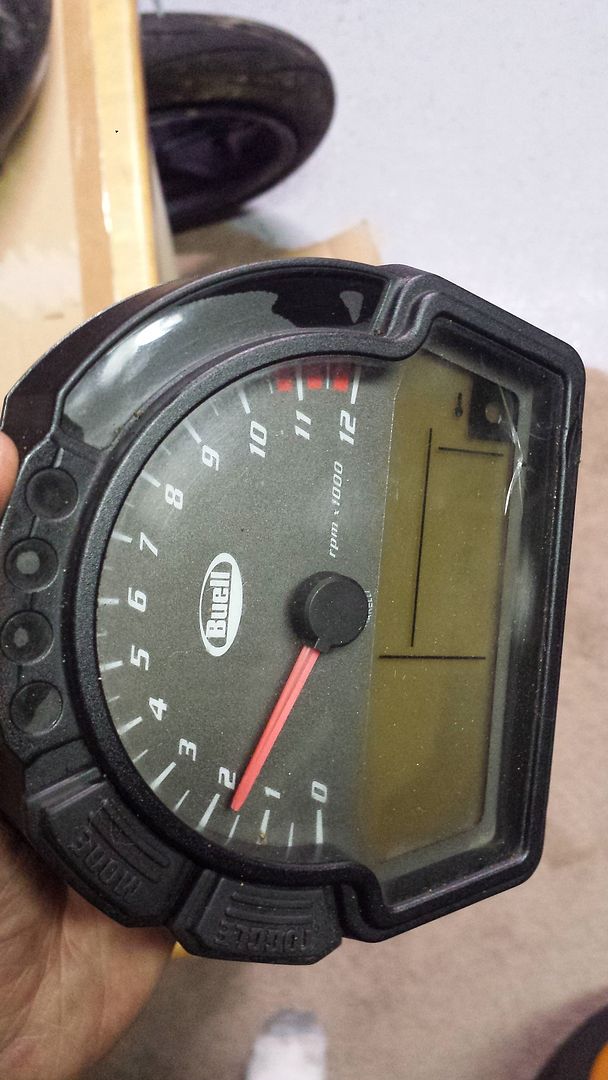
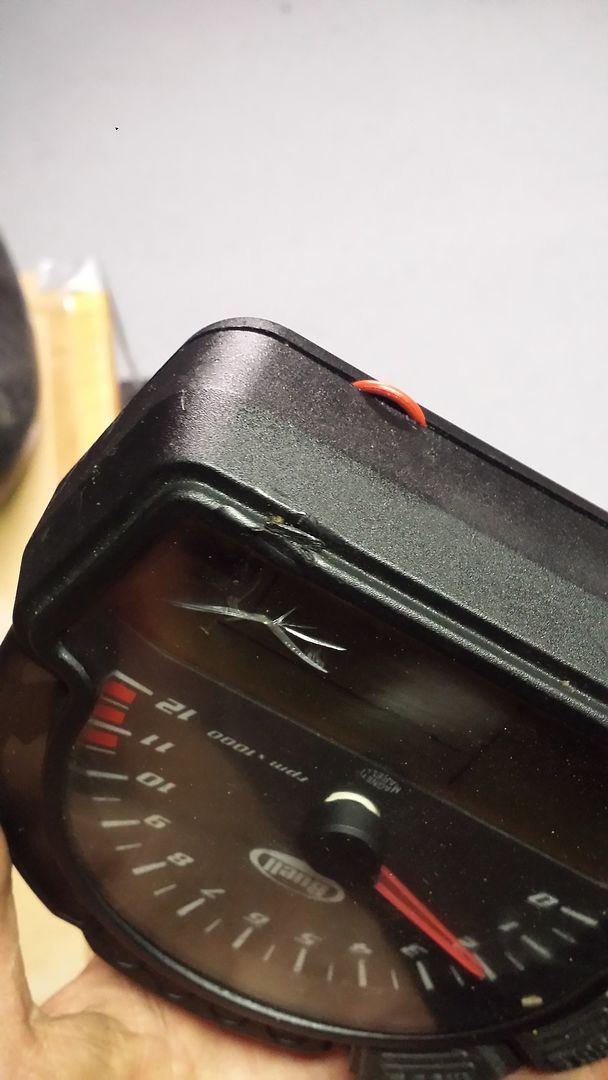
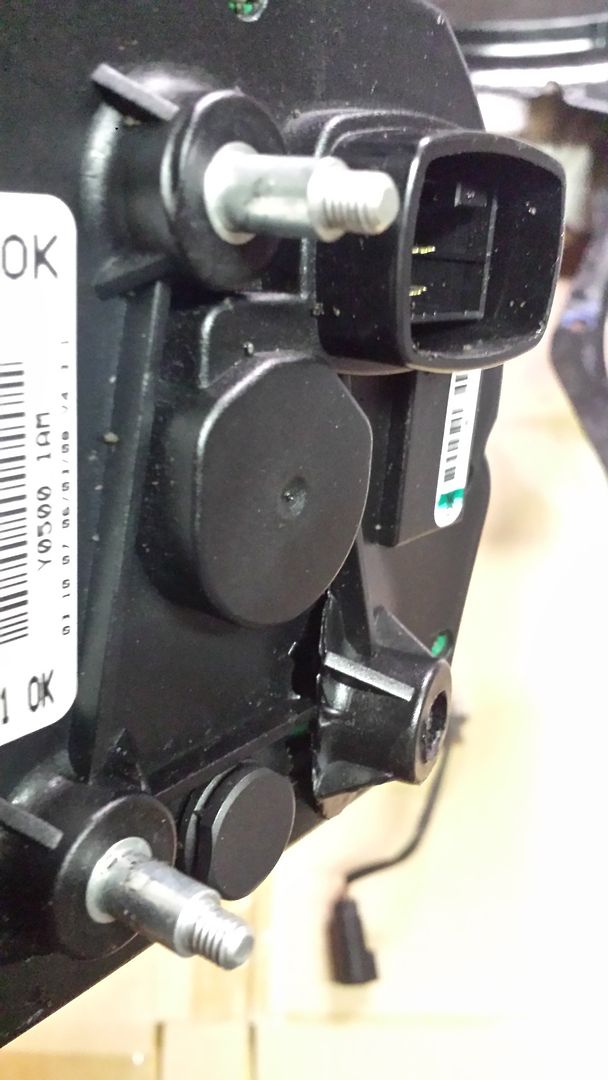
    Had a bit of time to work on things. Finally cracked open my cluster and it looks like it will still be functional. The only major deficiencies I spotted were an outer casing crack (easy fix), small polycarbonate fracture (another easy fix), and one of the buttons have been pulled off of the board (a not so easy fix). My hands aren't steady enough to handle that kind of precision so I will be visiting an electronics guru friend of mine to have the button re-soldered onto the board. After that it should button right up and work like a charm!

    Note: The cluster disassembly is infinitely infuriating. remove all fragile objects and small children within the vicinity before attempting disassembly. Also my gasket between the two main outer shell pieces is a solid 1-2cm too large for the housing. Not sure how it got that stretched out....?

    Link to disassembly walkthrough

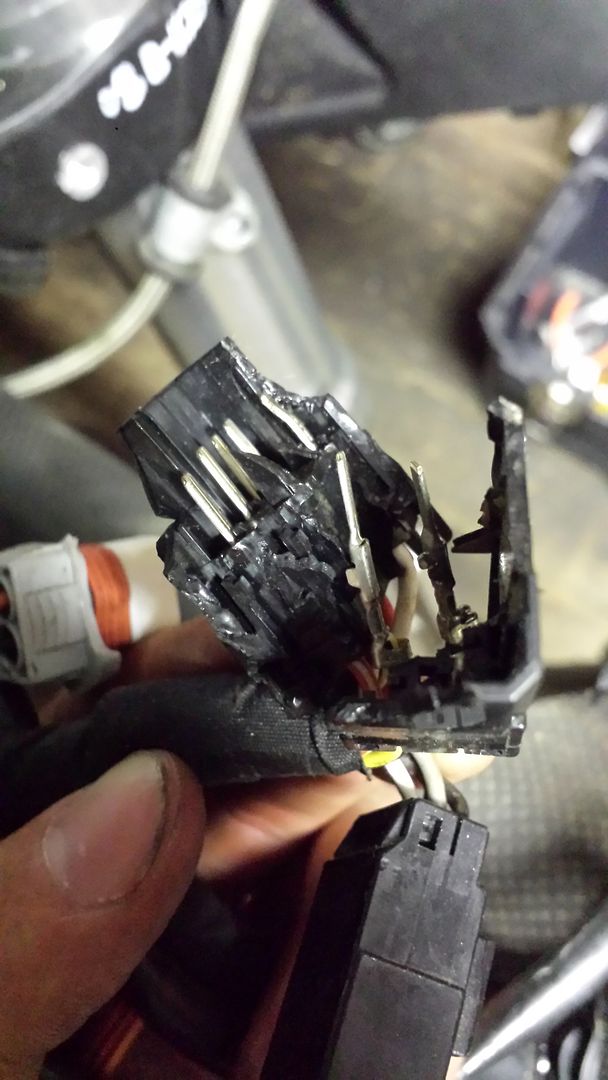
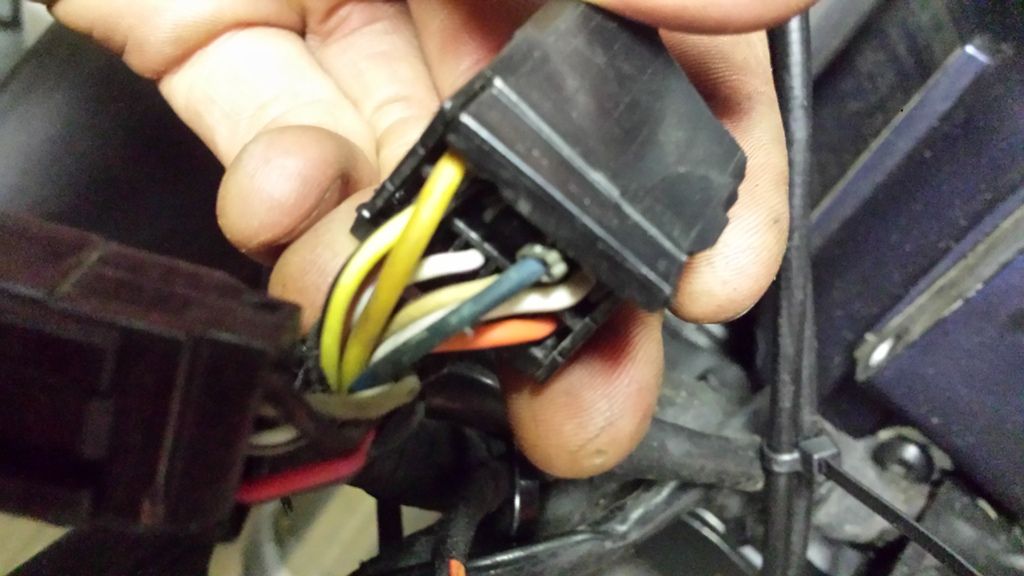
    Working on deciphering the buell wiring diagrams to figure out which wire plugs to which wire from the "left hand controls" connector plugs.

    Ordered an R1 throttle tube and assembly, should be a plug and play swap for the whole thing buuuut we'll see..

    Levers and grips arrived! Woo! I'll be running these until 50dro gets some more ASV's in stock. First impression seems good, much better quality than any other "cheap" levers I have encountered. These are US made.
    20150714_124852.jpg

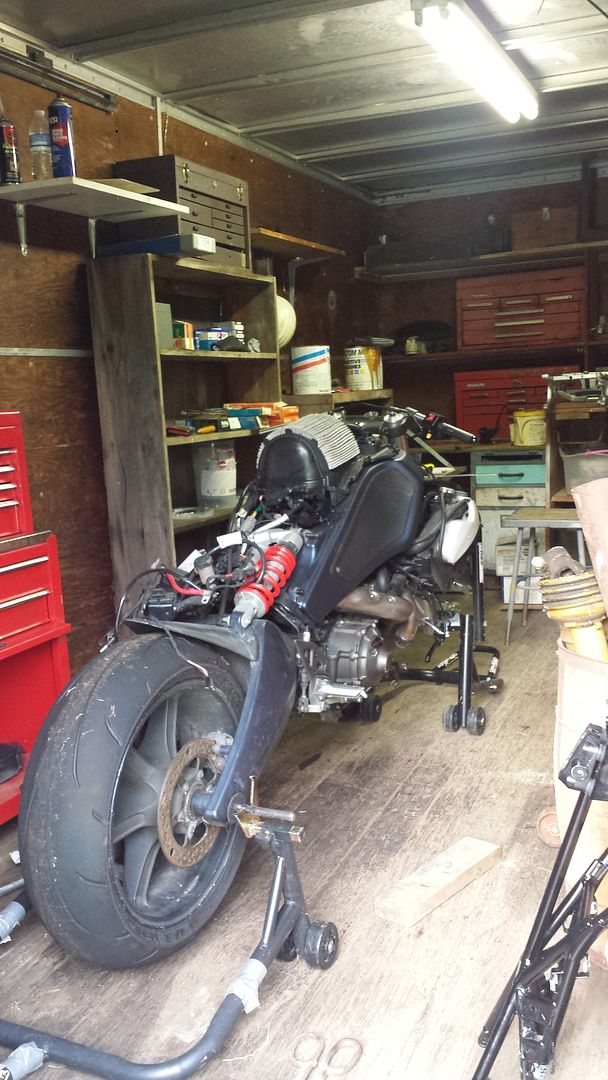
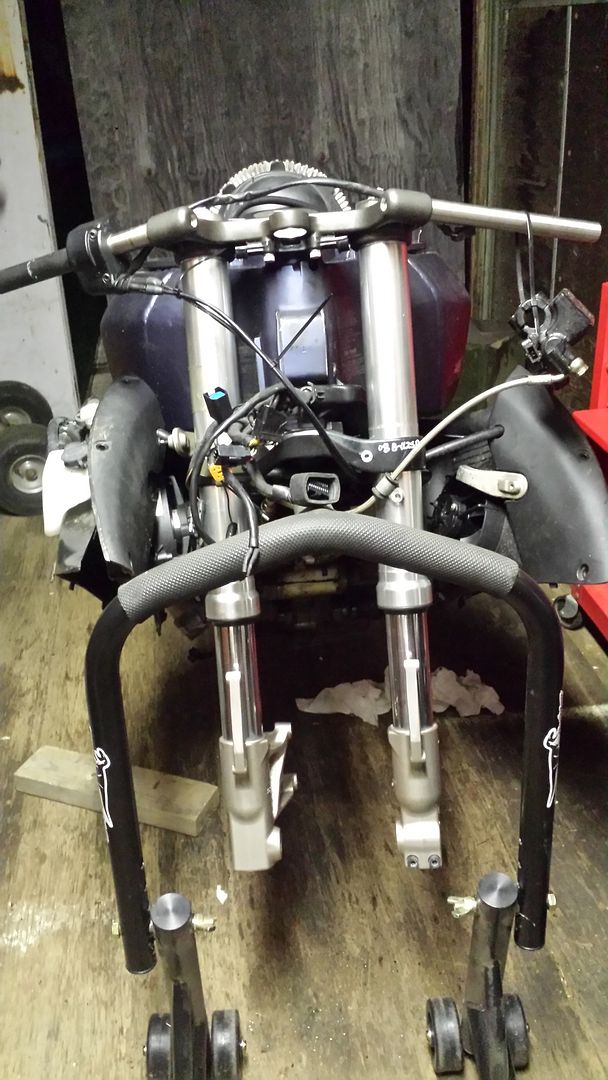
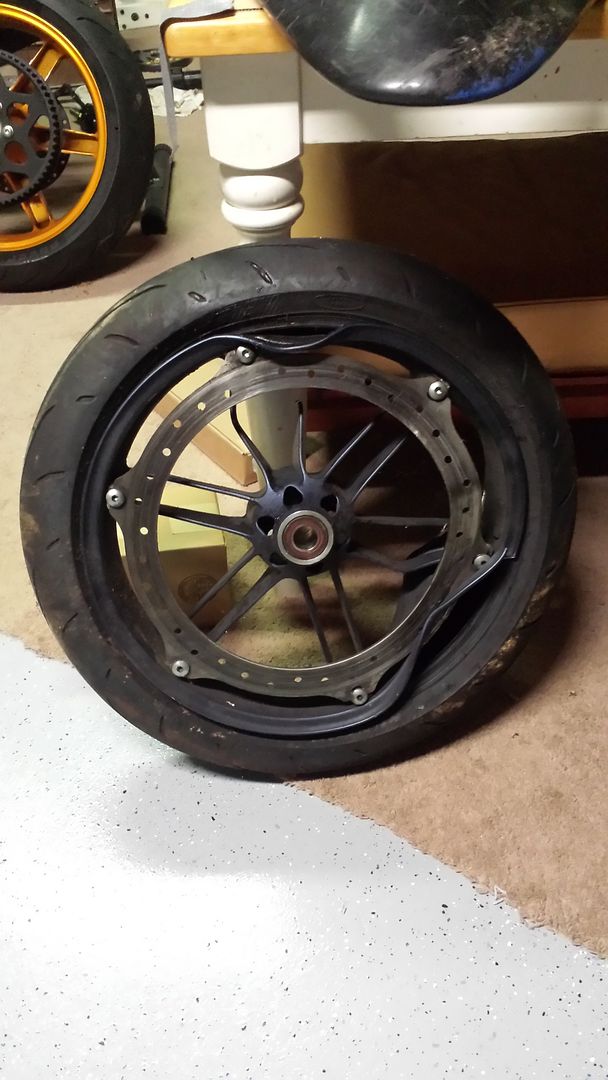
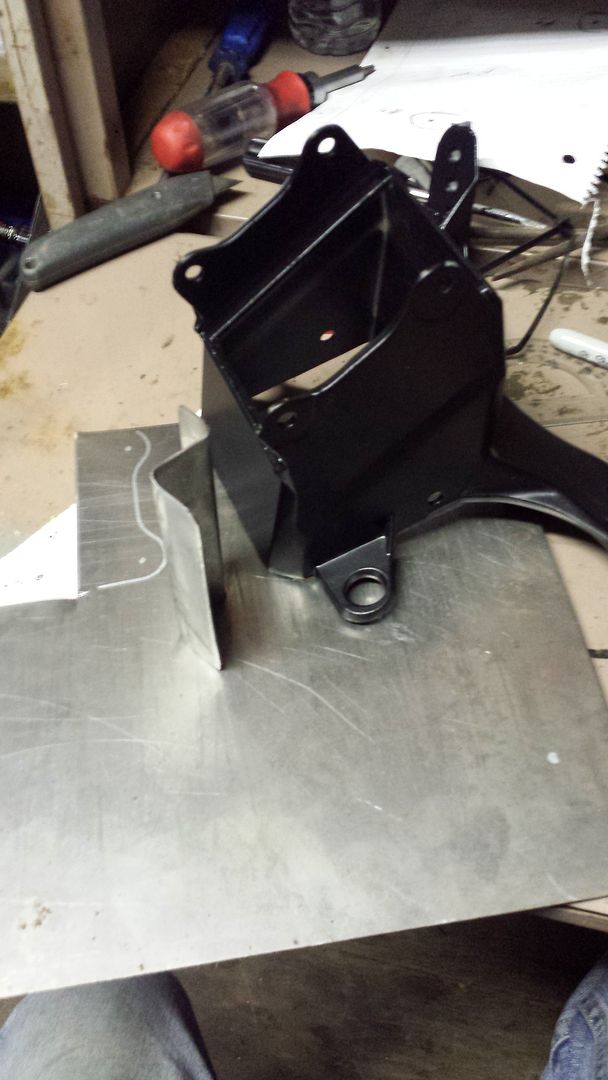
    Other than that, not much progress since last time> Just not enough hours in a day

    Sorry for the blurry pictures. About time for a new phone I think. Mine has been through a lot. lol
    20150714_152026.jpg20150714_151854.jpg20150714_152638.jpg20150714_151912.jpg

  3. #13
    Senior Member
    Join Date
    Oct 2010
    Location
    Indianapolis
    Posts
    1,007
    Glad to see it starting to get put back together. Hopefully ready for Road America with us on Aug 21 right!!

  4. #14
    Senior Member lowkey's Avatar
    Join Date
    Sep 2012
    Location
    Bullhead AZ
    Posts
    745
    Those levers are identical to the last two pair I bought off ebay from china, down to the same color combo and stainless hardware used. Just saying...

    Good luck with getting the bike back on the road!

  5. #15
    Senior Member heagachongoose's Avatar
    Join Date
    Aug 2012
    Location
    Chicago IL
    Posts
    1,394
    Glad to see it starting to get put back together. Hopefully ready for Road America with us on Aug 21 right!!
    That's the plan!

    Those levers are identical to the last two pair I bought off ebay from china
    Under a certain price range they are almost all the same thing. For the most part. I just get some kind of silly satisfaction from knowing they were made statesdie. Not that that means much anymore.... Did you know more toyotas are made in the states than Chevrolets? Pitiful huh?

  6. #16
    Senior Member heagachongoose's Avatar
    Join Date
    Aug 2012
    Location
    Chicago IL
    Posts
    1,394
    Fixed the upper left subframe mount. Drilled 2 spot holes in either side of the fissure equidistant from the threads and outer diameter, turned down a thin rod to allow plenty of room for the solvent to fit into the drilled holes along with the rod. Bent the rod in an arc to match the curvature of the mount. Cleaned break surface with rubbing alcohol, the break surface was plenty rough enough for adheration so I didn't have to roughen up the surface any. Firmly applied JB Weld Steel putty shaped, pressed, and set. This stuff is great.

    Attachment 218
    So the footpegs I ordered were junk. They didn't even fit. Had to take down the OD a bit to get the radius to flow smoothly when the pegs bend back. The threads were not even correct for the supplied bolt. Instead of paying for the return shipping I drilled out the threads, bored out the inside of the adapter housing enough to press a nut into, epoxied it in place and sourced a new bolt from my garage collection. Vioala, Le footpeg de fit.
    Attachment 219

    So here is a wiring schematic for the Left Hand controls, the diag manual doesn't directly show this. It only shows the connection housing in bits and pieces at a time spread throughout the manual, Kind of frustrating but I had to skim the entire manual to find all wires affiliated with connection 24A & B. Thank god for the search function in Adobe or I'd probably still be out in the garage with the manual and a beer lol

    Left Hand Controls Wd.jpg

    This whole Image attachment thing is a little aggravating sometimes. The attachments were supposed to be up in the text like the wiring diagram??? Oh well.
    Attached Images Attached Images
    Last edited by heagachongoose; 07-19-2015 at 03:40 PM.

  7. #17
    Senior Member heagachongoose's Avatar
    Join Date
    Aug 2012
    Location
    Chicago IL
    Posts
    1,394
    Decided to just re-use the oem subframe for now. I'll get it on the road first and then do the extensive stuff later. But now I just need to ride. Mounted up the sibframe and turns out mine is twisted about 1/8in clockwise. Not a problem though.

    To fix it I welded 3 mounting points, sans the off point, identical to the frame points onto a large metal plate, attached the subframe, ran a long pipe through the end of the tail, twisted counter clockwise just past the return point, release, and repeat as necessary. It fits now.

    I originally jb welded my k bracket back together but I pulled it back apart and am going to have it TIG'd. With all the vibration going on there and the leverage that point will have against it, the jb would probably release in a month or two. I'll have to take it to a friend as I don't have an AC TIG setup at home. Not a problem though.

    Got all the wiring together and the power back to the bike. Turned on the ignition and got a theft error.... Not sure what is causing it. My guess is my cluster is ****ed beyond the visual and it is sensing it has been tampered with. Not what I was hoping to see. Eventually the theft eror readout disapears and it goes to the normal readout except instead of 0 for the speed i get three dash's (---) ). Not sure what that means either. Maybe something with my speed sensor is not correct? Not sure. I haven't checked it yet.

    I snagged a new 09 cluster for a good price. We'll see if that helps anything.

    I'll get some pictures in later.

  8. #18
    Senior Member mrlogix's Avatar
    Join Date
    Jul 2011
    Location
    Cincinnati, Ohio
    Posts
    2,574
    the three dashes means that it is not communicating with the speed sensor( value out of range) Theft error means that the ECU and cluster have comm fault or it does not recognize the ECU. Probably the cluster. The theft error can also occur if the ECU and the cluster are mismatched. Replied to a thread on the BwB site about the theft error.

    http://www.badweatherbikers.com/buel...tml?1432672396

  9. #19
    Senior Member mrlogix's Avatar
    Join Date
    Jul 2011
    Location
    Cincinnati, Ohio
    Posts
    2,574
    It will be much rounder as opposed to the "hammerhead" look of the original. Overall shape is similar to he RX/RS but a tad larger. I will be going with a dual vertical projector headlight setup unless I can find any other interesting setups I can do for cheap.

    Really interested in seeing what you came up with. 
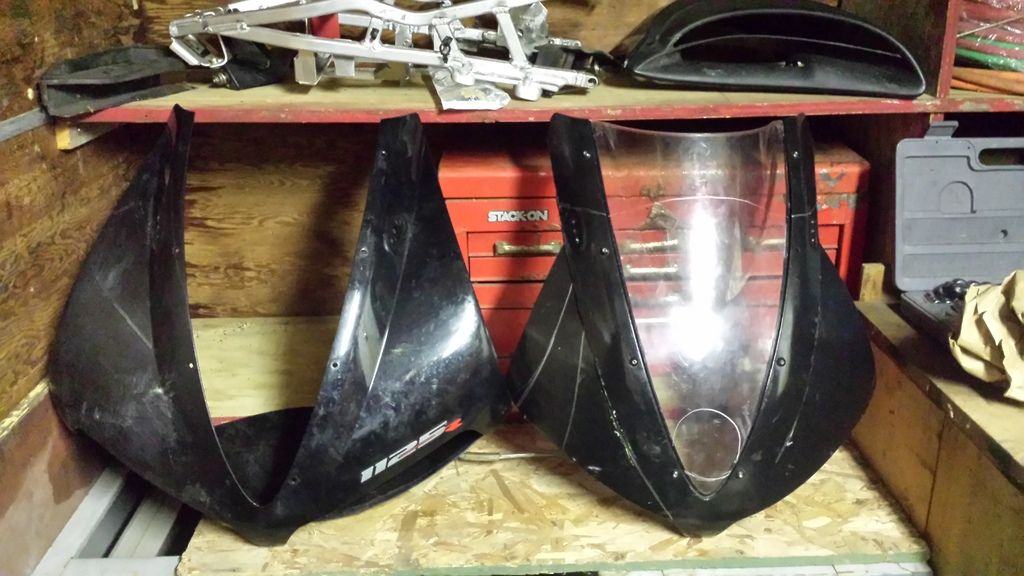
Been wanting to do something similar. Been searching images on the web for ideas. The twin vertical headlights would look cool.

  10. #20
    Senior Member mrlogix's Avatar
    Join Date
    Jul 2011
    Location
    Cincinnati, Ohio
    Posts
    2,574
    Found a picture of a RX with twin verticals

    bikes-2014-ebr-1190rx-vertical HL.jpg


Page 2 of 10 FirstFirst 1234 ... LastLast

Similar Threads

  1. My build
    By dmp0001 in forum Buell aftermarket parts
    Replies: 24
    Last Post: 06-21-2016, 08:32 PM
  2. Rat Rod Build
    By nicholas900 in forum General Motorcycle Chat
    Replies: 13
    Last Post: 06-02-2015, 12:29 AM
  3. My build
    By fishxb12 in forum Buell Lightning XB12S, XB12Ss, CityX, XB12Scg
    Replies: 73
    Last Post: 04-06-2015, 01:33 PM
  4. This is where my build took me.
    By wolfo68 in forum Users' Bikes
    Replies: 7
    Last Post: 03-17-2015, 01:43 AM
  5. build or just buy?
    By superman042388 in forum Buell Firebolt XB12, XB9
    Replies: 3
    Last Post: 09-27-2012, 10:47 PM

Posting Permissions

  • You may not post new threads
  • You may not post replies
  • You may not post attachments
  • You may not edit your posts
  •