Results 1 to 9 of 9

Thread: Nelson Rigg Tank Bag review! (Pic heavy, you've been warned!)

  1. #1
    Member WhiskeyFox's Avatar
    Join Date
    Sep 2016
    Location
    Tucson, AZ
    Posts
    42

    Nelson Rigg Tank Bag review! (Pic heavy, you've been warned!)

    I've always been a fan of tank-bags, and with the recent purchase of my first Buell it meant that none of the magnetic tank bags I own will work. After weighing some options in regards to modifying the Buell to take magnetic bags, I opted to just get a new bag with a strap mount.

    Unfortunately, in my research there seems to be quite a lack of information about strap mounted bags, both from users, sellers, and even manufacturers. Most don't even show pictures of the strap version and just add a footnote that a strap version is available.
    Also, it seems that some bags have complicated mechanisms where you strap a pad to the tank then the bag secures to the pad somehow, and some just use a cheap bungee-cord system to attach it.
    Nelson Rigg happened to have a picture of theirs strapped to a tank, so I knew at least a little bit what I was getting into, and above that at $80 the price was right, so I grabbed it.

    OK, let's start things right with a simple glamour shot.


    Not too big, not too small, and it looks good on the bike!

    This is the CL-2014 Journey "Mini". Lets dive right in!


    It's a good looking bag with a good amount of reflectivity built in, and it has a nice CF look on the sides. It's a simple setup with a grab handle and few D-rings you can use to attach a shoulder/backpack strap (which is included, but I don't use such things).
    There is an audio pass-through at the front of the bag, but it's not the most user-friendly arrangement. I'd say that if you run headphones or a charger through it to more or less treat it like a permanent install. Reason being is the eyelet is behind a panel that does NOT directly lead to a storage pocket. If you're running a charging cable out for your phone or GPS, it'll be fine, but I don't think I'd use it for headphones.
    Overall the materials used feel strong and sturdy, and a rigid plastic panel you install at the head of the bag (at the pass-through) maintains the shape when the bag is not full of cargo.
    The main zip features two ends and works in both directions. The zippers meet with a ringed union so you can run a luggage lock through them. While this may be useful in certain situations, as a bag that is designed to be removed from the motorcycle I don't know how well it will work as an anti-theft device. It may keep strangers from rummaging through your things if you step away from your bike to stretch, but any thief willing to snatch and grab will just take the whole bag...


    The bottom has a nice rubberized panel that is the whole dimension of the bag, and it is open at the front and back for the mounting feet to tuck into when it's not on the motorcycle. When on a surface the panel feels very grippy and secure.


    Nelson Rigg lists the dimensions of this bag as: 10”L x 8”W x 5.5”H / Expanded: 10”L x 8”W x 7.5”H or 7/10 Liters.
    I think it's more practical to visualize it, so I put in an Arizona and Coke can. It's as wide as the Arizona can almost perfectly, and is a little longer in the length. When collapsed it is as call as the Coke can, but when expanded it stretches out to the height of the Arizona can.
    This is almost the perfect size for me, as I'm primarily a commuter. It'll hold a lunch, a drink, and some other small items that I would like quick and easy access to.
    Nelson Rigg makes the same bag in larger sizes, too. The CL-2015 Journey "sport" at 13/18 Liters and CL-2016 Journey "XL" at 18/22 Liters. Both appear to have identical configurations

    From these angles you can also see the cargo pocket up top for a charging-bank, MP3 player, or whatever else you have in addition to a key ring and some elastic loops for a pen or small tools.
    This is also where the clear map-pocket is accessed. Being on the inside it serves to help keep the map pocket water resistant so light rain won't compromise your paper directions.


    Yes, it DOES fit a shield. You need to flex it in a little bit, but it doesn't even come close to stressing the lens and there's still plenty of room to pack a lunch.


    The side pockets could stand to be a little bigger. They do fit a pair of sunglasses, but it's at the limit of the pocket's dimensions. If these sunglasses were in a protective case they would NOT fit. I don't think it would fit a modern cell phone either, it definitely won't fit my Galaxy Note3.
    That being said, it fits small personal affects just fine, and having one on each side offers a good amount of room and some separation. These would be good for cash for tolls.


    Last edited by WhiskeyFox; 09-20-2016 at 11:42 PM.

  2. #2
    Member WhiskeyFox's Avatar
    Join Date
    Sep 2016
    Location
    Tucson, AZ
    Posts
    42
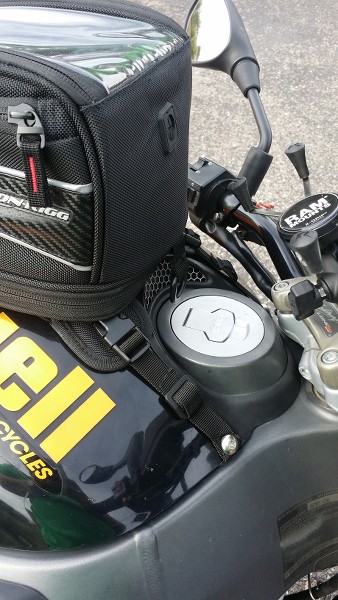
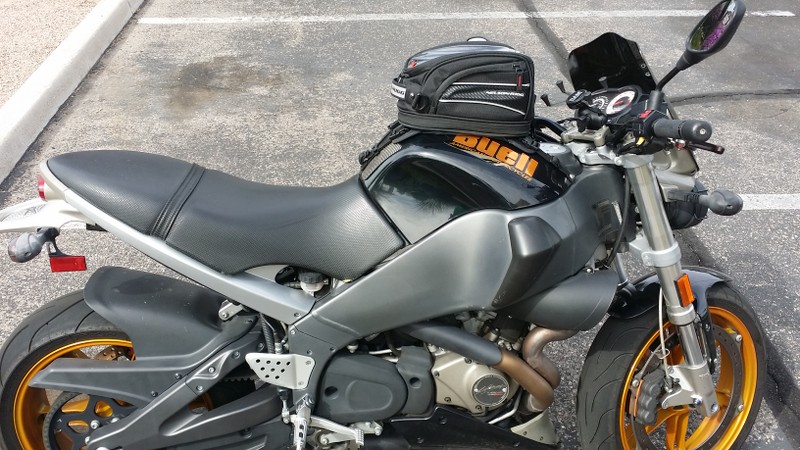
    OK, so lets get into the mounting! Buells naturally offer good mounting locations for more "permanent" setups, so I felt a fool if I didn't take advantage of that.
    They provide you with 2 straps that are connected end to end and designed to wrap around frame parts. I immediately cut these in half and burned the ends so they wouldn't unravel, folded the ends over and burned a hole through both layers (I used a propane torch to heat a screw driver and pushed it through), and got to mounting these to the bike.


    The front was pretty straight forward. I figured I'd use the rear straps to control tension, so I mounted these with plenty of excess, hooked the bag into it, tightened it until the bag was in the right location, then sent the loose ends into the cinch-buckle. I then sent the end BACK through the cinch buckle again to really lock it down, and cut the remainder. A great way to cut these is to heat a knife. They slice through easy and burn the ends at the same time, leaving a nice, clean end.


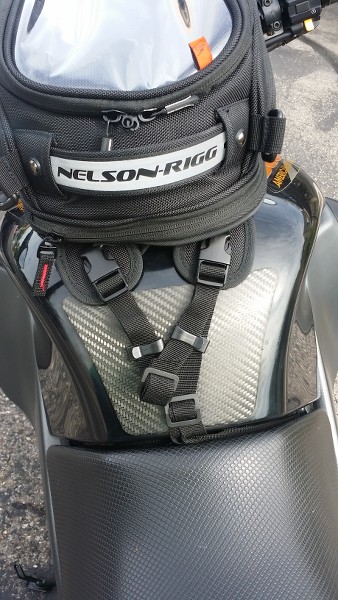
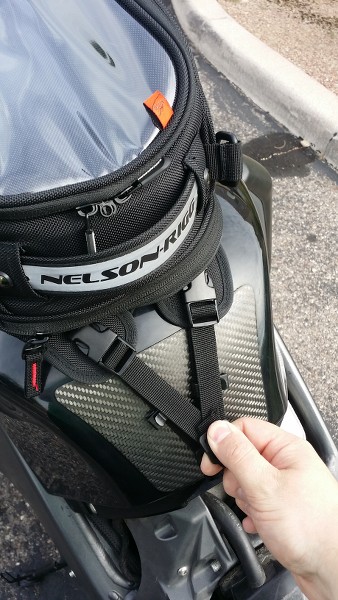
    The rear, for me, was a little more complicated since I didn't want the straps along the sides of the airbox cover. I spent a few hours brain-storming and trying this and that with a few different devices. In the end, the simplest solution is often the best AND the most elegant, so here's what I came up with.


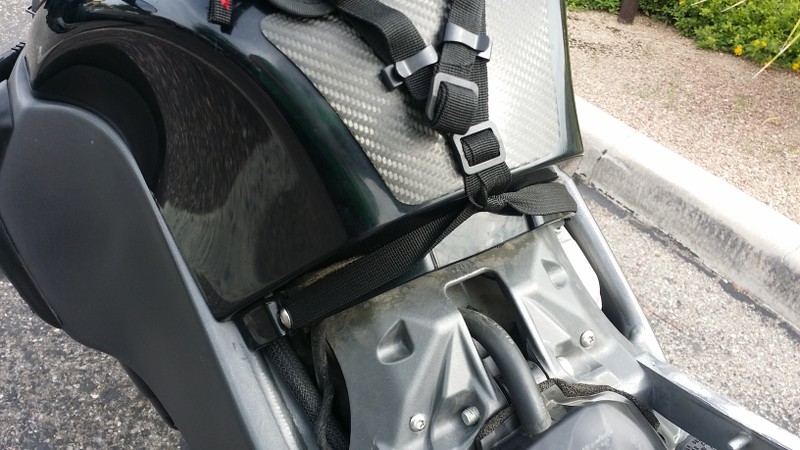
    They're mounted to the airbox cover screws and meet in the middle, and I used an overhand knot to join them. I then ran both ends through the same cinch-buckle and ran the buckle down close to the knot. This keeps the knot tight, and also redirects the straps in the direction I want them.
    Then I ran the straps independently to the attachment buckles, and then back together into another cinch-buckle much the same way I did with the ones up front. This way, I can grab the bundle and in one motion tighten BOTH ends down.


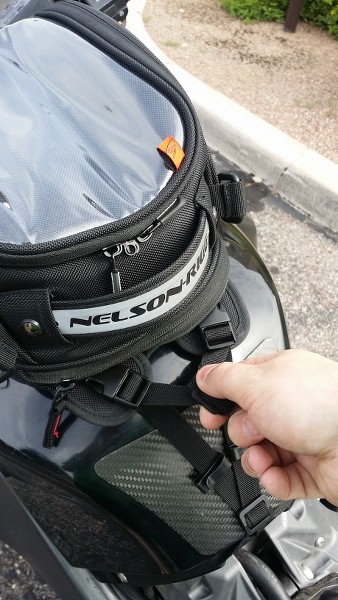
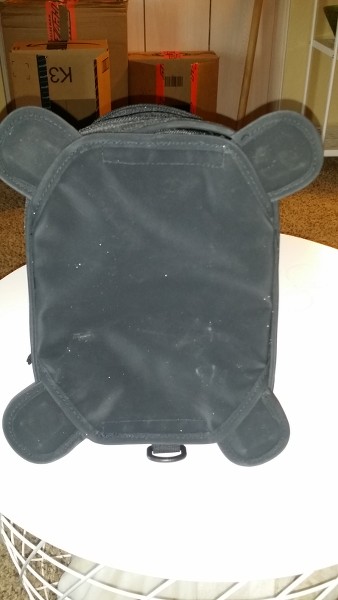
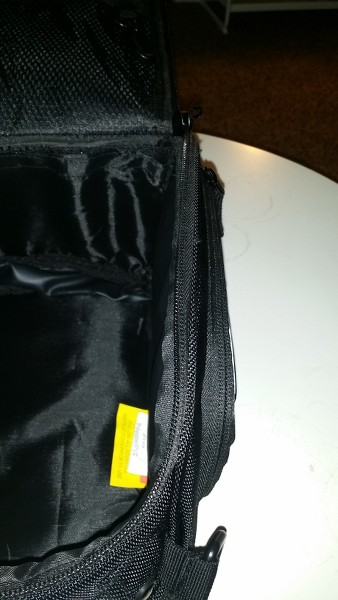
    I went digging through the miscellaneous straps and stuff I had from previous bags and found these little keepers. They slide on the straps and have a sort of "hook" on the side. I attached them pointing "out", and with these I can lock down the loose end after tensioning the bag. It's too bad these aren't included, but they shouldn't be THAT hard to find if you can identify them. Perhaps you can re-purpose them from another bag like I did.


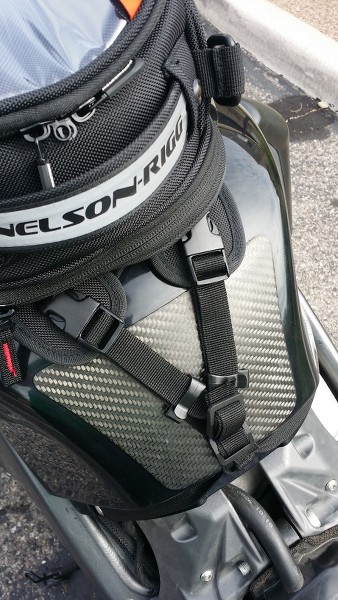
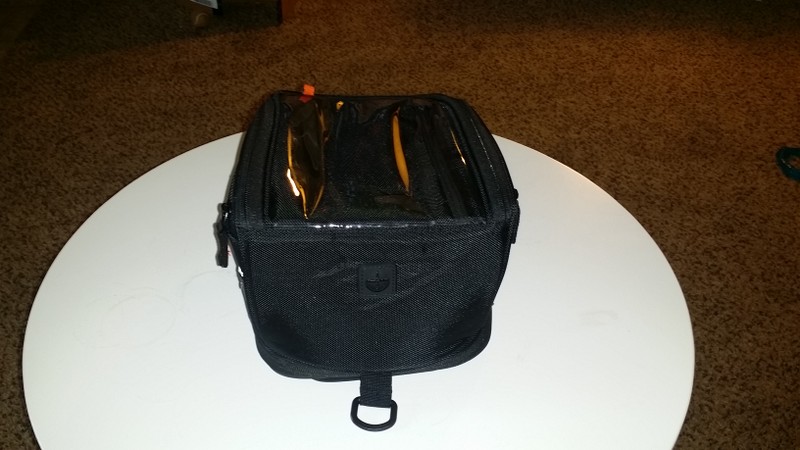
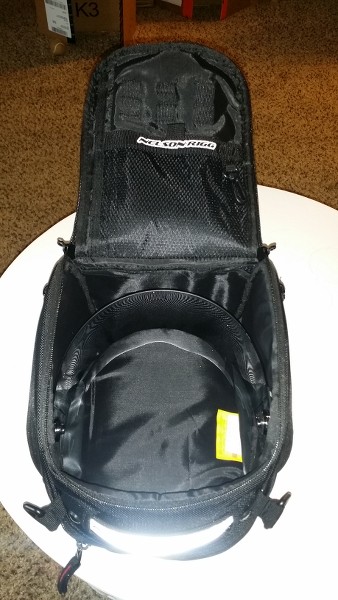
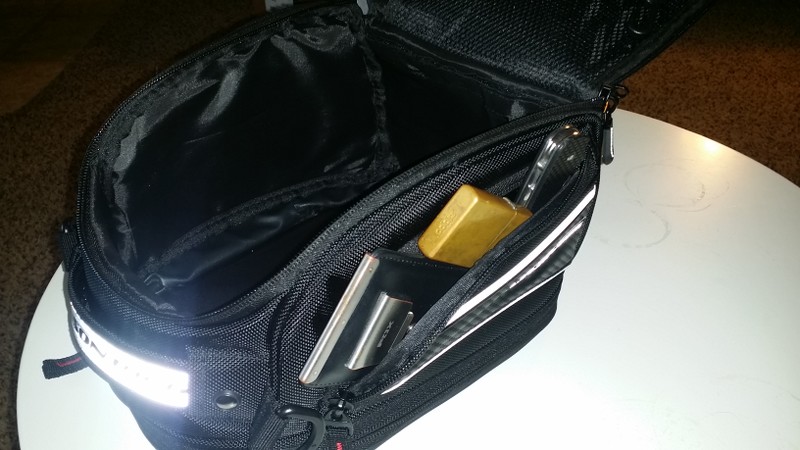
    As you can see it sits nice and neat against itself.


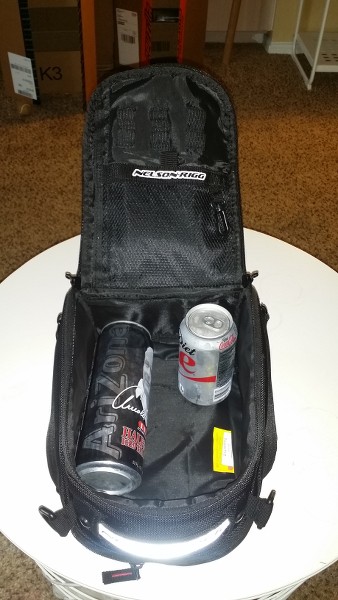
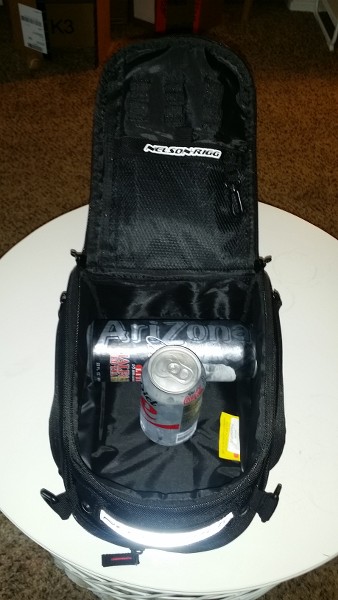
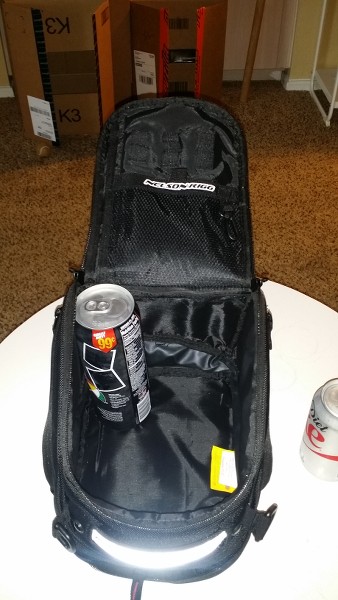
    When tightened down the bag feels VERY secure. I haven't had it up to highway speeds yet, but I did run to the gas station and got SEVERAL beverages (2 Arizonas, 2 energy drinks, and one of those new 1893 Pepsis) and on the return trip (max 45mph) the bag didn't show any indication of moving or shifting in the wind or turns. But, that's to be expected with a strap down bag.
    It's also plenty narrow as to not interfere with your arms when the bars are at full lock. U-turns and maneuvering in a parking lot are no trouble at all!


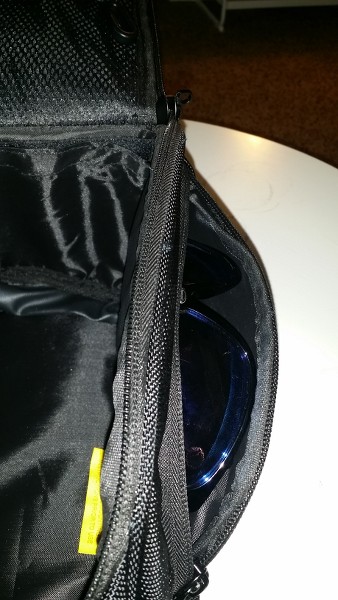
    One thing I forgot to take pictures of is the rain cover. It's a typical arrangement of a solid cover with a bungee bottom. It has some elastic loops to run the buckles through for an extra secure fit, and surprisingly enough it also features a zippered expansion to match the one on the tank bag itself, so this way you can keep it tight against the bag. It feels very heavy duty and has a rubbery feel to it, I have complete confidence it'll keep any and all rain out of the bag. However, as both a blessing and a curse, it does NOT have a clear panel on top. The downside of this is you can't see through the rain cover to view your map/GPS. The upside is there's no weak point at the top of the bag to potentially compromise the waterproofing.
    But, in sunny Arizona, it's not something I'll personally be using.


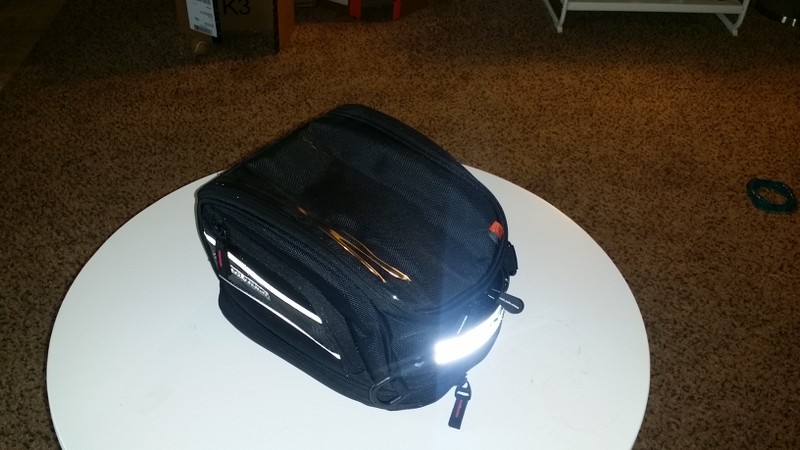
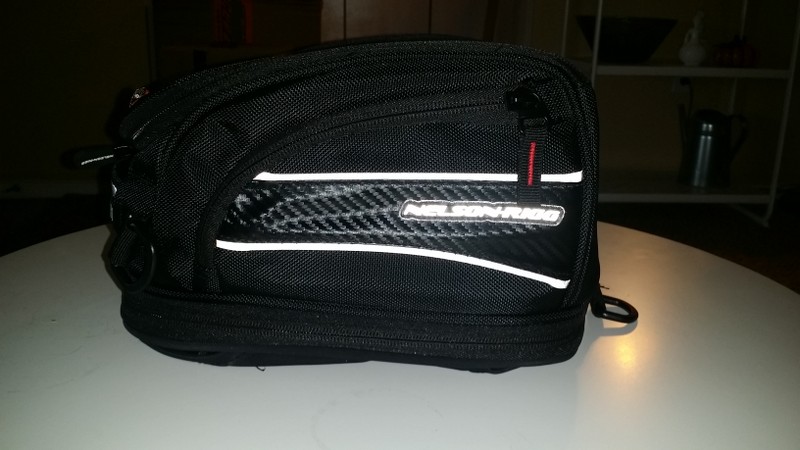
    Though I don't have a lot of on-bike experience with this yet, overall I can say I'm very satisfied with this bag, I think I'll get years of good use out of it, and would encourage anyone in the market for a tank-bag to take a good look at Nelson Rigg.
    Last edited by WhiskeyFox; 09-20-2016 at 11:55 PM.

  3. #3
    Senior Member rchuff's Avatar
    Join Date
    Apr 2012
    Location
    Willow Grove, Pa
    Posts
    2,018
    Omg!!!!!!! I would pull my hair out but I have NONE left.
    Last edited by rchuff; 09-21-2016 at 10:15 AM.

  4. #4
    Inactive
    Join Date
    Feb 2011
    Location
    AmishLand, PA.
    Posts
    7,526
    i once bought a MotoTech tank-bag for my 2009 ulysses. the nice USPS lady dropped it off. i opened the box. i was thrilled. i installed it one evening. it worked nicely. i have no pics. end of story.

  5. #5
    Thank you for your review! Bag looks great on your bike.

  6. #6
    Senior Member Cooter's Avatar
    Join Date
    Dec 2012
    Location
    Crawling up your skirt
    Posts
    10,895
    Thats a great complete review, very nice job and thanks for sharing!

    What do the front straps do if you ride without the tank bag on?

    My STT came with a new set of MotoCentric saddlebags, I put them on and have never taken them off! Super handy to have.

  7. #7
    Member WhiskeyFox's Avatar
    Join Date
    Sep 2016
    Location
    Tucson, AZ
    Posts
    42
    Quote Originally Posted by Cooter View Post
    Thats a great complete review, very nice job and thanks for sharing!

    What do the front straps do if you ride without the tank bag on?
    Thanks and you're welcome! Always happy to share my experiences.

    So far, they just dangle. I'm thinking of solutions both simple and complex ranging from elastic bands to fold them back into themselves to fusing female buckles into a "coupler" and connecting them together.
    I'll update with what I come up with.


    Personally I've never liked saddlebags. I think a tank bag is just more practical to get stuff in/out.
    I got a set of Buell saddlebags with my bike, but I never put them on. Maybe I'll use them if I take a trip, but for now they sit in a closet.

  8. #8
    Senior Member Silverrider's Avatar
    Join Date
    Sep 2016
    Posts
    2,790
    Thank you for your review! I dont have a bag yet , I do need one. Only have so many pockets

  9. #9
    Senior Member
    Join Date
    Mar 2014
    Location
    Jacksonville, FL
    Posts
    302
    Or you could attach magnets to the underside of the airbox and continue running magnetic bags. I'll hook one D ring around the handlebar for extra security at speed just in case, but when off the bike (which is 99% of the time) there is nothing to show.


    On the bike...


    Off the bike...


    Mine's an EBR, but same rules apply.


Posting Permissions

  • You may not post new threads
  • You may not post replies
  • You may not post attachments
  • You may not edit your posts
  •